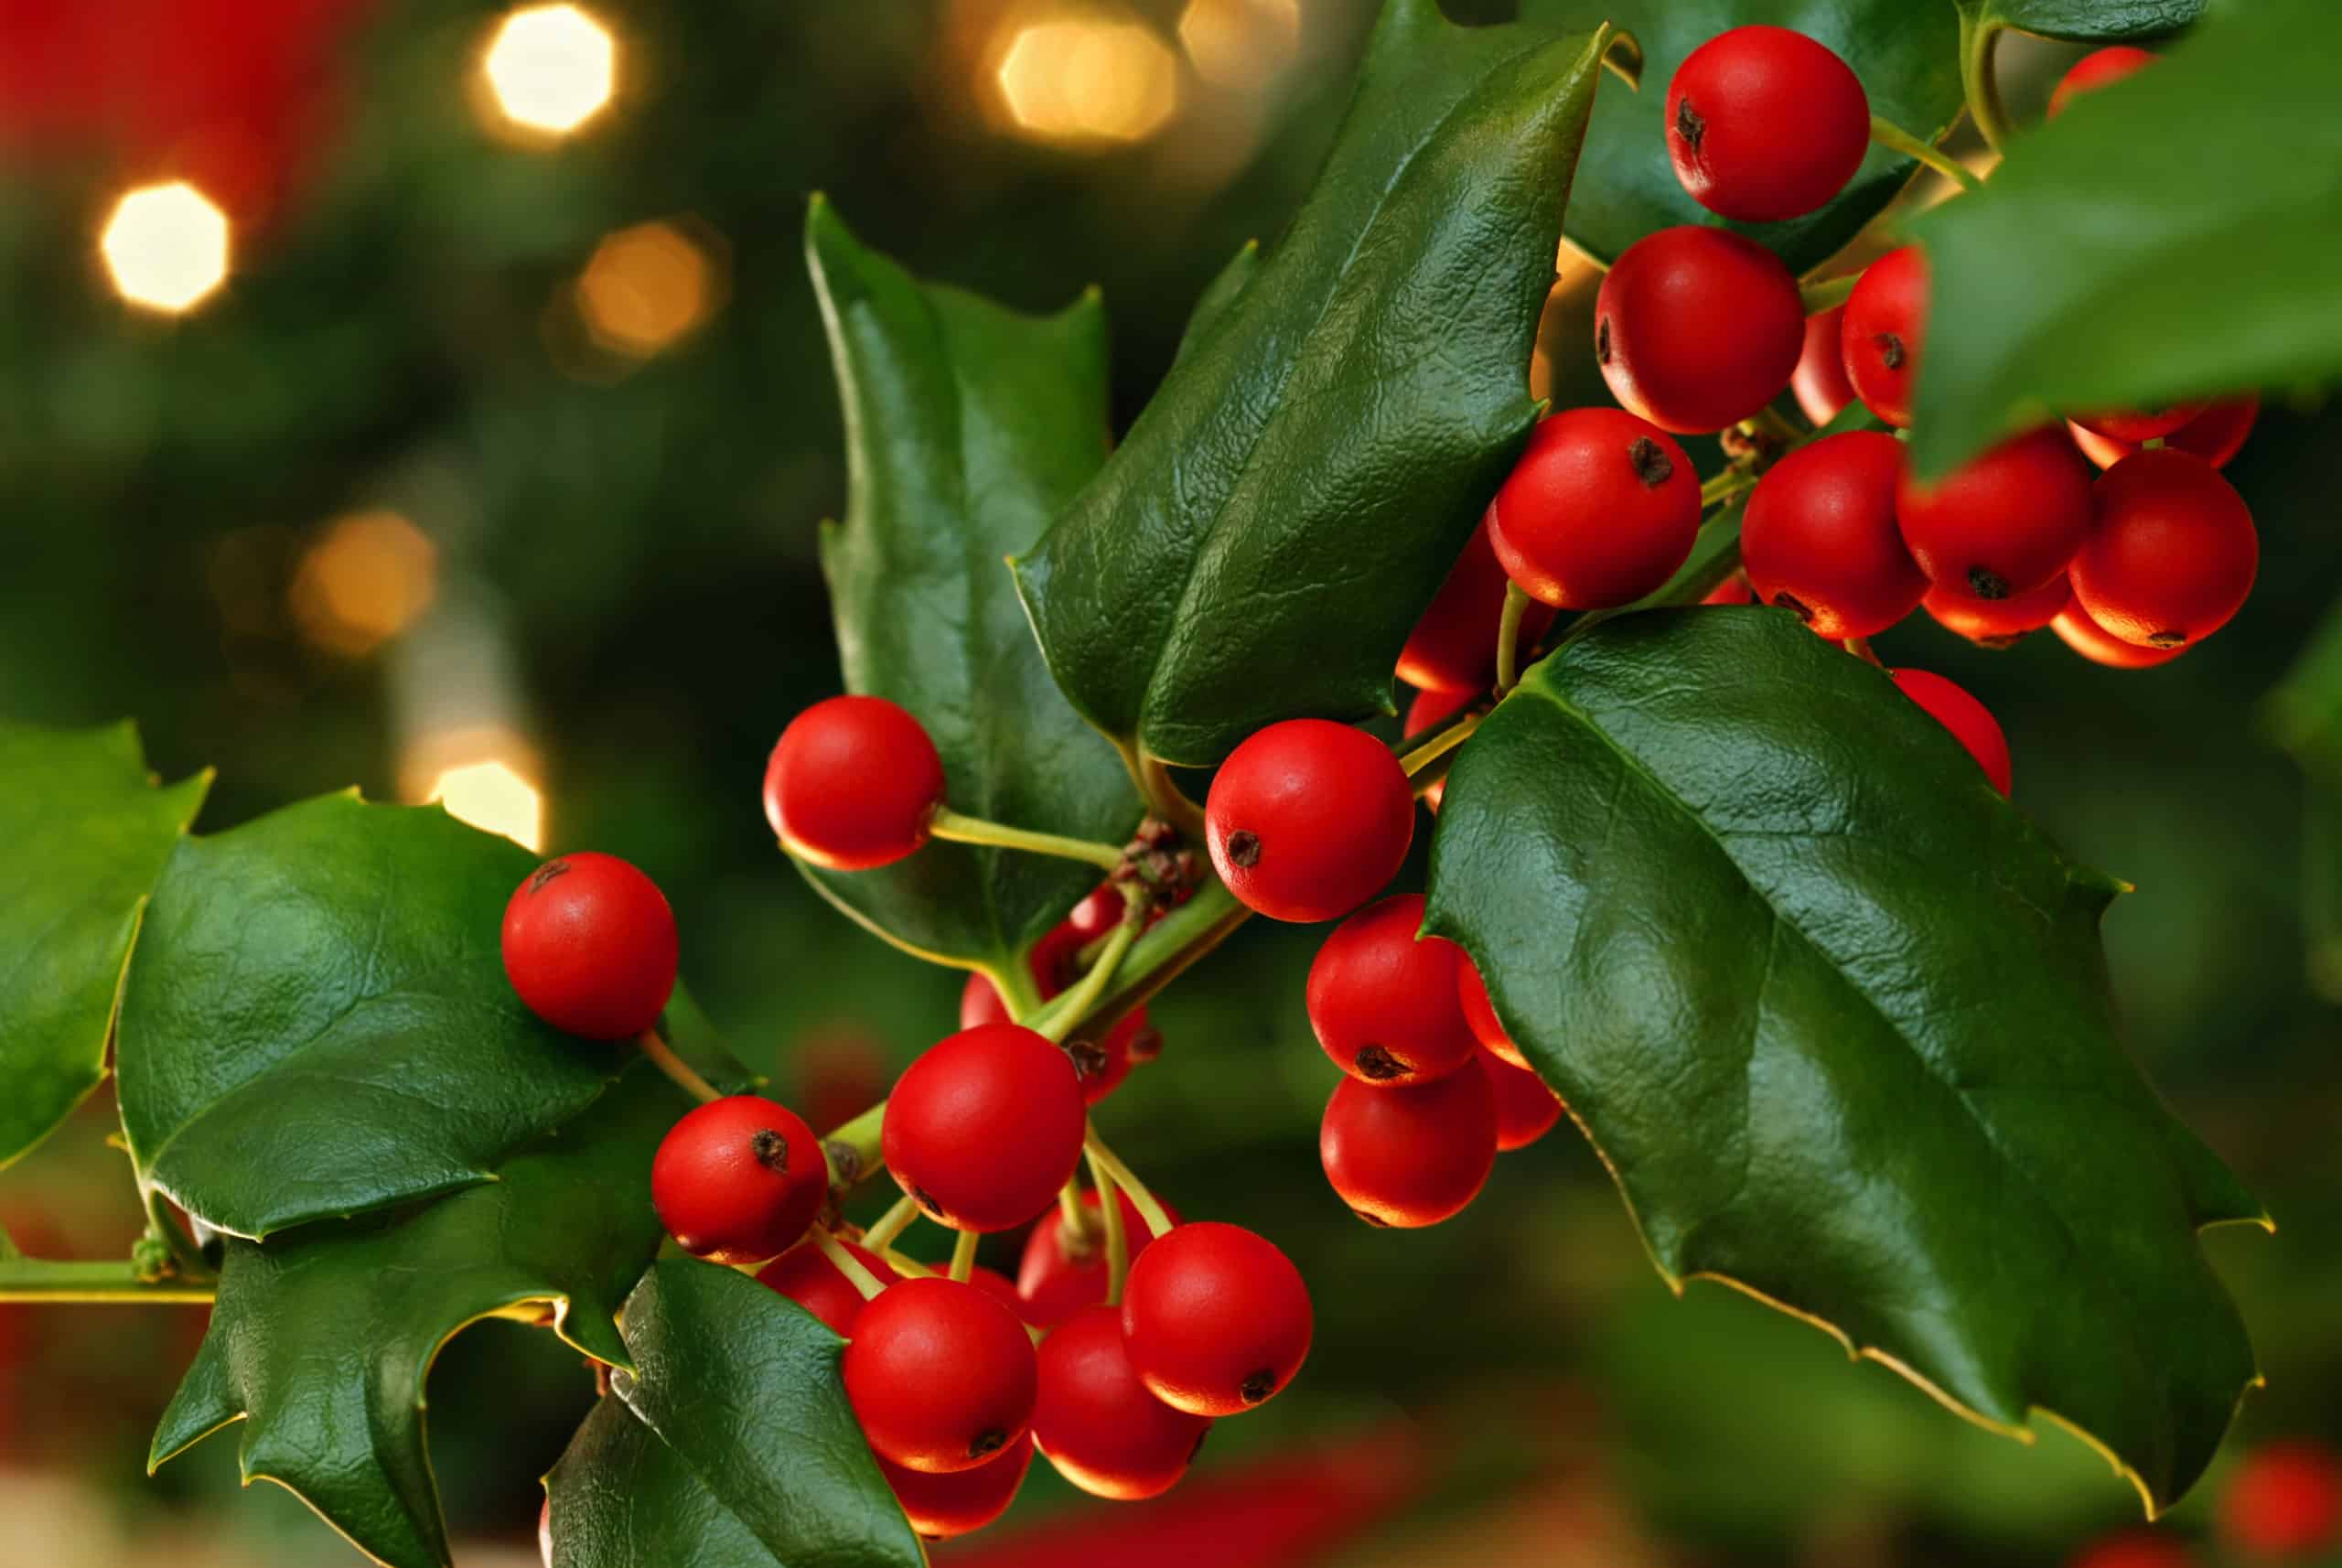
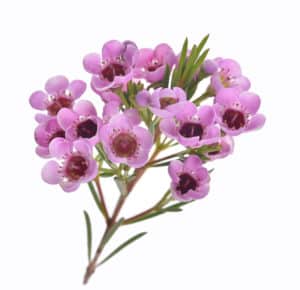
Homemade holiday decorations make your home feel a little cozier, warmer, and personal. At Cascade Floral Wholesale, creating brilliant arrangements, wreaths, garlands, and more live décor for your home or special event is what we’re all about. There is nothing more festive or versatile during the holiday season than winter berries. From American Holly and Winterberry to Hypericum and Brunia Berry, the tiny red, green, white, or silver berries add a new texture and dimension to just about anything.
Fun Ways to Decorate for the Holidays with Winter Berries

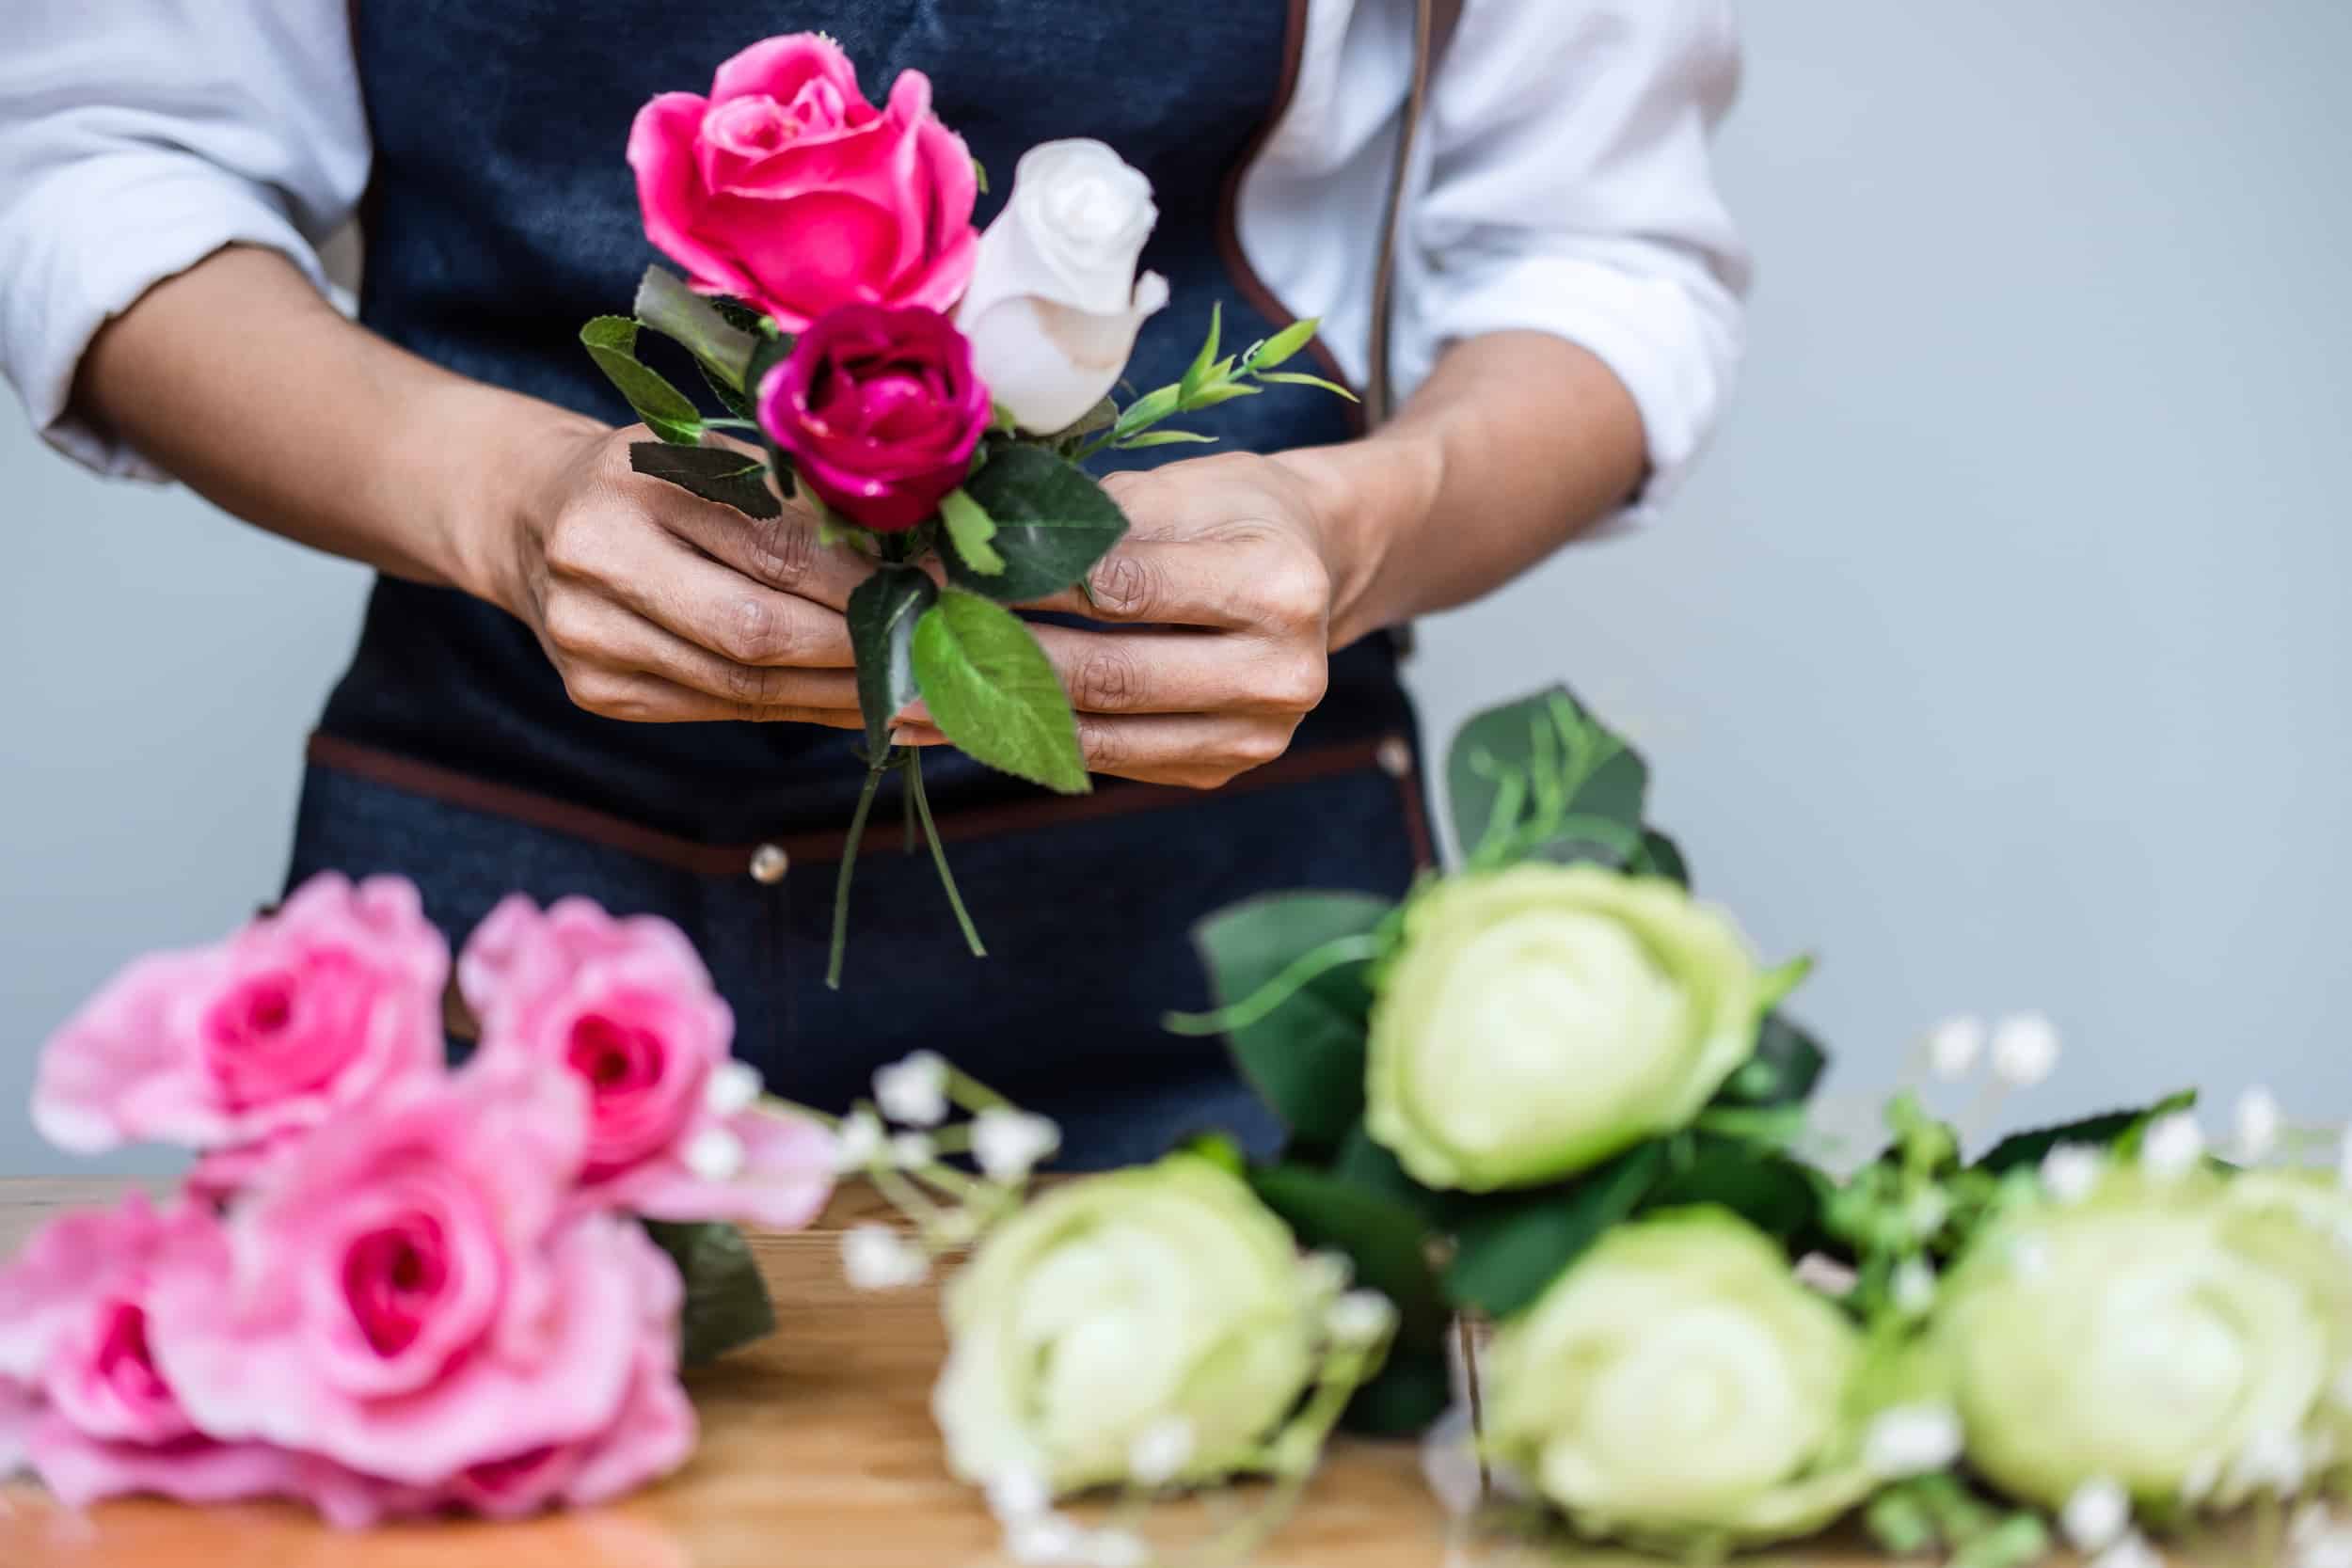
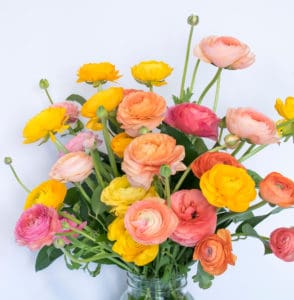
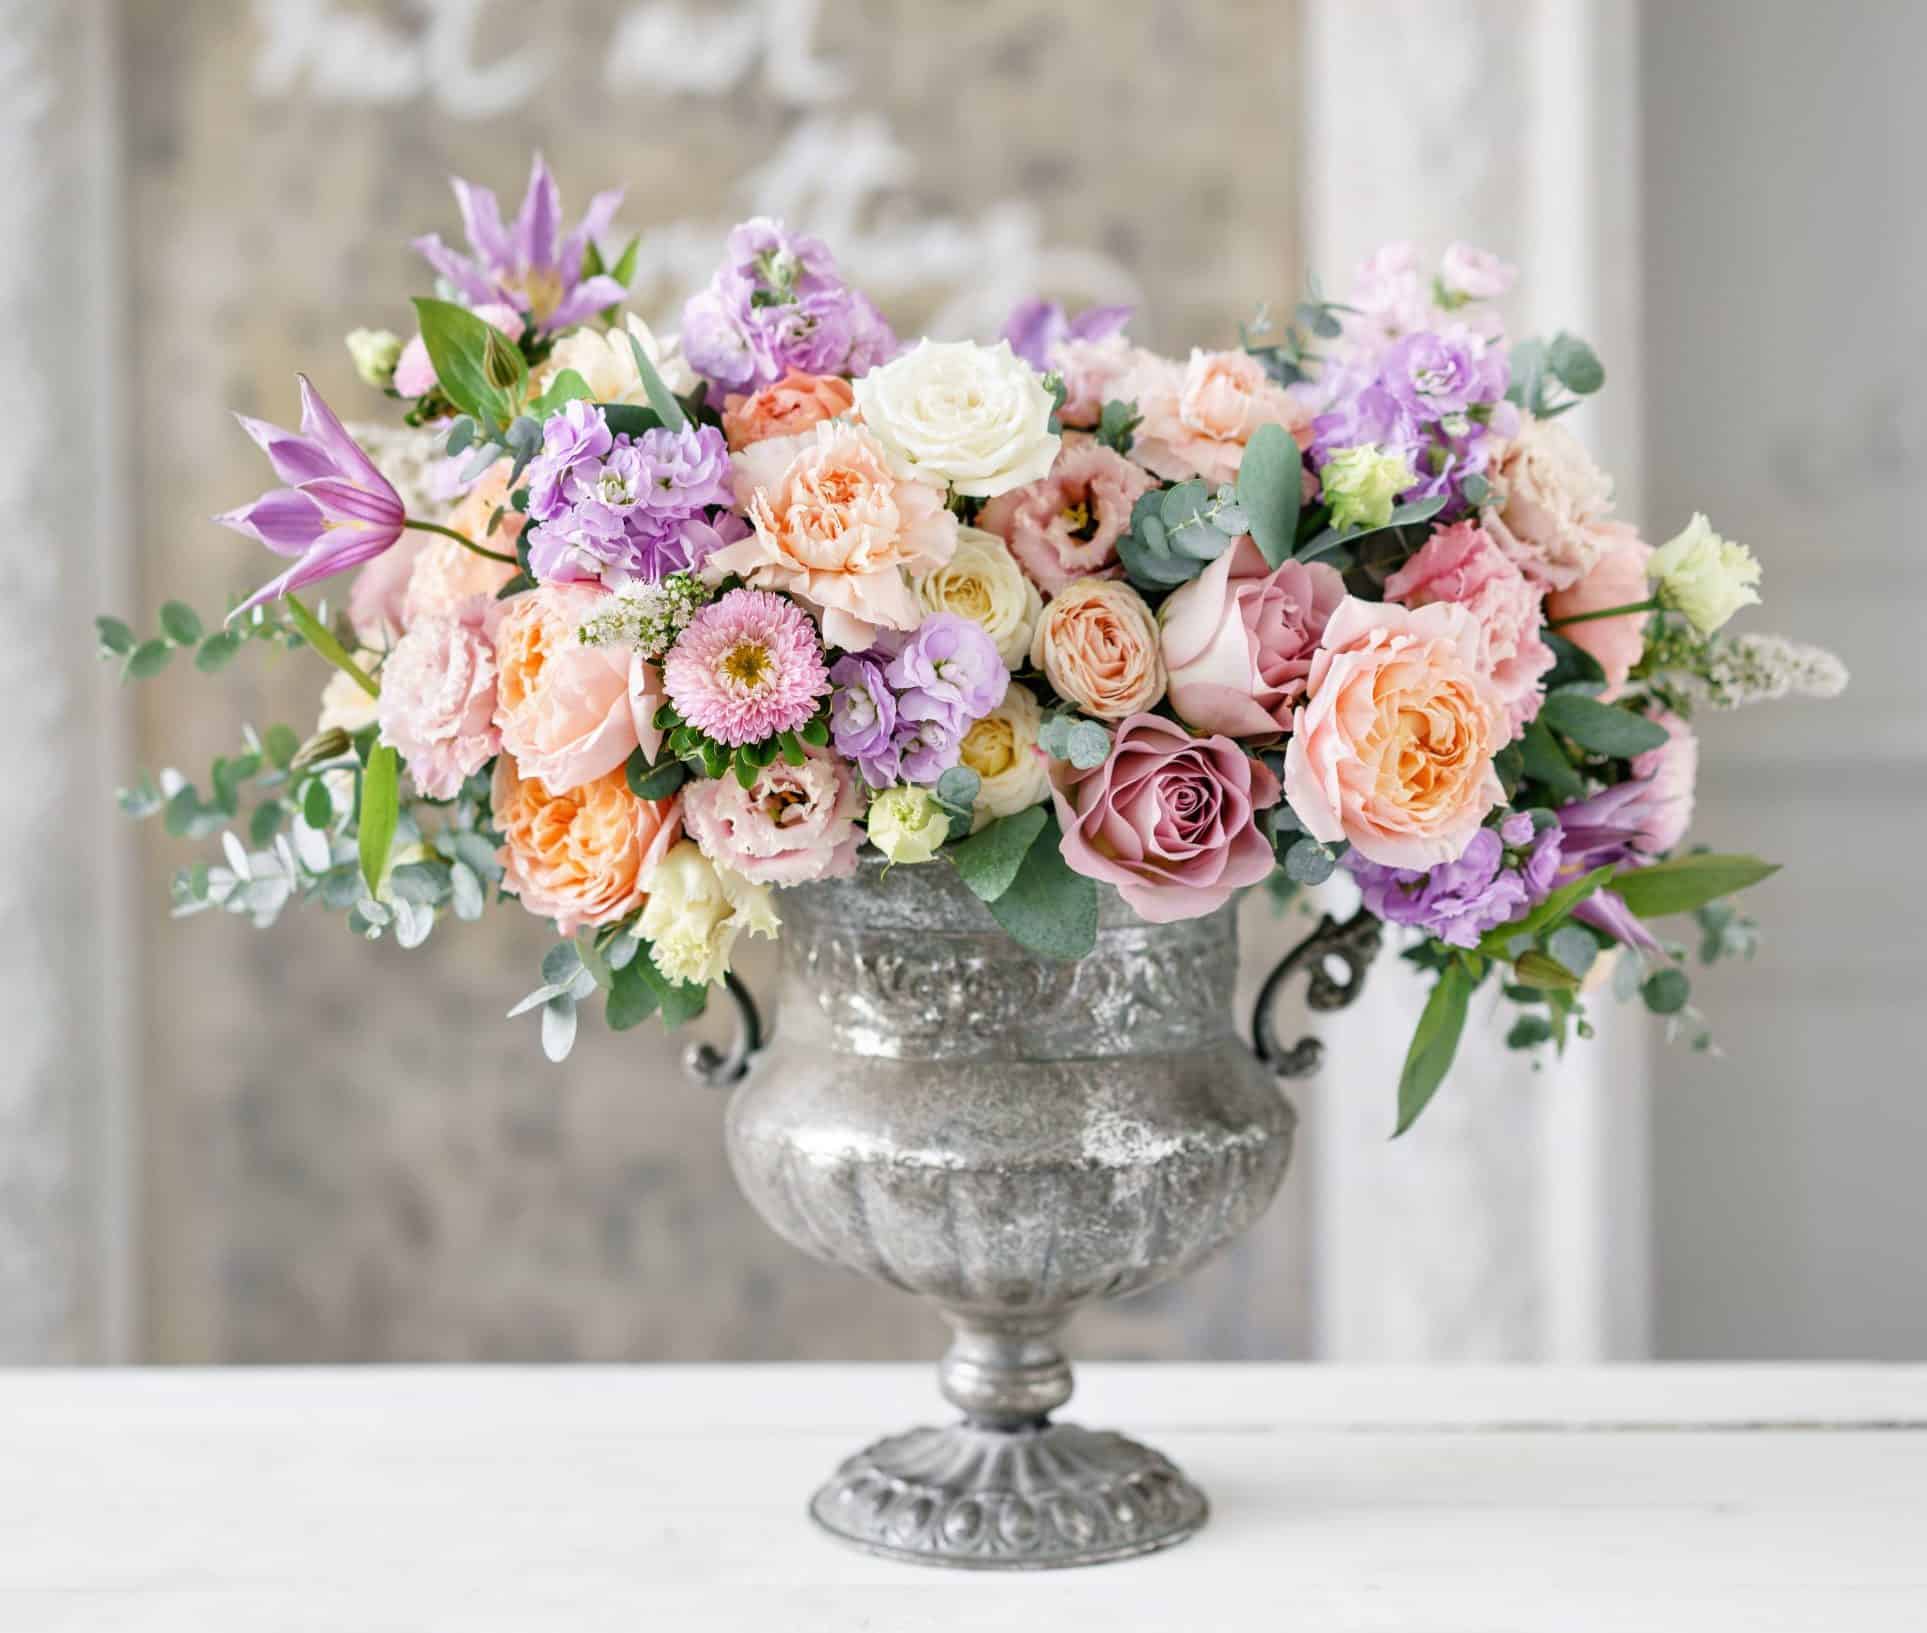
Accent Flowers with Berries
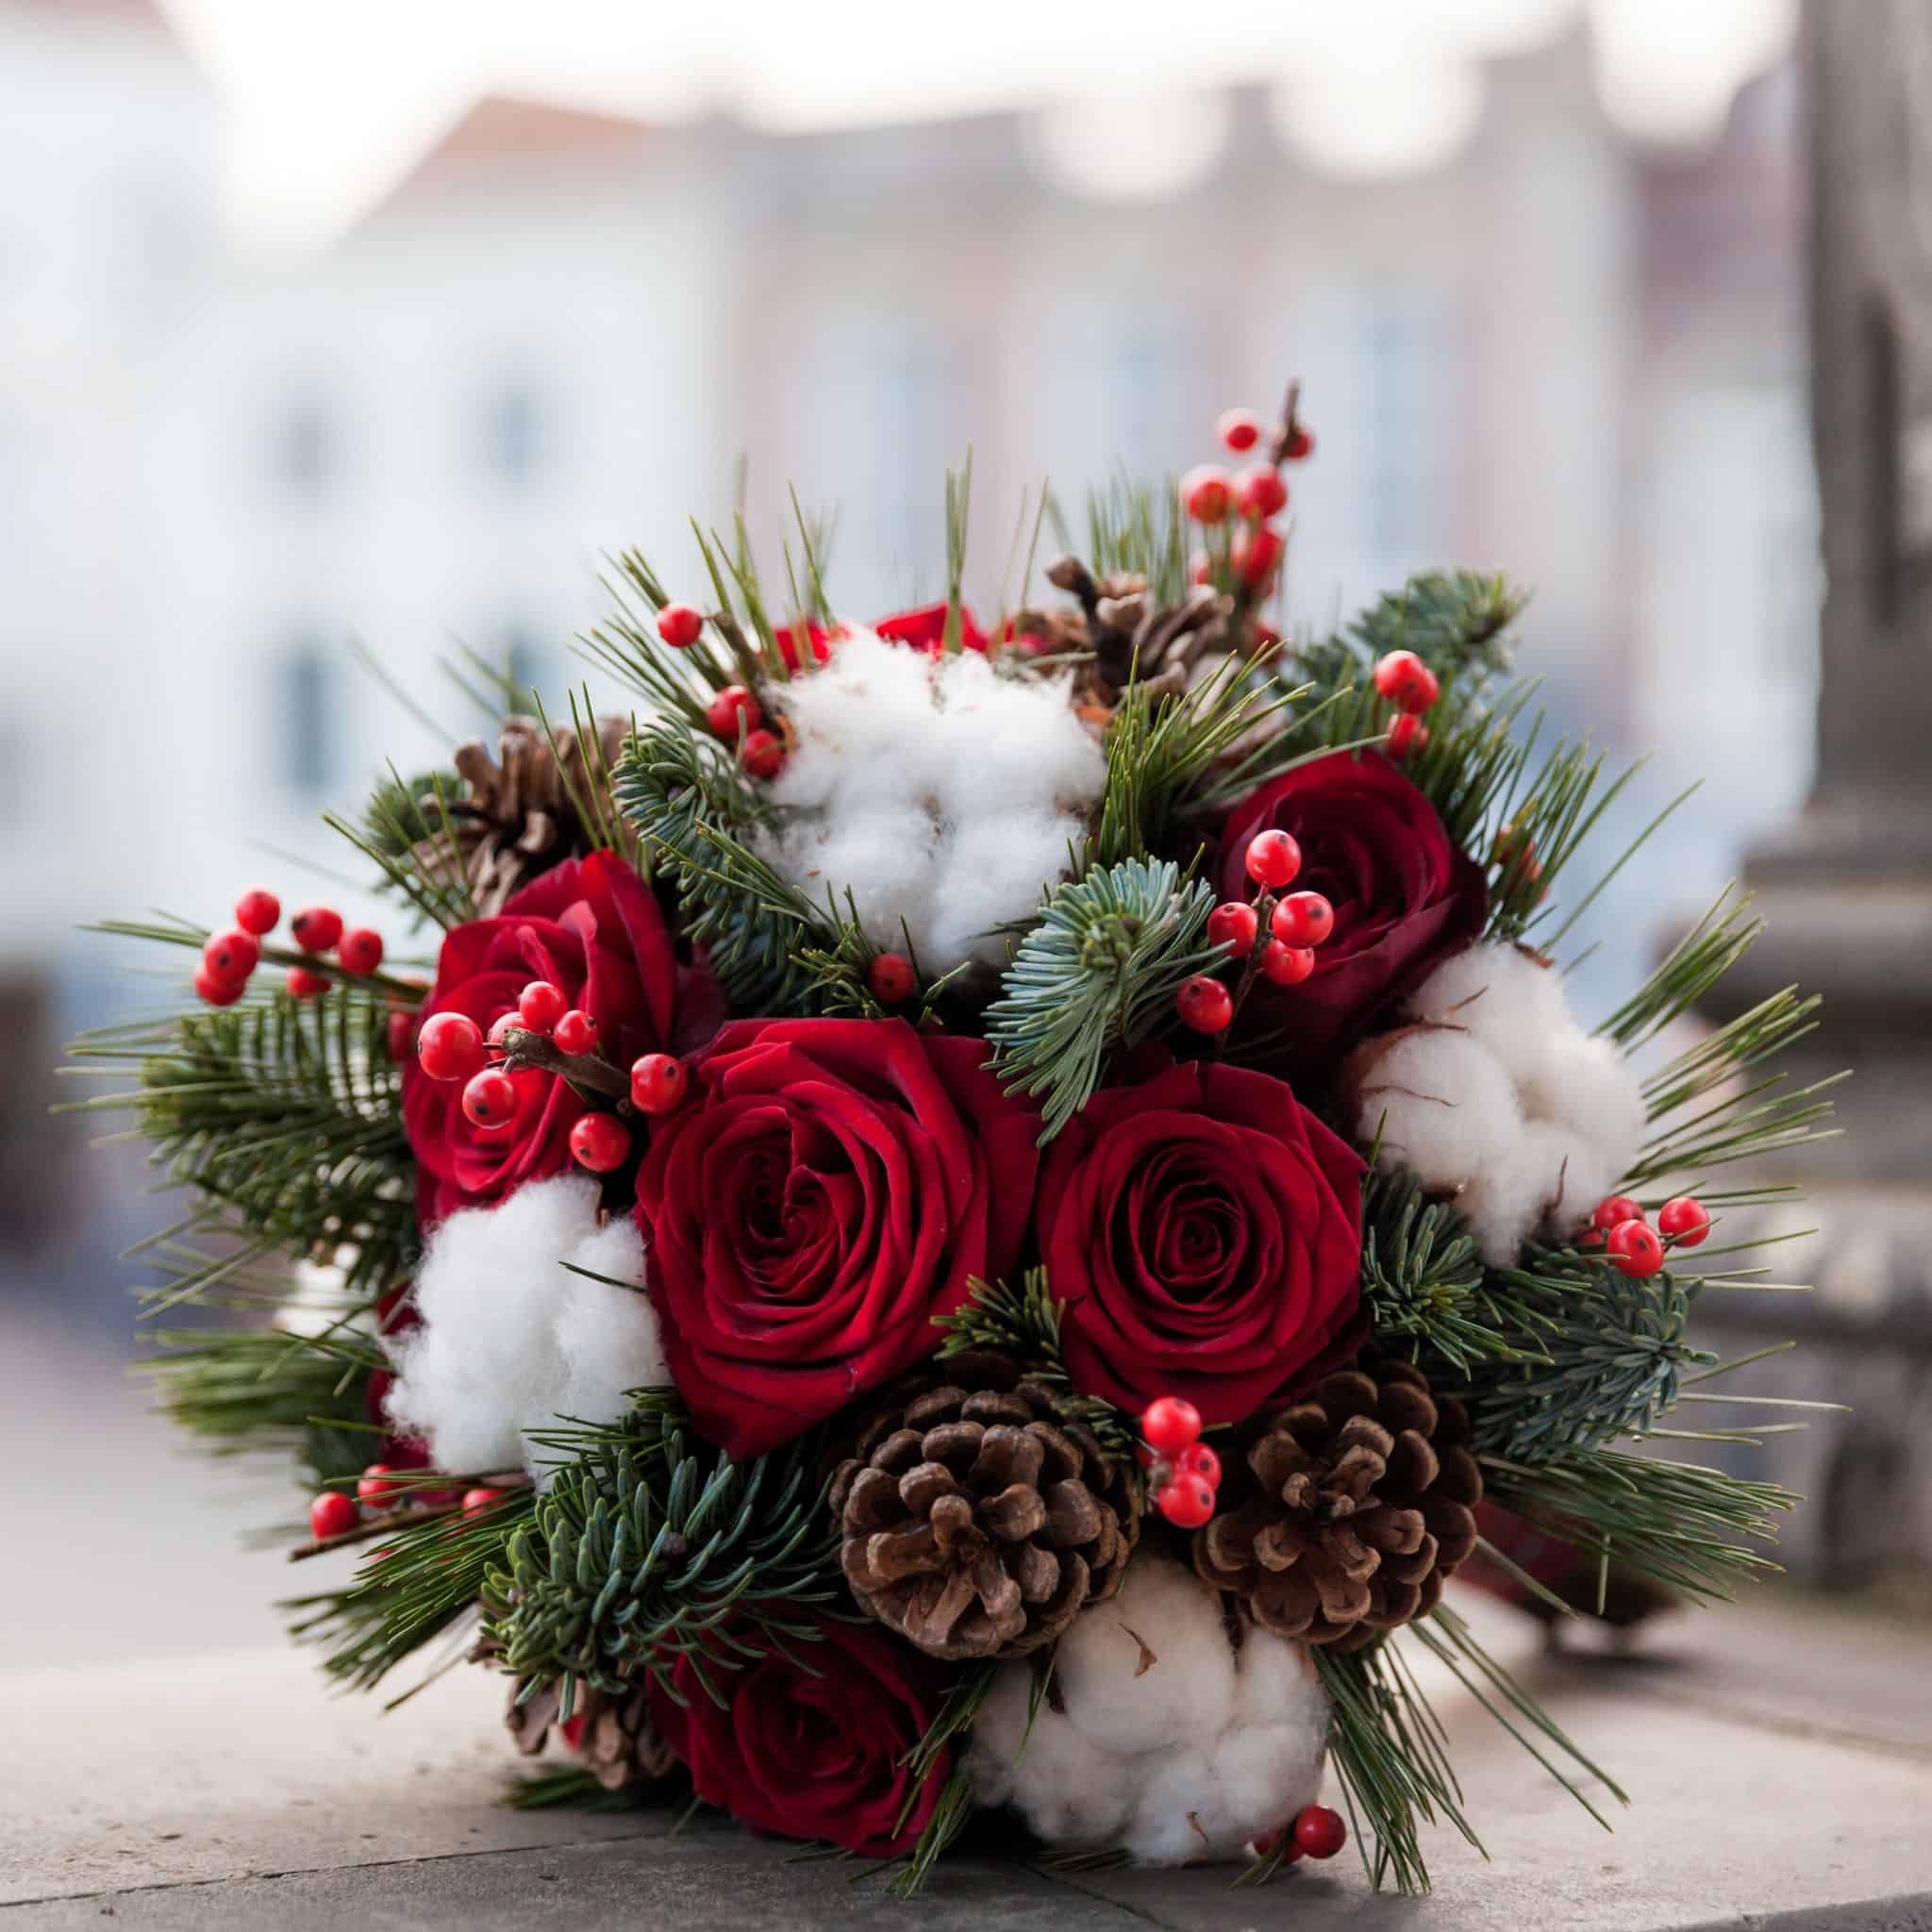
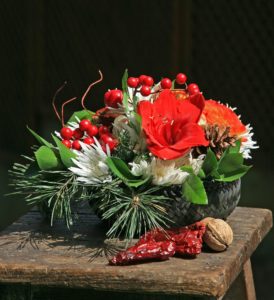
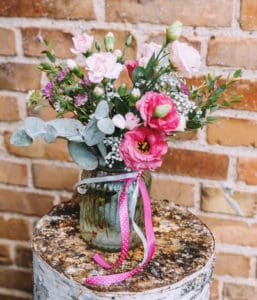
Holiday and winter floral arrangements bring life to our dinner tables, add a refreshing touch to our living rooms, or brighten up a loved one’s day when presented as a gift. This season, red, white, green, and silver berries are cheerful additions to seasonal flower designs, especially those made of lush greenery, crisp white blooms, and radiant red flowers. Because of their small, compact size, winter berries will entice the eye when nestled among large petals and fluffy textures.

Arrange Berries in a Stylish Vase
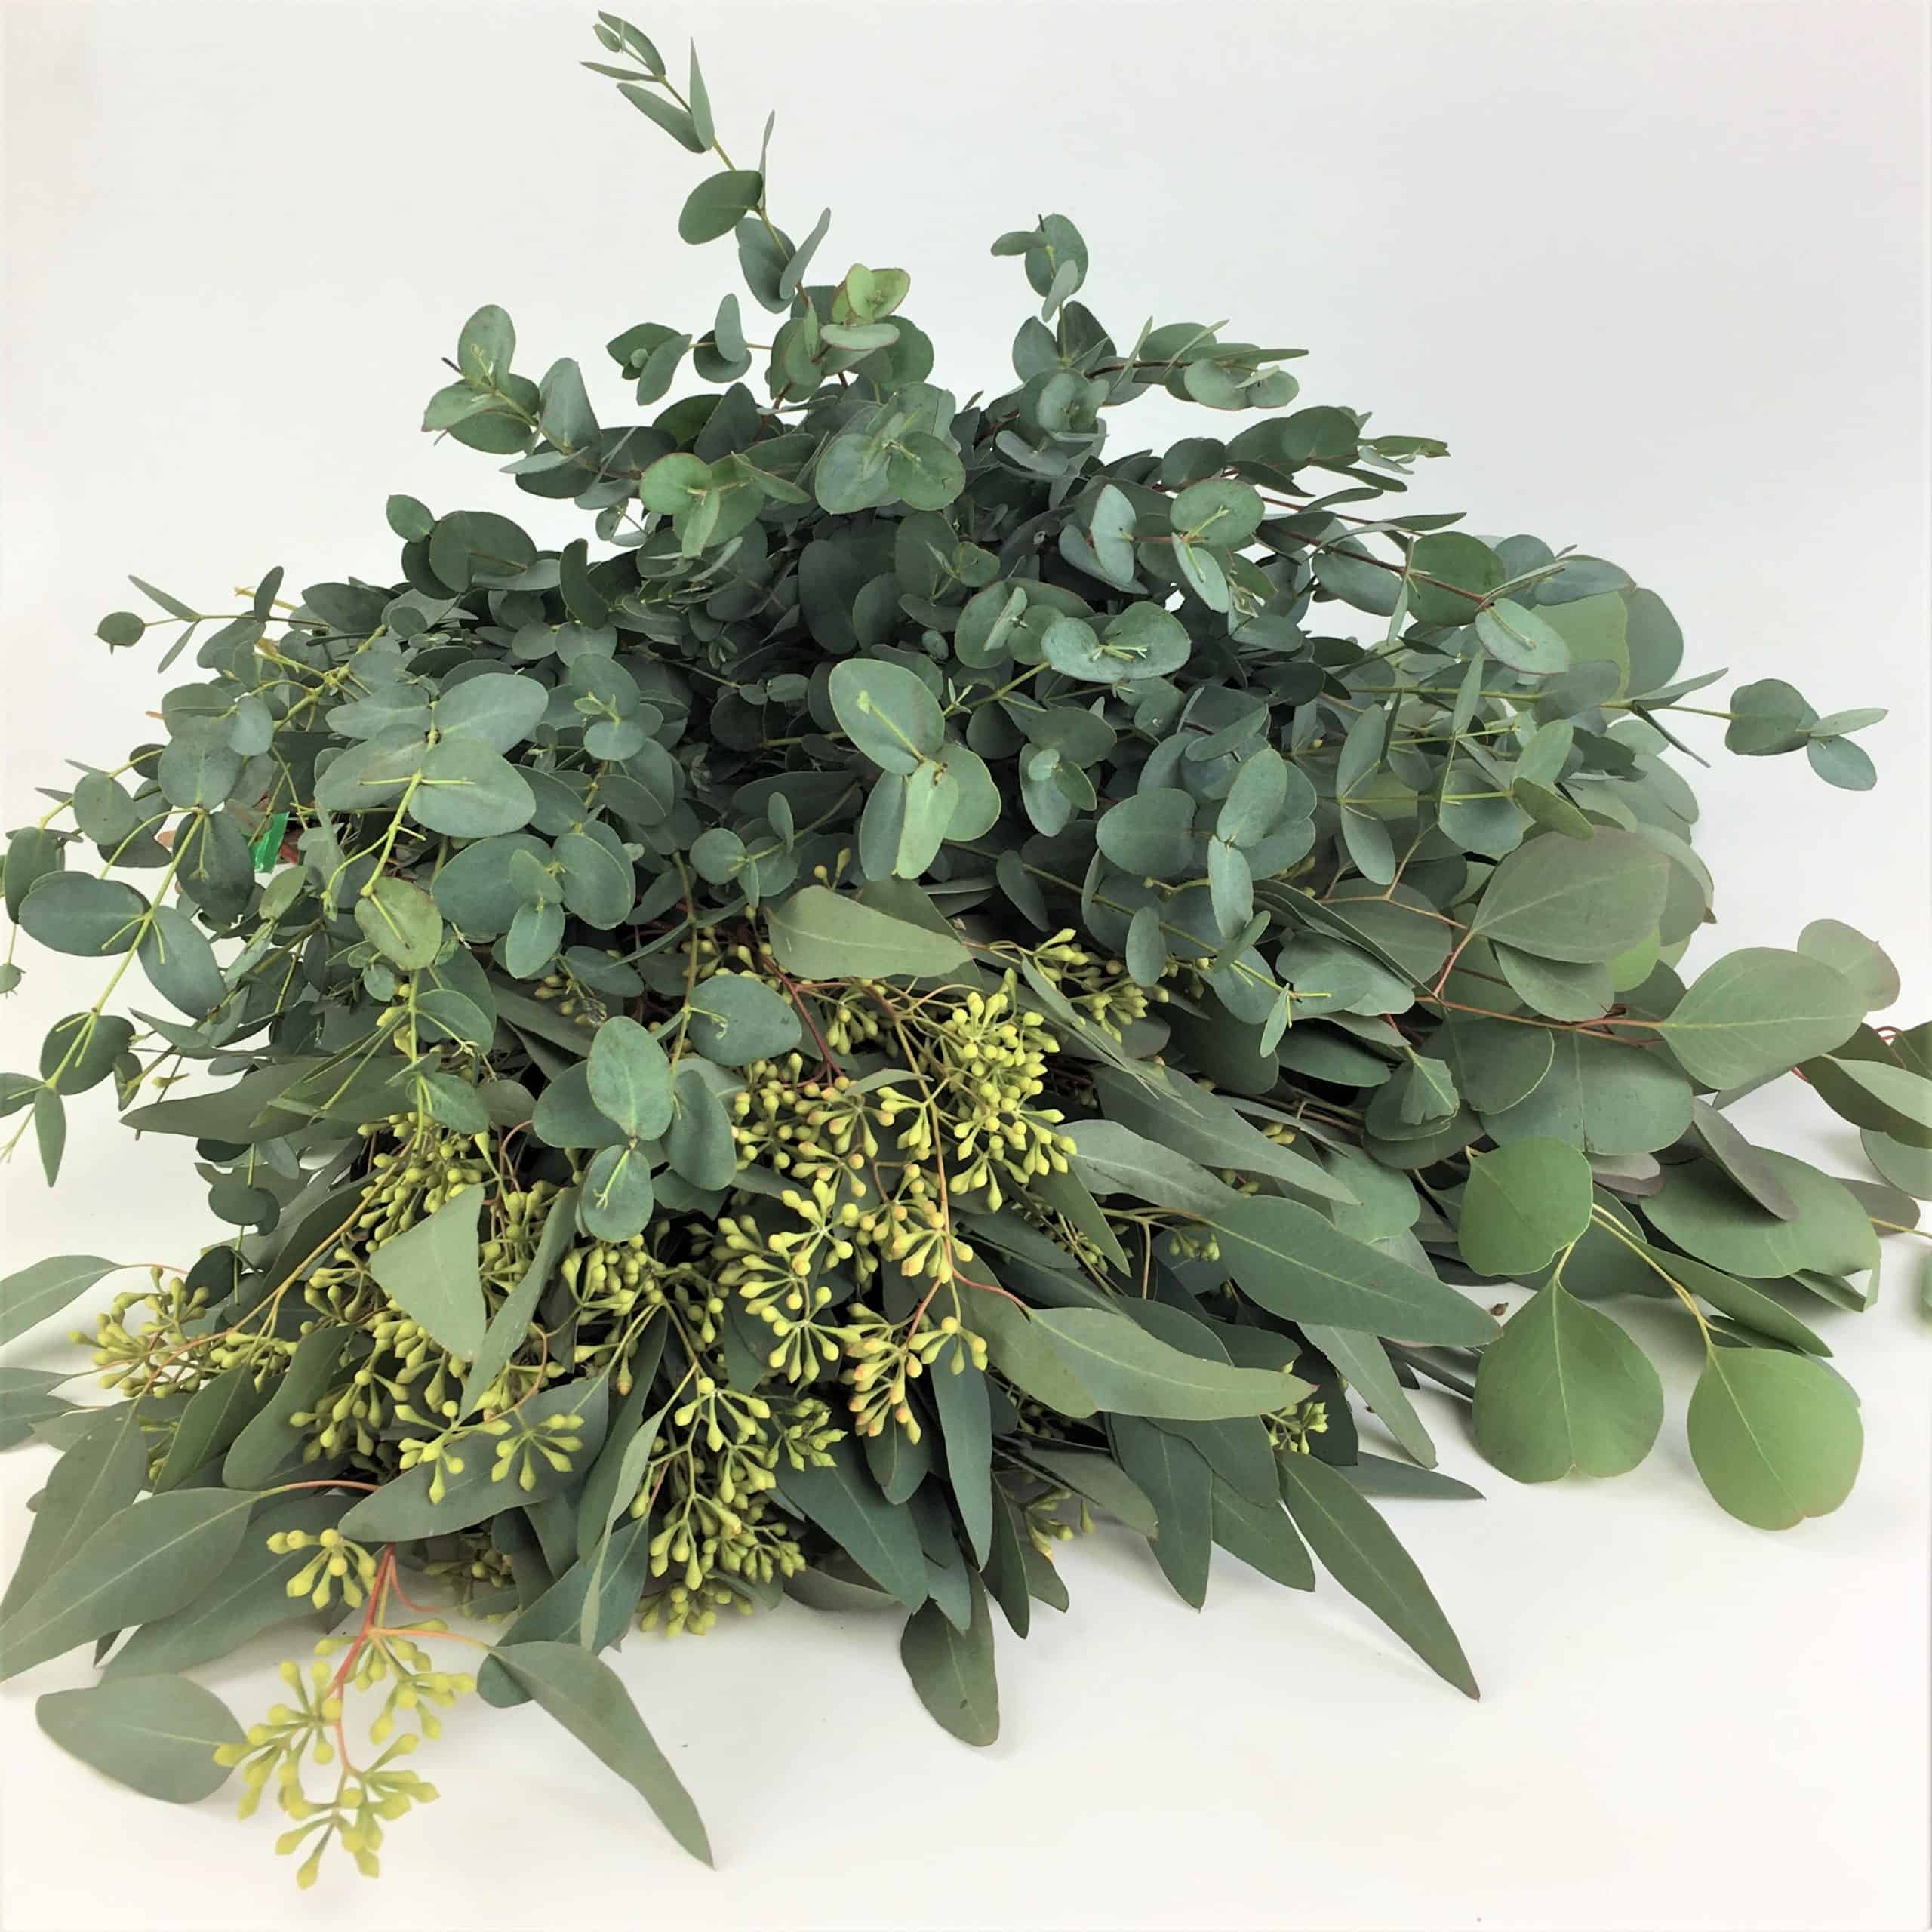
Whether you love a classic holiday look with lots of greenery or a minimalistic aesthetic, berries bring a warm and festive touch to any space, no matter your style. Collect only a few stems of winter berries to place in a tall, sleek vase for a perfect minimalist look, or brighten a bundle of eucalyptus, ruscus, magnolia foliage, myrtle, cedar, or pine with pops of festive berries.

Adorn Holiday Wreaths & Fresh Garland
Holiday wreaths for your front door or above your fireplace are usually decorated with fresh evergreens, pinecones, flocking, and ribbons of all sorts of patterns and seasonal hues. The same can be said for garlands that hang above doorways or lay across a mantel or table. Like the floral arrangements and ornate vases, winter berries are always a wonderful addition. However, you can also create wreaths and garland straight from winter berries, creating a clean, put-together, bright, and energizing wreath or string of garland for your home.

Decorate the Christmas Tree
One of our favorite holiday trends is swapping a few ornaments on your Christmas tree for holiday blooms and berries. Leaning into Mother Nature’s gifts and the fresh, crisp look, feel, and scents of the outdoors is simply magical. While meticulously adorning your Christmas tree with red and white flowers or a collection of red, white, and silver berries, the tree topper surely needs to match the rest of the tree. Gather your favorite winter berries and fasten a luxurious homemade design to the top of your Christmas tree.

Dress Your Holiday Dinner Table
The holiday season wouldn’t be complete without several family dinners and gatherings with friends and loved ones. When it comes time to set the table, wow your guests with a small but impactful detail on their place setting – a small stem of winter berries. With the range of styles, shapes, and colors of berries available, you can coordinate your dishes and linens to offer a beautiful and inviting place for your guests to sit back, relax, and enjoy a meal together.

Enhance Your Gift Packages
The final stage of holiday planning and decorating is wrapping presents. Whether you are looking to impress or make your gifts stand out among the rest for a White Elephant or Secret Santa, don’t rely on fancy wrapping paper to do the job. Instead, turn to winter berries for the perfect gift accent to make your presents look elegant and festive.

Enjoy Arts & Crafts with Your Family
Winter berries are exceptional plants that can be utilized for a wide range of arts and crafts. From decorative accents that turn homemade Christmas gifts into pieces of art to a fun sensory project for kids, berries are perfect for holiday crafting. Fasten a small sprig to a coffee mug cozy, tie some around a sweet fragrant candle, add a pop of color to cinnamon sticks for decorating gifts or table settings, or have your kids glue each tiny berry to a paper Christmas tree to mimic red, white, and green ornaments. Let your creativity and imagination run wild with winter berries this holiday season.
Flowers and greenery often steal the spotlight in arrangements and home décor almost all year round. The joy we feel during the holiday season deserves to be celebrated with something different and exciting, like winter berries. Find your favorite berries for holiday decorating and flower bouquets at Cascade Floral Wholesale.


 Sunflower Types


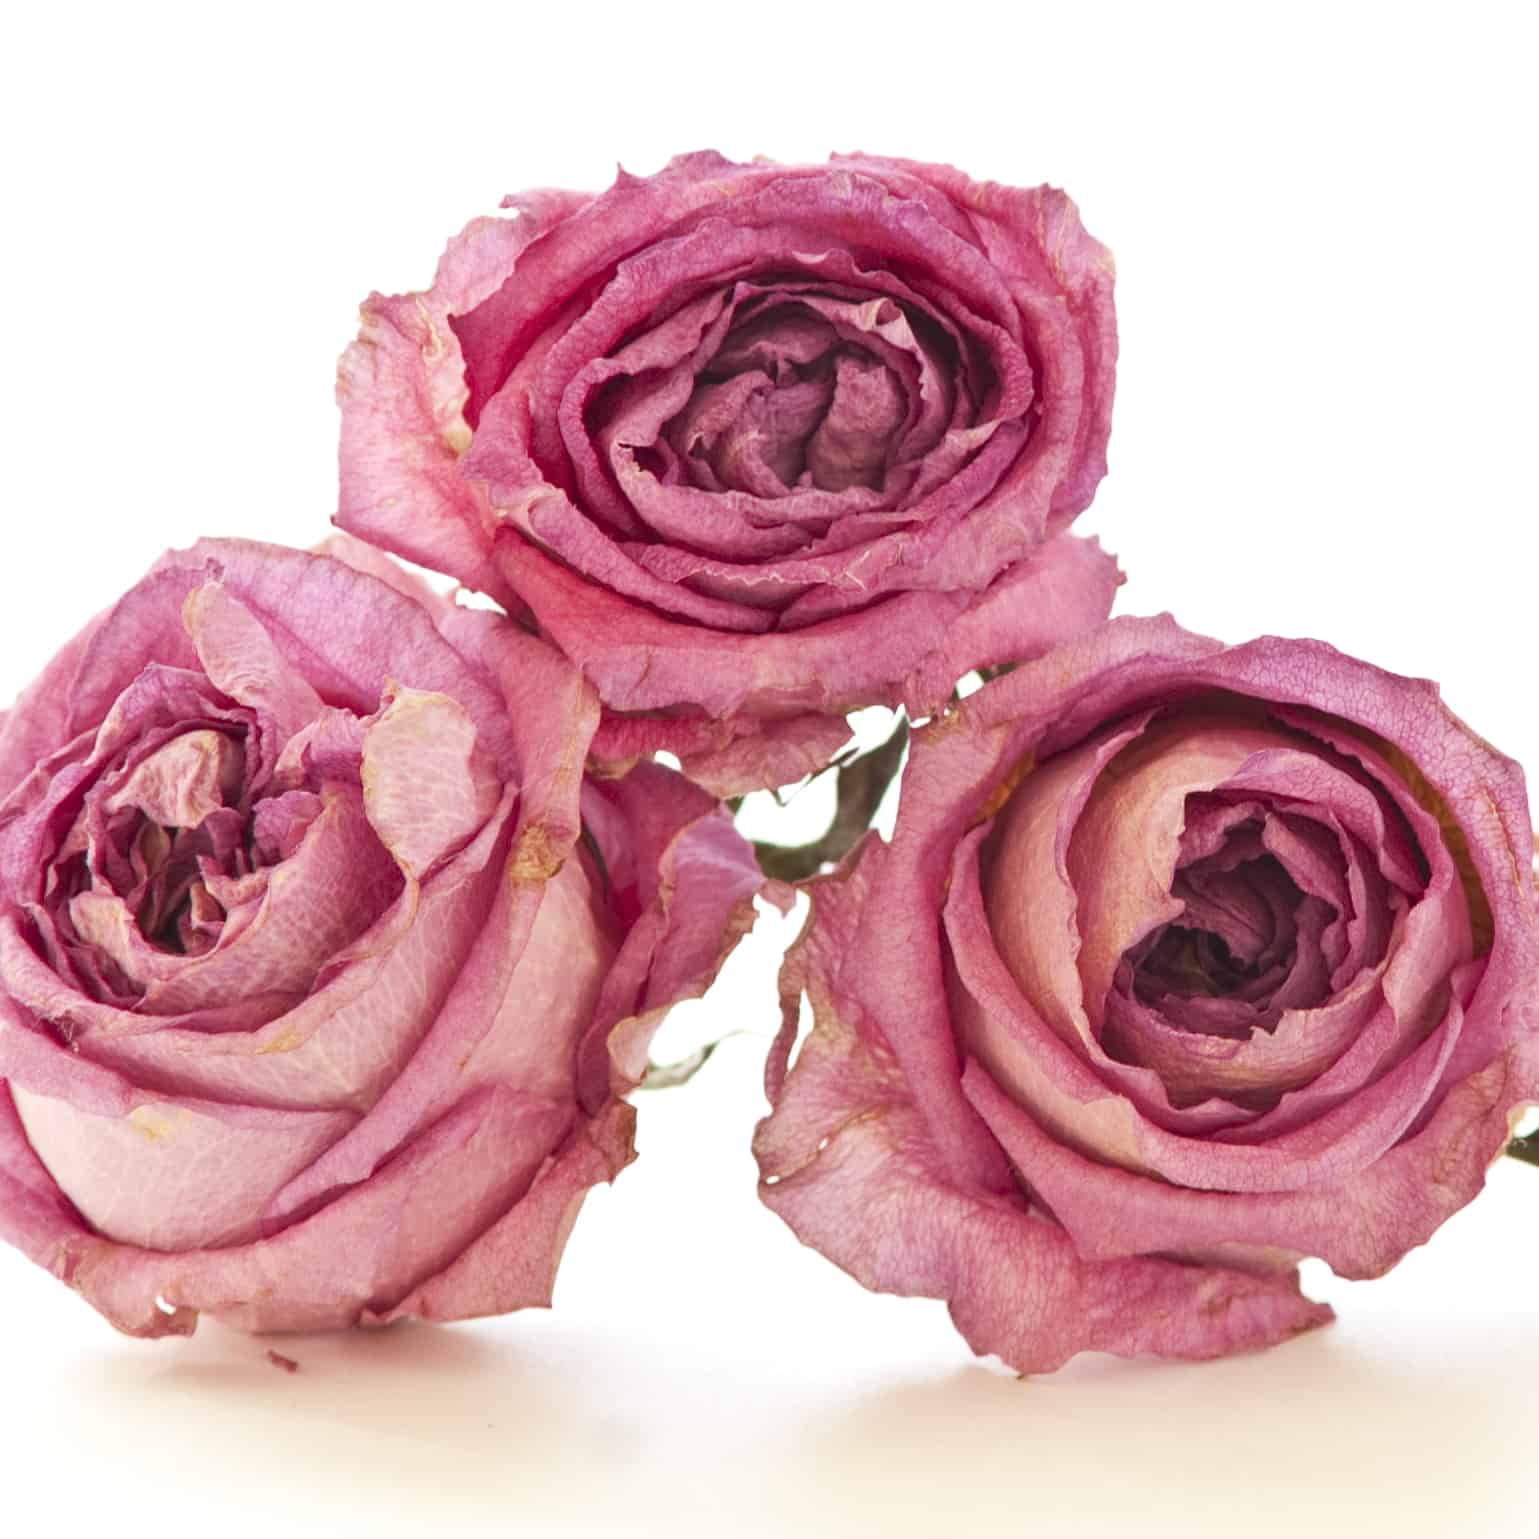
 1. Air Drying
 2. Pressing
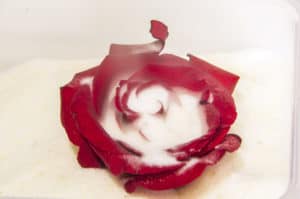 3. Silica Gel
 4. Glycerin
 5. Resin