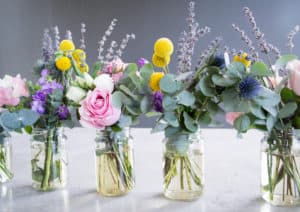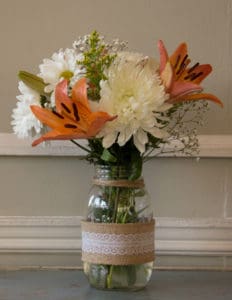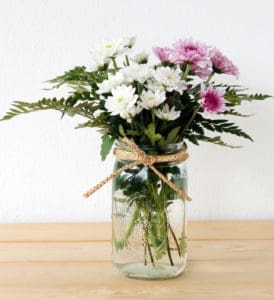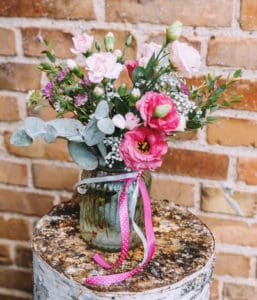
Posted on

A Joyful Guide to Holiday Decorating with Winter Berries

Winter berries

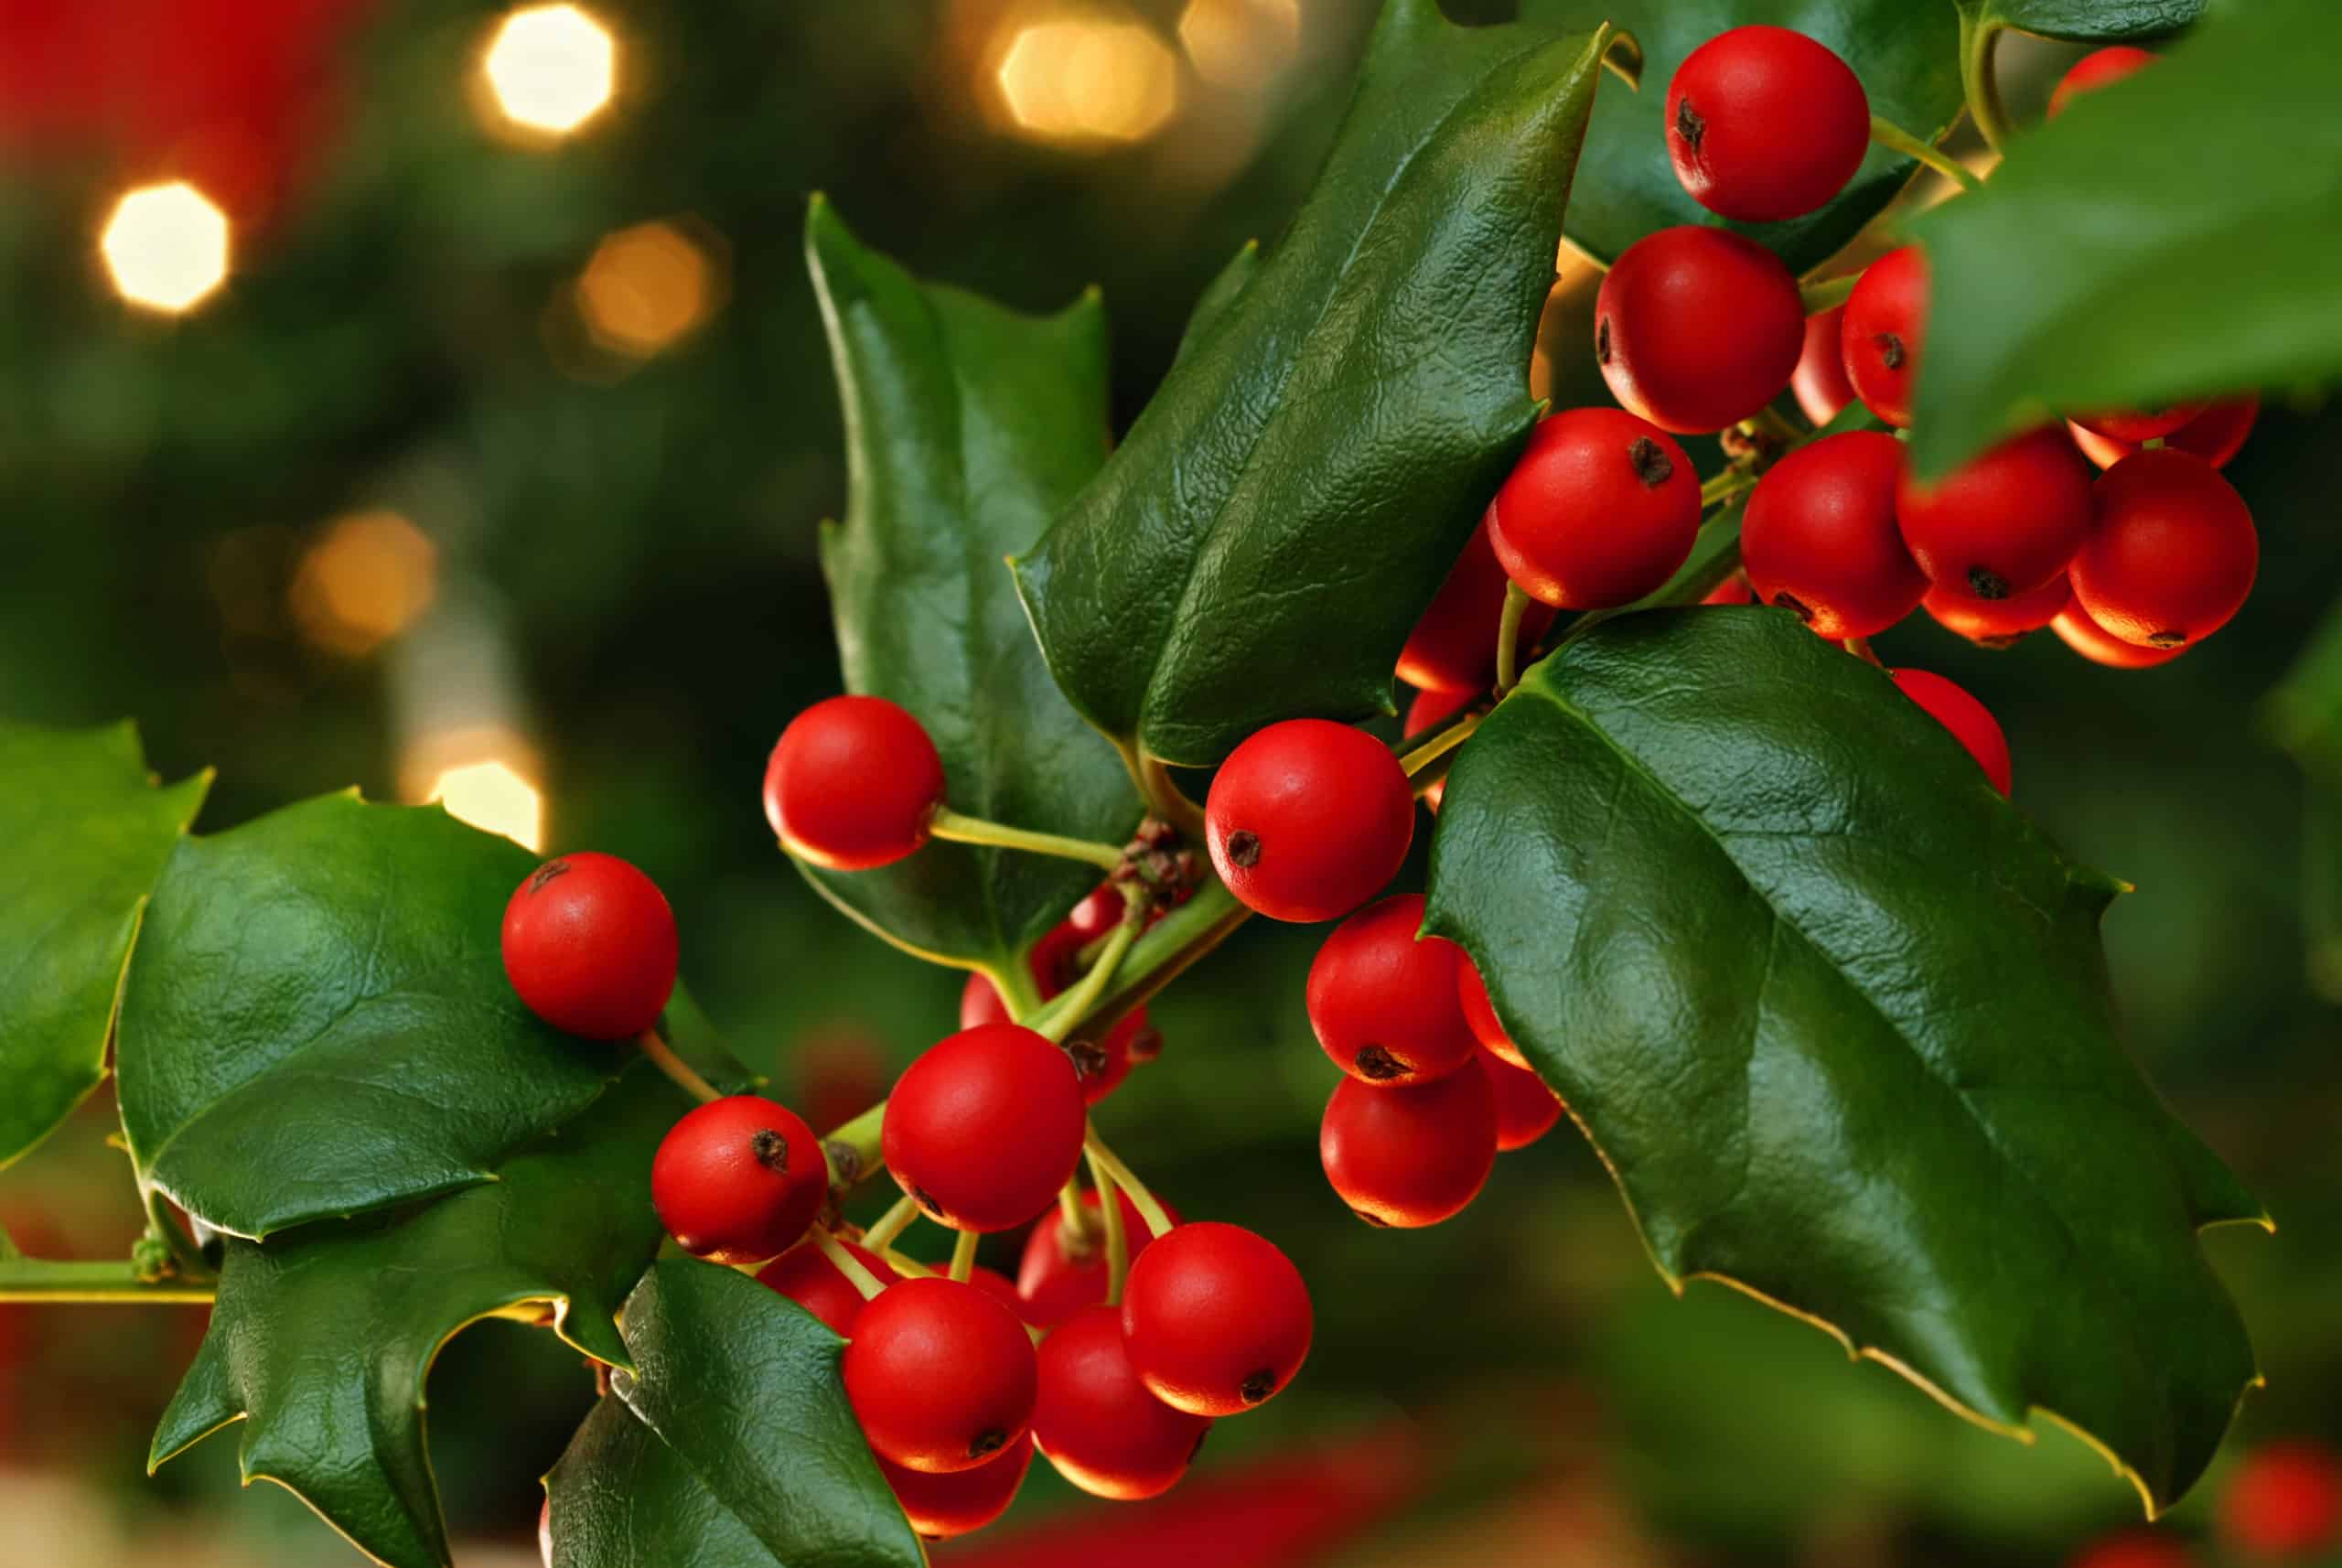
Homemade holiday decorations make your home feel a little cozier, warmer, and personal. At Cascade Floral Wholesale, creating brilliant arrangements, wreaths, garlands, and more live décor for your home or special event is what we’re all about. There is nothing more festive or versatile during the holiday season than winter berries. From American Holly and Winterberry to Hypericum and Brunia Berry, the tiny red, green, white, or silver berries add a new texture and dimension to just about anything.

Fun Ways to Decorate for the Holidays with Winter Berries
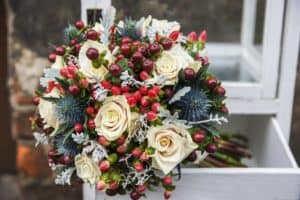
Winter floral arrangement with hypericum berries

Accent Flowers with Berries

 Holiday and winter floral arrangements bring life to our dinner tables, add a refreshing touch to our living rooms, or brighten up a loved one’s day when presented as a gift. This season, red, white, green, and silver berries are cheerful additions to seasonal flower designs, especially those made of lush greenery, crisp white blooms, and radiant red flowers. Because of their small, compact size, winter berries will entice the eye when nestled among large petals and fluffy textures.
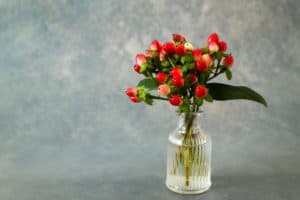
Red hypericum berries in a vase

Arrange Berries in a Stylish Vase

Whether you love a classic holiday look with lots of greenery or a minimalistic aesthetic, berries bring a warm and festive touch to any space, no matter your style. Collect only a few stems of winter berries to place in a tall, sleek vase for a perfect minimalist look, or brighten a bundle of eucalyptus, ruscus, magnolia foliage, myrtle, cedar, or pine with pops of festive berries.
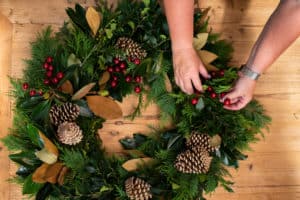
Putting winter berries in Christmas wreath

Adorn Holiday Wreaths & Fresh Garland

Holiday wreaths for your front door or above your fireplace are usually decorated with fresh evergreens, pinecones, flocking, and ribbons of all sorts of patterns and seasonal hues. The same can be said for garlands that hang above doorways or lay across a mantel or table. Like the floral arrangements and ornate vases, winter berries are always a wonderful addition. However, you can also create wreaths and garland straight from winter berries, creating a clean, put-together, bright, and energizing wreath or string of garland for your home.

Decorating the Christmas tree with winter berries

Decorate the Christmas Tree

One of our favorite holiday trends is swapping a few ornaments on your Christmas tree for holiday blooms and berries. Leaning into Mother Nature’s gifts and the fresh, crisp look, feel, and scents of the outdoors is simply magical. While meticulously adorning your Christmas tree with red and white flowers or a collection of red, white, and silver berries, the tree topper surely needs to match the rest of the tree. Gather your favorite winter berries and fasten a luxurious homemade design to the top of your Christmas tree.  
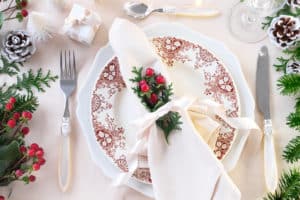
Welcoming and inviting place setting with winter berries

Dress Your Holiday Dinner Table

The holiday season wouldn’t be complete without several family dinners and gatherings with friends and loved ones. When it comes time to set the table, wow your guests with a small but impactful detail on their place setting – a small stem of winter berries. With the range of styles, shapes, and colors of berries available, you can coordinate your dishes and linens to offer a beautiful and inviting place for your guests to sit back, relax, and enjoy a meal together.

Tying hypericum berries to Christmas gifts

 Enhance Your Gift Packages

 The final stage of holiday planning and decorating is wrapping presents. Whether you are looking to impress or make your gifts stand out among the rest for a White Elephant or Secret Santa, don’t rely on fancy wrapping paper to do the job. Instead, turn to winter berries for the perfect gift accent to make your presents look elegant and festive.  
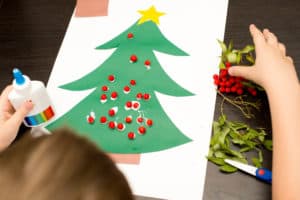
Kids crafts with winter berries

Enjoy Arts & Crafts with Your Family

 Winter berries are exceptional plants that can be utilized for a wide range of arts and crafts. From decorative accents that turn homemade Christmas gifts into pieces of art to a fun sensory project for kids, berries are perfect for holiday crafting. Fasten a small sprig to a coffee mug cozy, tie some around a sweet fragrant candle, add a pop of color to cinnamon sticks for decorating gifts or table settings, or have your kids glue each tiny berry to a paper Christmas tree to mimic red, white, and green ornaments. Let your creativity and imagination run wild with winter berries this holiday season.  

Flowers and greenery often steal the spotlight in arrangements and home décor almost all year round. The joy we feel during the holiday season deserves to be celebrated with something different and exciting, like winter berries. Find your favorite berries for holiday decorating and flower bouquets at Cascade Floral Wholesale.

Posted on

DIY Pumpkin Flower Arrangement for Thanksgiving

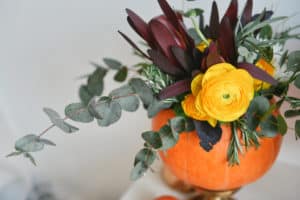
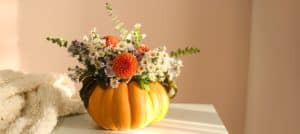
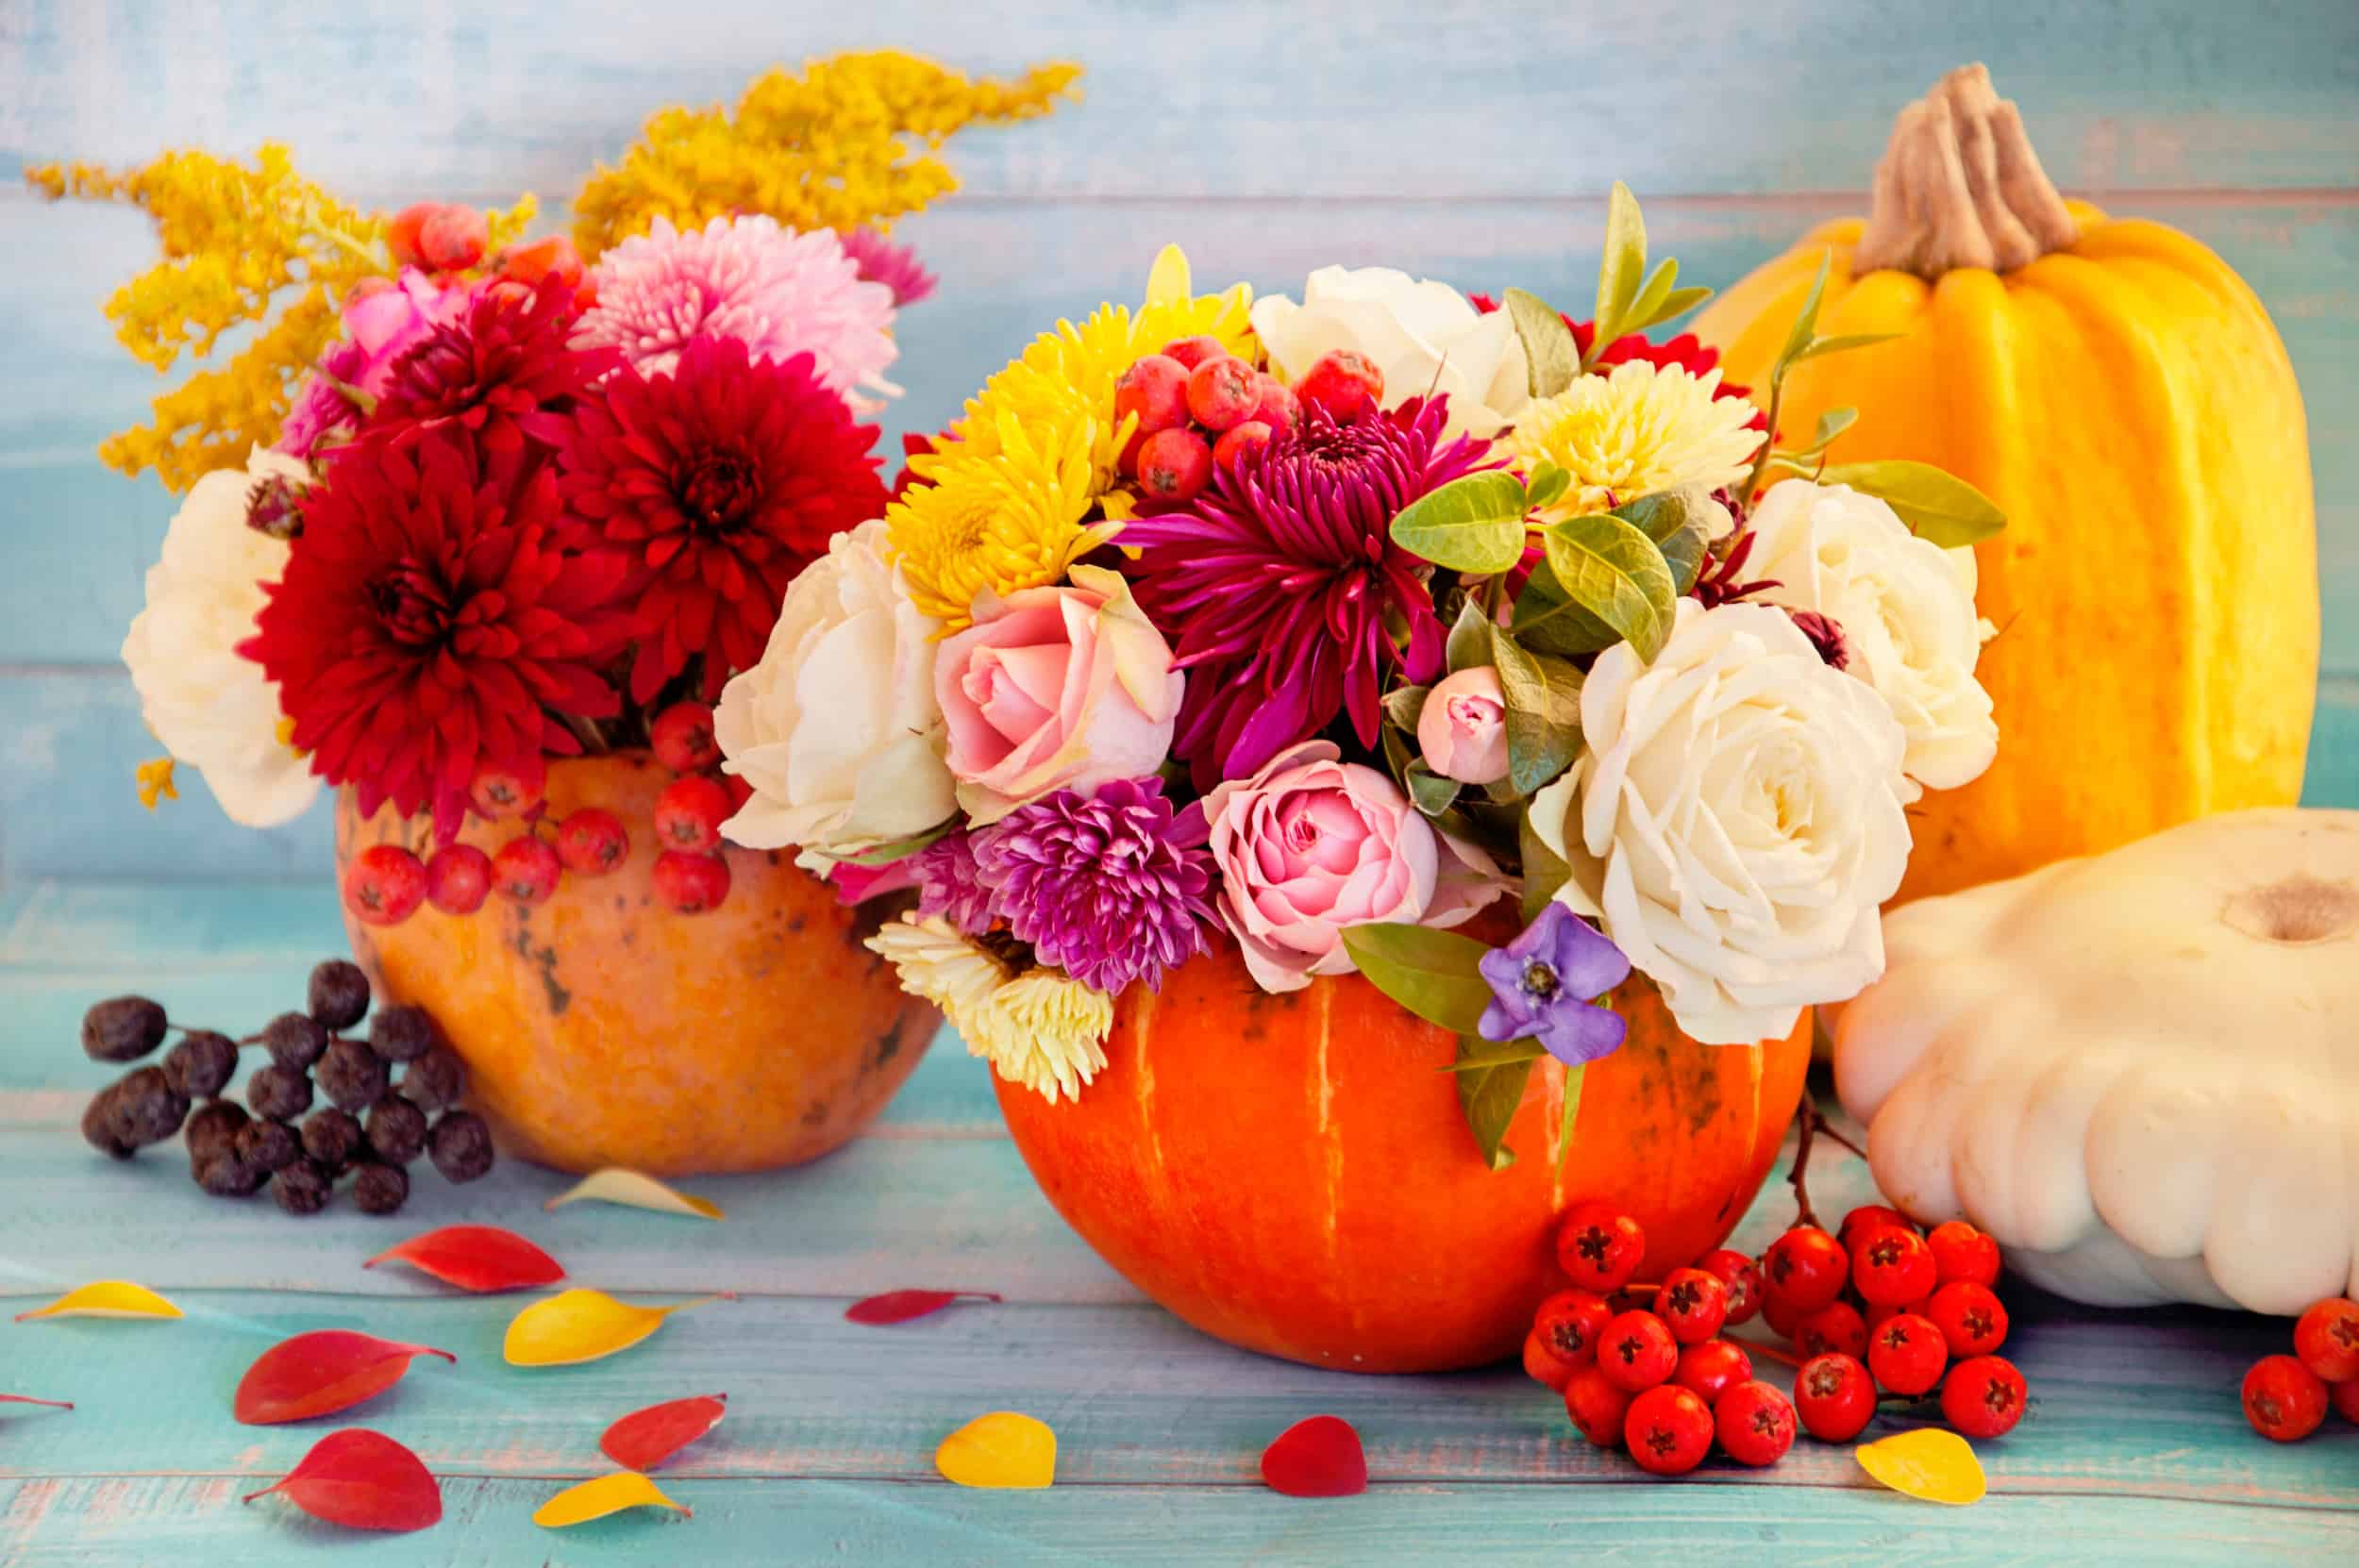
Flowers in a pumpkin. Bright autumn background. Colorful autumn card. Pumpkin with fresh flowers. Autumn flower arrangement. Autumn bouquet.

Bring the beauty of fall into your home with a charming and easy-to-make pumpkin floral arrangement. It’s a simple and festive way to decorate your home with fall’s beauty. A warm and welcoming floral bouquet of the season’s gorgeous rich color palette is a great way to celebrate autumn, spruce up your home, and add simple elegance to your Thanksgiving table. 
autumn floral bouquet in a pumpkin vase for Halloween. Table setting for wedding

How to Make a Pretty Pumpkin Floral Arrangement

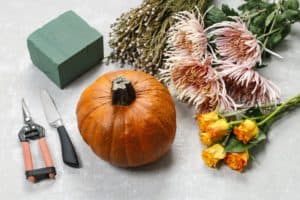
How to make a Thanksgiving centerpiece - step by step: flowers and accessories.

Tools you’ll need: 

  • Small to medium-sized pumpkin (select one with a level bottom, so the pumpkin doesn’t lean to the side)
  • Pumpkin carving knife or a regular sharp knife
  • Flower clippers or sharp scissors
  • Narrow vessel (tall shot glass or skinny vase) to place inside the pumpkin
  • Gorgeous fresh seasonal blooms of different sizes, colors, and textures 

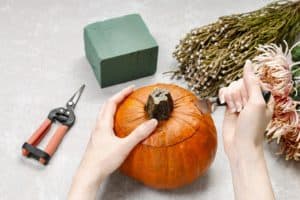
How to make a Thanksgiving centerpiece: bouquet of flowers in pumpkin.

How to make the flower bouquet

  1. Carve a hole in the top of the pumpkin large enough for the glass vase (or vessel holding the flowers) to fit inside. 
  2. Scoop out all the seeds and save them for later (to roast for a snack, add to salads or smoothies, or dry them and let the squirrels, deer, and birds enjoy them).
  3. Fill the vase with ½ to ¾ of water and place it inside the pumpkin. You do not want water to sit directly within the pumpkin itself – it will get messy quickly. You can also place a water-saturated piece of floral foam into the bottom of the vase instead of water.
  4. Once the vessel is in, you can begin designing your bouquet. Start with filling in the greenery first. Seeded eucalyptus or silver eucalyptus are great options for starting with. Fall leaves and branches are also excellent design choices.

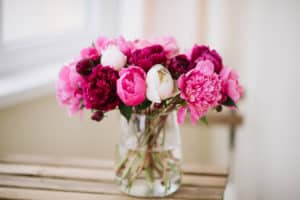
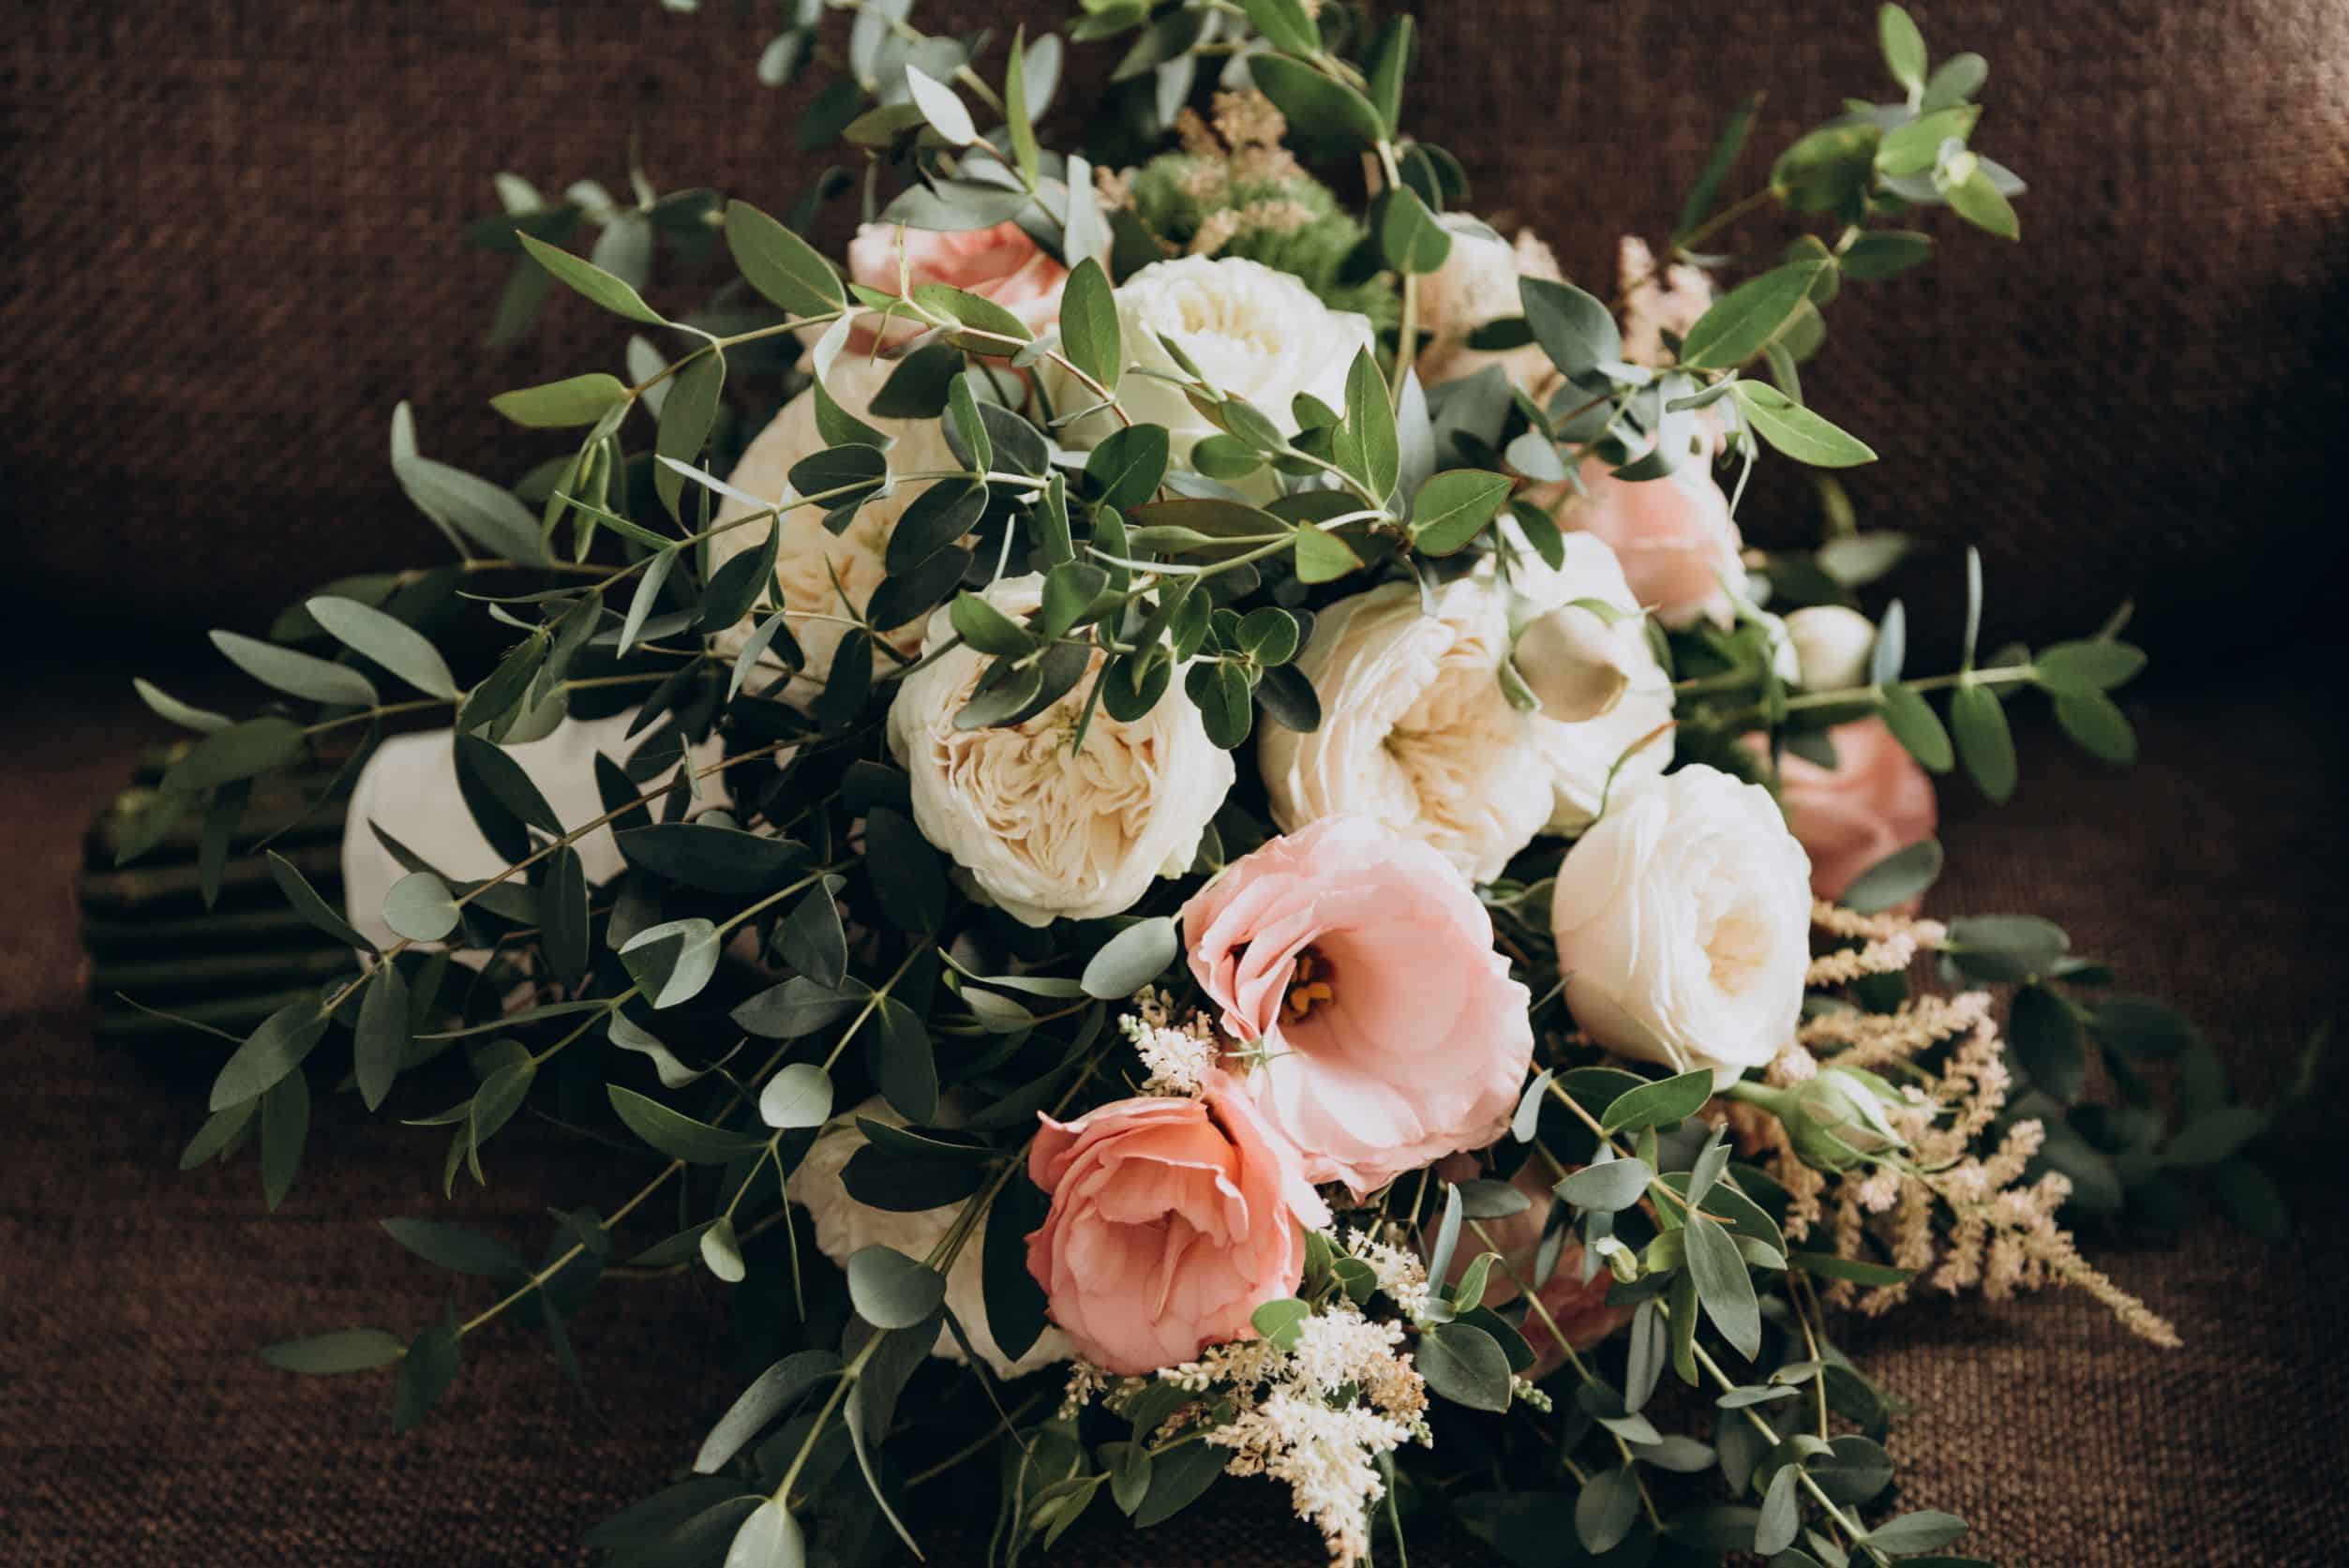
Beautiful bouquet of flowers: white, pink and burgundy peonies

           You can also create the flower arrangement in the vessel before you put it into the pumpkin if you prefer.

          5. Add sturdy flowers, followed by berries or other filler florals to fill in the spaces and complete the look. Since this is a centerpiece, you’ll want the arrangement to be viewable from all sides. Turn the pumpkin as you work to ensure it’s balanced and full all around. 


Tips for success: 

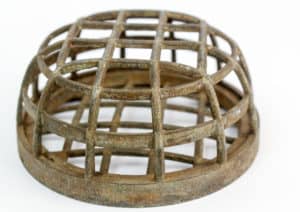
  • Use a flower frog to secure stems and assist in creating a rounded and balanced arrangement. A flower frog is an object made of metal, wood, ceramic, or plastic with evenly spaced holes for placing flowers into. 

Vintage metal flower cage used for arrangements

  • Place the vessel you’ve selected to go inside the pumpkin on top and trace around it with a sharp knife. Then using the tracing as a guide, cut deeper and carve out the pumpkin meat to create a hollow center so that that vessel will fit in snugly.
  • Use a spoon to scoop out the pulp – it works great at hollowing out pumpkins.
  • If using floral foam, leave it in water until it stops releasing bubbles. This is how you know it’s completely saturated. Don’t force or push the foam under the water; let it sink naturally. 
  • If you don’t have a flower frog, no need to go out and buy one – just use floral tape (or any thin tape) to create a grid over the opening of the vessel.
  • Make sure to cut the stems of your flowers at a 45-degree angle before placing them in water or floral foam. Place the longest stems in the center at different angles to create a domed look.
  • Make a trio of pumpkin bouquets with different-sized pumpkins for a more festive fall-inspired look. 
  • Use white pumpkins to elevate the design and give contrast to the richly-colored fall florals.
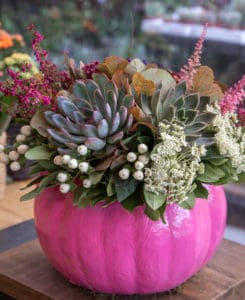
  • Paint the pumpkin a fun color or add succulents instead of flowers for a fun, chick look. 
  • Don’t fuss too much about the design. Looking carefree and fuss-free is the goal of the arrangement and what makes it charming. 

Decorated pink pumpkin with succulents, flowers and leaves at the greek garden shop in October. Vertical.

Non-carving method: 

Choose a level pumpkin of any color and place a block of water-saturated floral foam on top, pushing down onto the stem until it’s secure. Start building your arrangement laying a base of greenery to cover the foam. Build arrangement and fill in any areas showing the foam, so it’s fairly well concealed. 

Beautiful autumn bouquet in pumpkin on table

Posted on

DIY Floral Arrangements for Your Wedding

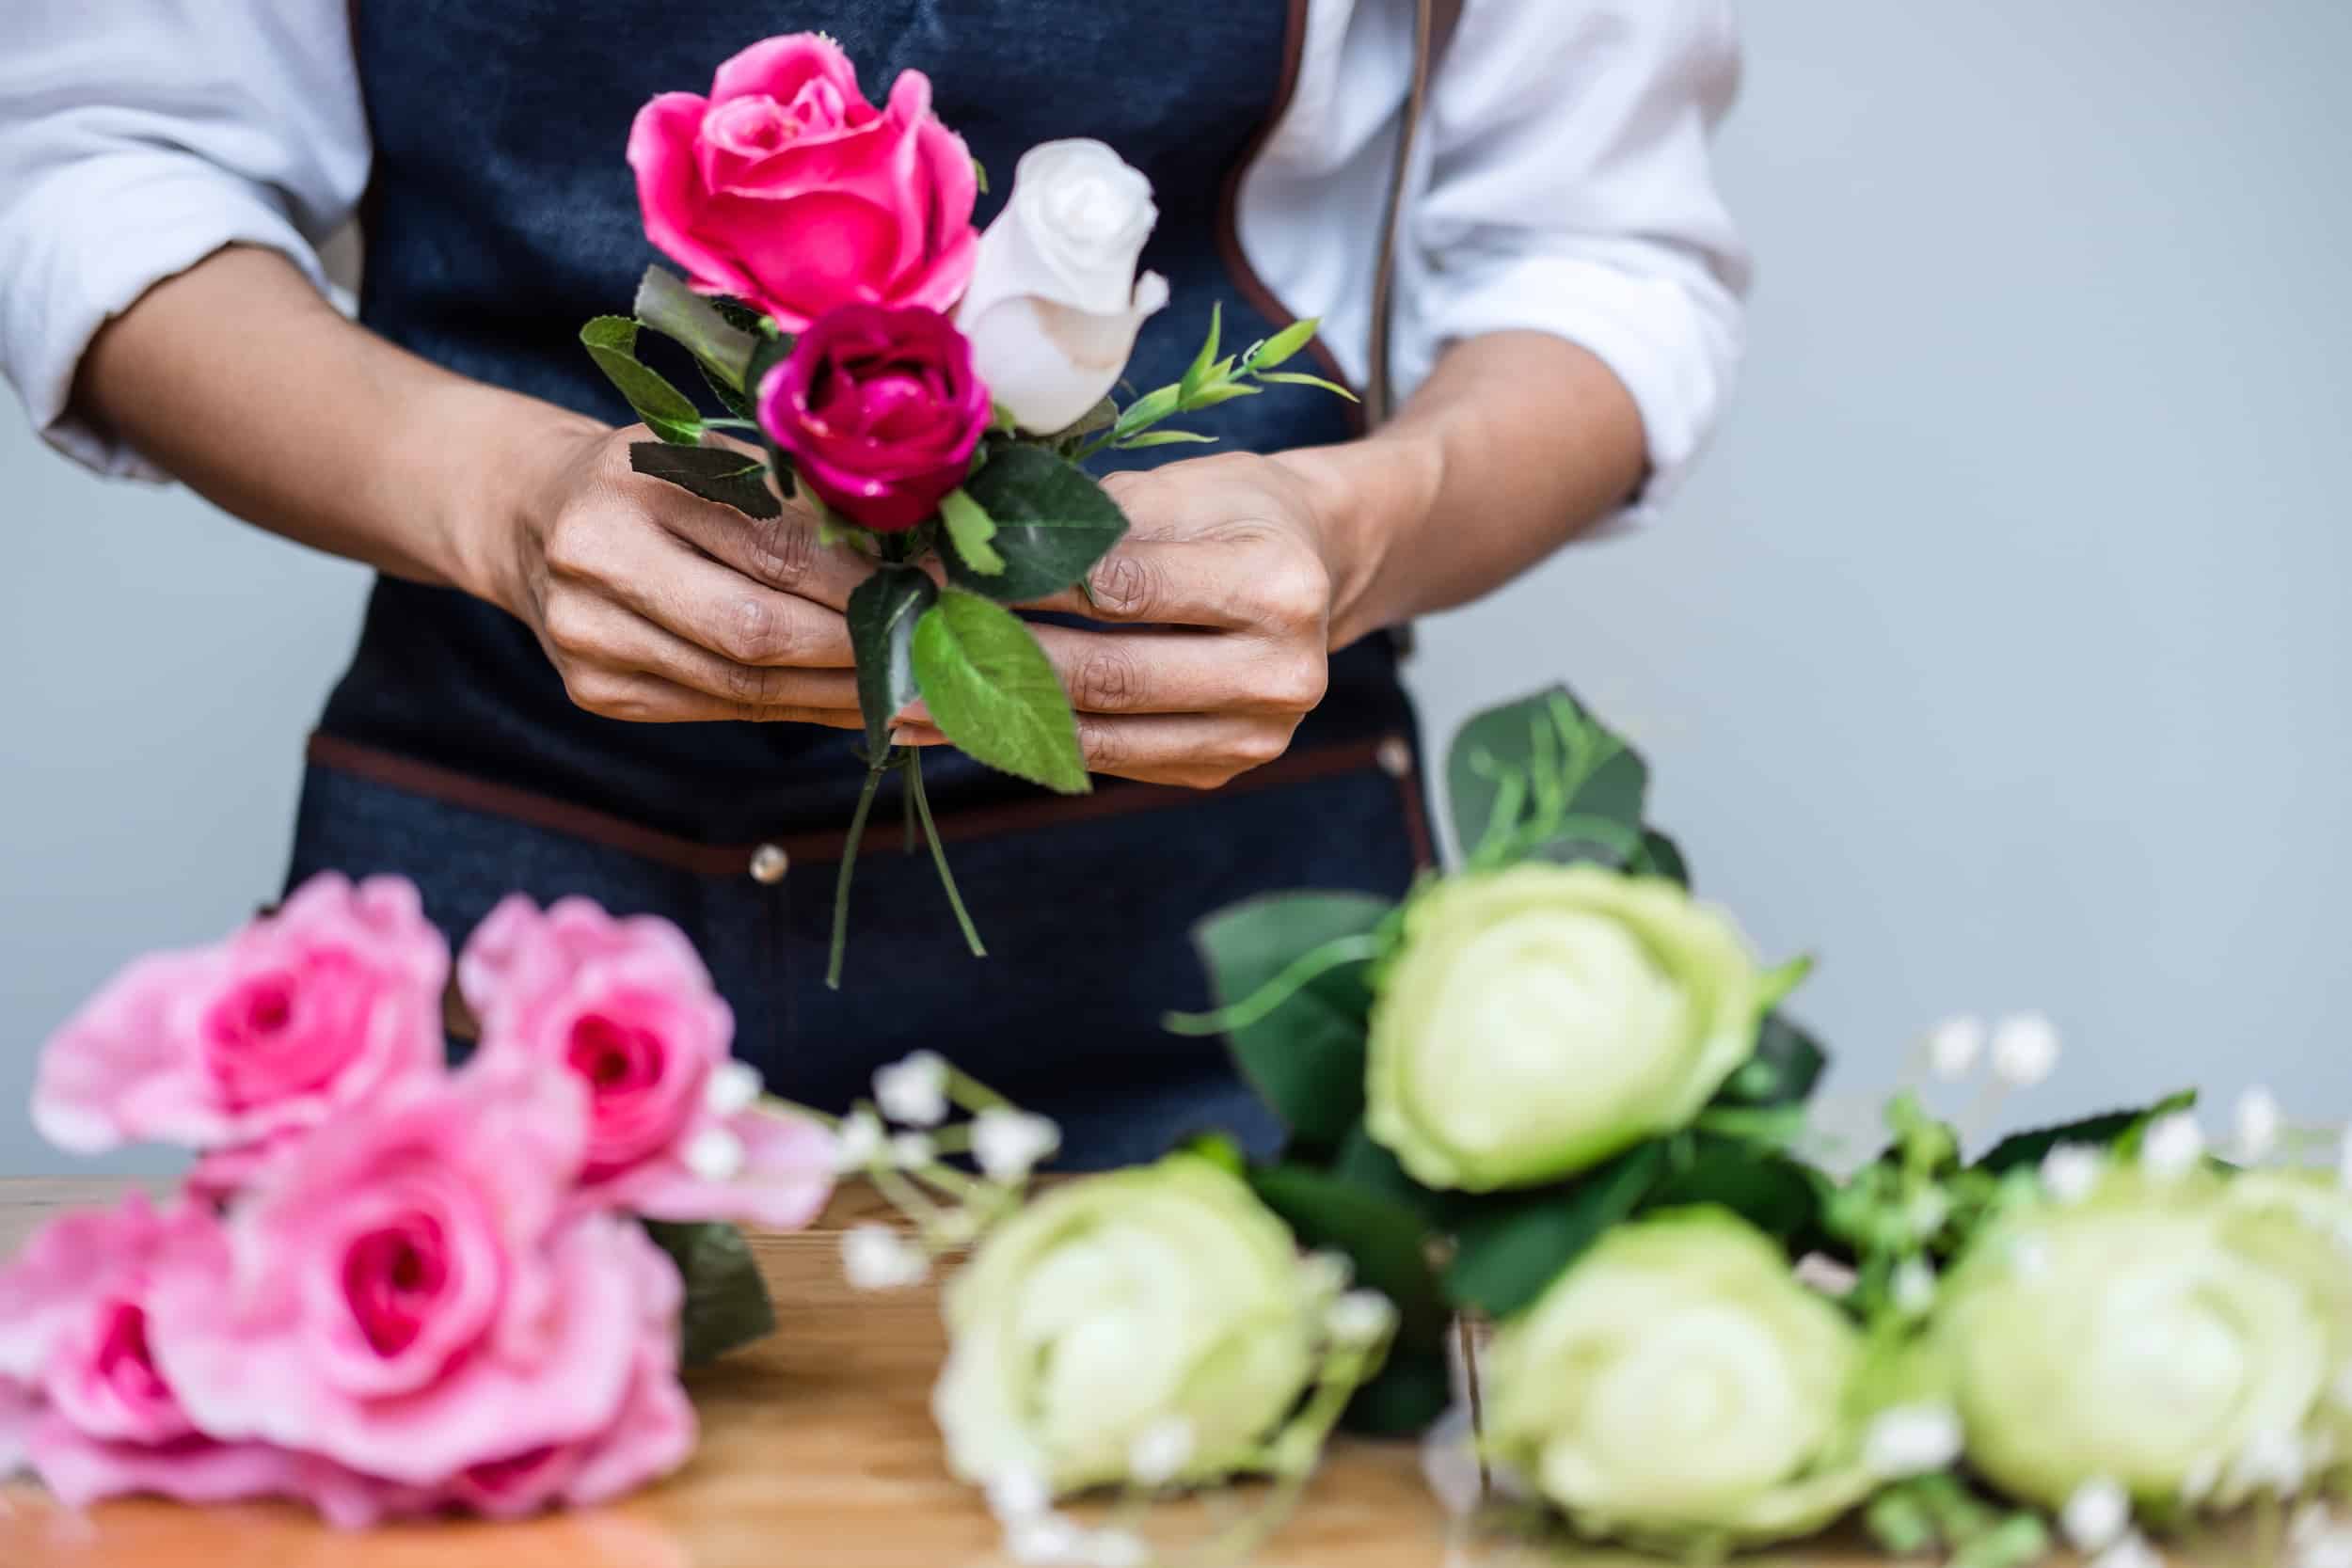
Arranging artificial flowers vest decoration at home, Young woman florist work making organizing diy artificial flower, craft and hand made concept.

With the availability of quality wholesale flowers from Cascade, having fresh blooms for creating DIY wedding flowers is a dream come true for budget-friendly and cost-conscious brides. Doing it by yourself can be overwhelming, which is why we are providing you with essential tips for DIY wedding flowers.

Modern table's centerpiece for summer wedding. A lot of greenery being composed into stunning arrangement. Step by step, tutorial.

6 Tips for DIY Wedding Floral Arrangements

Choosing Your Flowers

  1. While modern shipping allows for access to almost any flower at any time of year, it is easier and more cost-effective to choose flowers that are in season. Seasonal flowers will be more readily available, affordable,  and replaced easier if anything should occur to your bouquets right before the wedding. Fresh, seasonal blooms T also stay healthier for a longer period of time, looking more beautiful and appealing during the wedding.
  2. It is also important to understand the limitations of the flowers you choose. Some blooms may wilt quicker than others, and other blooms may need more water or sunlight than others. By understanding what each flower needs, you can care for them properly to keep them bright and blooming. Having this knowledge can help you select hardy flower varieties that will maintain the look you want.
  3. Our final tip for deciding which blooms to choose is to keep it to only a few varieties. All of your arrangements can be created with just three flowers –  a primary bloom, a secondary bloom that complements it, and a tertiary bloom that helps fill out the bouquet. These three flowers can be used across all of your arrangements, changing their positions and filling them in with greenery to create different variations.  

Florist at work. Woman making bouquet of pink roses

Preparing for Assembly

  1. Assembling bouquets, boutonnieres, and centerpieces requires more tools than just flowers and vases. Making sure you have all the required tools and materials when the flowers arrive is crucial. To hold flowers in place and arrange them, floral tape, floral wire, floral foam, and twine are helpful to have on hand. For decorations and embellishments to make your flowers pop,  use ribbons, lace, or twine. To keep the flowers fresh, have a spray bottle of water nearby so you can periodically mist your floral arrangements.
  2. It r helps to make a plan for your fresh flowers ahead of time, so you know how many you will need for your wedding. Count the number of bouquets, centerpieces, and boutonnieres you plan to have and then how many flowers will be in each one. This will help you determine the number of individual flowers and greenery you will need so you aren’t left with too many or too few.
  3. Making a gorgeous wedding bouquet and centerpieces is not as easy as many think and often takes time and practice. Online tutorials are a great place for tips and advice on how to best prepare your flowers. Pick a tutorial that shows an arrangement like the ones you want to use and practice with your tools before getting started. It is important to remember that complex or time-consuming arrangements can lead to anxiety or frustration and simple arrangements often look just as beautiful and a lot easier to prepare.

Florist at work: How to make modern table's centerpiece for summer wedding. A lot of greenery being composed into stunning arrangement. Step by step, tutorial.

Cascade floral offers all the flowers you need for DIY arrangements that best fit your budget. Check out our selection today or contact us directly so we can help you make your wedding day special and memorable. 

Posted on

How to Create Stunning Floral Arrangements with Zinnias

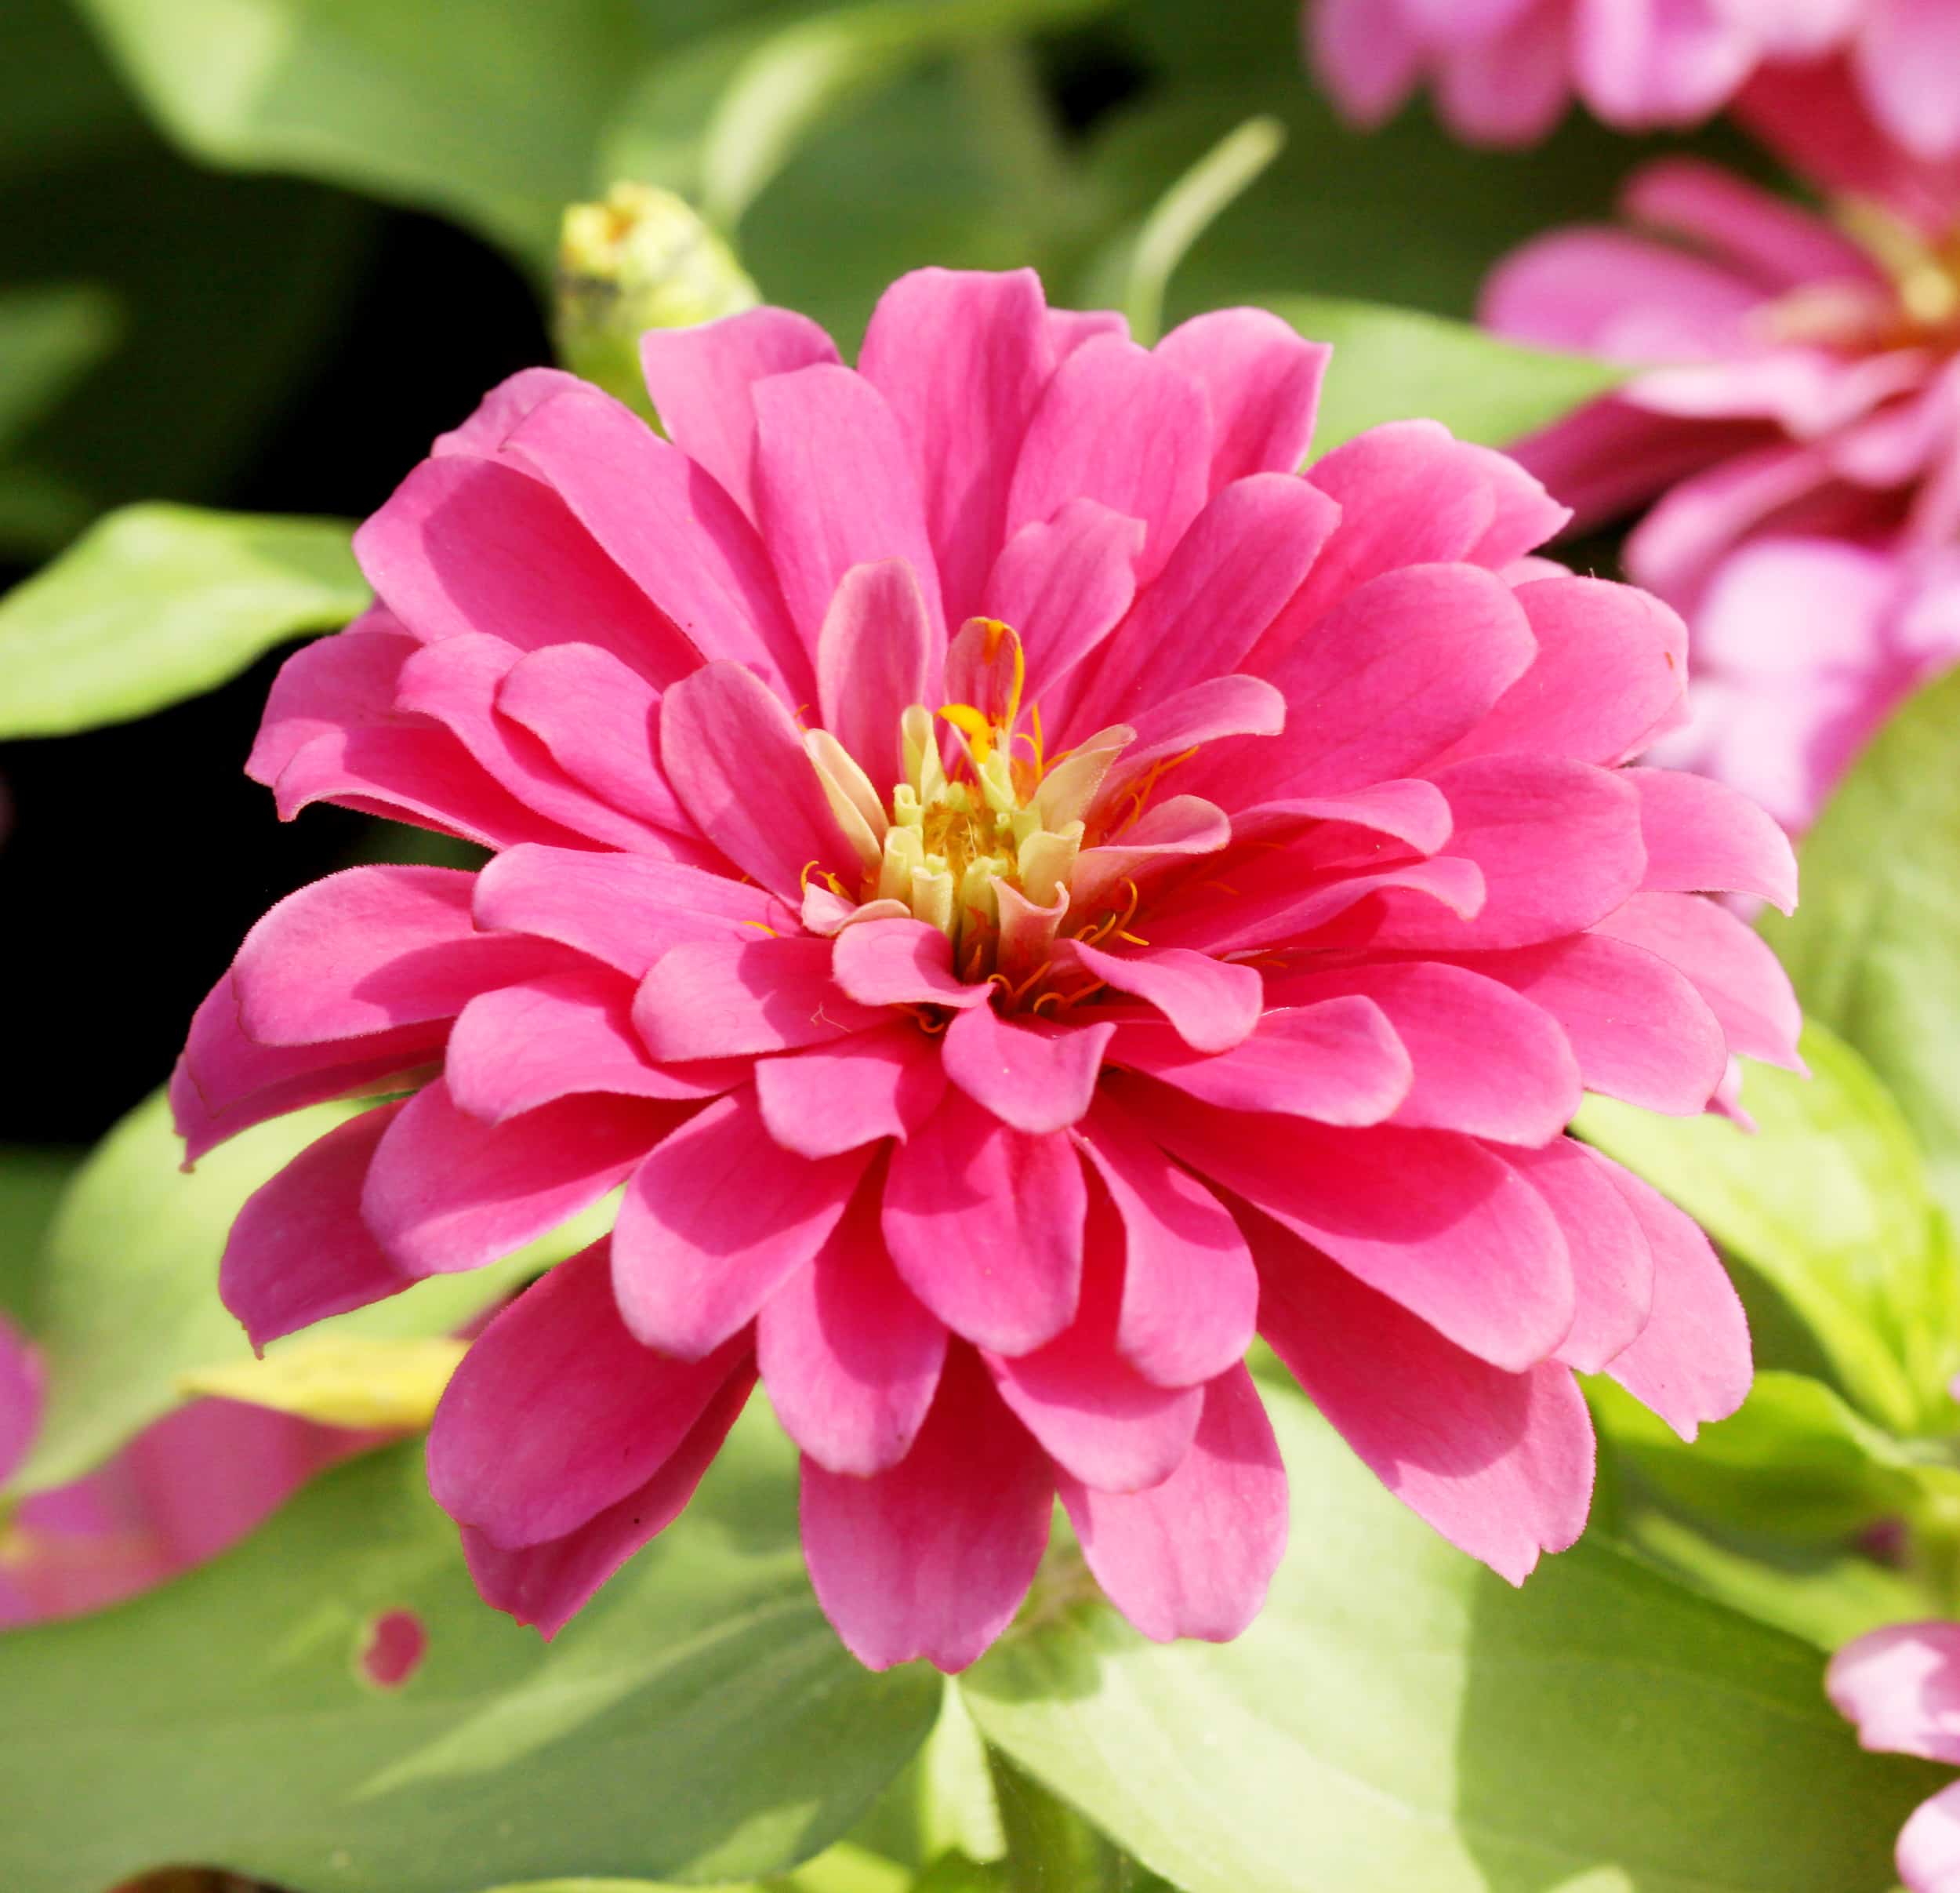
up close of pink Zinnia

Zinnias are loved by both florists and gardeners for their attractive, full shape and colorful varieties. They are easy to grow and care for and look amazing in arrangements with other florals or on their own. Because the zinnia is a hardy bloom and easy to grow, it is often used as a filler flower and considered more of a ‘basic” flower. Here at Cascade Wholesale Flowers, we think zinnias are spectacular with some truly gorgeous varieties, such as Zinnia Oaklahoma, Purple Prince, Peppermint, and Cactus-Flowered Zinnias. 

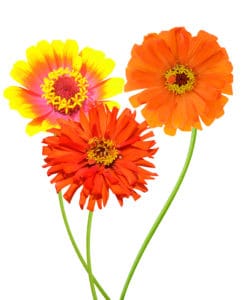
A summer zinnia flower branches isolated on white background

Zinnias are a genus of the sunflower plant in the daisy family, and there are 22 recognized types of zinnias, with zinnia elegans being the most popular. Native to Mexico and Central America, zinnias are named after German botanist Johann Gottfried Zinn, who discovered these colorful blooms and imported them into Europe. 

Pink yellow and red zinnias


Different types of zinnias vary in appearance and size and have either single- or double-formed petals. The zinnia elegans variety most closely resembles the dahlia due to its numerous, doubled-rolled petals. In fact, zinnias are often used as a substitute bloom for the dahlia. 

To bring out the beauty and brightness of the lovely zinnia, use the below floral arranging tips to make this underrated bloom shine! 

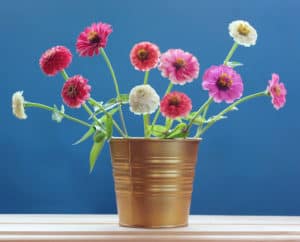
Bouquet of zinnia on the table on a blue background. Flowers in a vase. Copy space.

Leaves the stems long

Unless you are creating a traditional mound-shape arrangement, leave the zinnia stems long to allow for interesting shapes, forms, and dimensions within the design. Plus, there’s just something about longer stems that make them appear more elegant yet more naturally wild at the same time. 

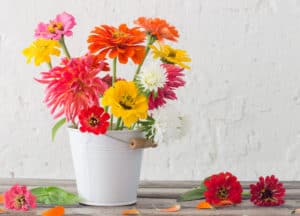
zinnia flowers in bucket on white background

Remove all the leaves from the stem

To highlight the interesting shape, line, and elongated form of the stem, it must be clean and free of all foliage. Removing all the leaves accomplishes this as well as enhances its linear quality. The natural curve of the stem does a great job of adding motion, action, and a dynamic quality to the design. 

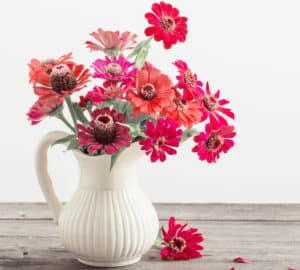
Bouquet of zinnia flowers

Leave open spaces

Your instinct may be to group zinnias close together to create a voluminous mound of colorful petals, but leaving ample space in between individual stems produces the appearance of depth and openness while allowing the flowers to “breathe.”  An open arrangement such as this also allows the eye to fall upon each bloom, taking in its individual beauty rather than competing with an overabundance of petals. 

Flower bouquet in vase in a garden setting

Pair zinnias with skinny filler flowers and greenery

Most zinnia varietals have broad, smooth petals that are layered upon each other to create a full, ruffled look. To highlight this characteristic, avoid placing similarly wide-petaled blooms, such as hydrangea, roses, and daisies, next to zinnias, or the design might start to look overly poofy and monotonous. Instead, use finely-textured filler flowers and greenery such as celosia, globe thistle, feather eucalyptus, bear grass, Queen Anne’s lace, or baby’s breath. The contrast between the thin and the wide, the light and the heavy, and the flat texture with non-flat is what will make your design exciting and full of interesting energy.

Multi-colored zinnia flowers close-up on wooden table

Use double-flowering zinnias

Voluminous, globe-shaped, double-form blooms like Oklahomas, Queens, and Zinderellas are the best types of zinnias to use as they are gorgeous, lush, and eye-catching. These large, spherical blooms are perfect focal flowers, while single-petal varieties work well as secondary flowers in an arrangement. 

Close up of zinnia flowers in vase

Using the above design tips is a great way to start experimenting with creating striking designs with the unique shape, texture, and colors of zinnias. You just might find this under-the-radar-bloom is your new favorite flower to work with!

Posted on

How To Create Beautiful Mason Jar Floral Arrangements

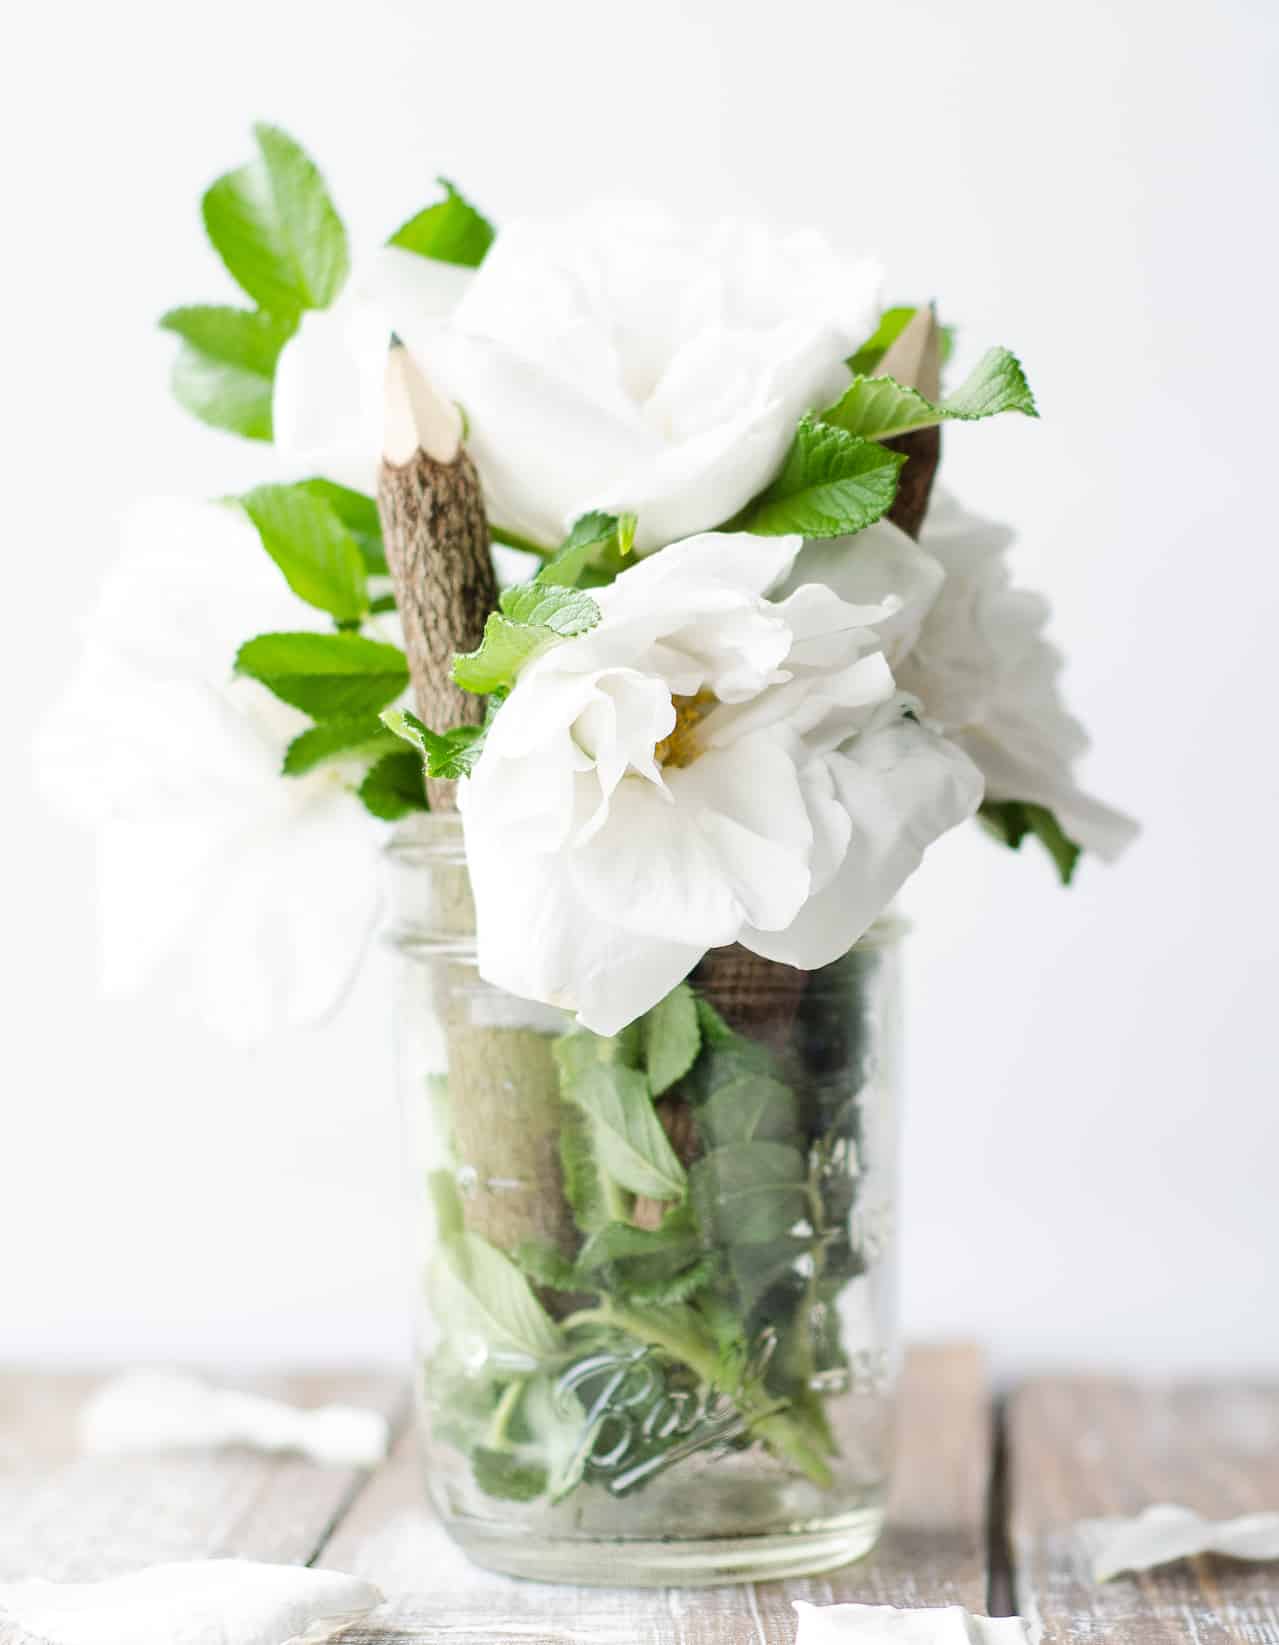
white gardenia flowers on wooden desk in mason jar

The simple yet classic mason jar has had a Renaissance of sorts as it’s seen everywhere these days and used in all manners of creative ways, such as decorative lighting, candle holder, plant jar, and a holder for anything you can imagine. If you’re a fan of Pinterest, then I’m sure you’ve seen many charming floral arrangements made with mason jars. We love them, too, which is why we are sharing some great tips with you on how to make beautiful mason jar flowers for your home or gifts to friends. 

Flowers in jar, beautiful bouquet on table on gray background

Economic and lovely mason jar arrangements allow you plenty of room to use your creativity to make a variety of styles. Use the below tips as a starting point to then let your creative side bloom!

7 Simple Steps to Make a Mason Jar Flower Bouquet

1. Gather your foliage, blooms, and filler flowers. Trim the stems to a 45-degree angle and clear all leaves and debris off any part of the stems that will be in the water. 

2. Start with your foliage. Place a few stems of foliage into the mason jar so that each cut end rests against the side of the glass while the top part rests against the lid. These two anchor points help keep the stems in place.

Flower in Glass Jar

3. Add the focal flower. Any large bloom makes an excellent focal flower, such as a zinnia, dahlia, garden rose, sunflower, pom-pom mum, or large lisianthus. The focal flower is going to be the “front” of the arrangement, although it can still be viewed from all sides. 

4. Add secondary flowers. Smaller than the focal flower, secondary flowers should complement the focal flower by having a similar form or color. However, this is also where you can play with a variety of colors and shapes to see how it works in the design. 

White and pink daisy bouquet in mason jar on table background, fresh flower

5. Add a line element. Add height and volume to your arrangement with a long stem placed either vertically to draw the eye upwards or diagonally to draw the eye outwards. This is an optional step, but a tall stem helps make the arrangement appear fuller and bigger than it actually is. 

Colorful flowers. The bouquet in a decorative glass jar stands on the trunk of a tree. Brick wall in the background.

6. Add filler pieces. Add filler flowers or greenery to fill the empty spaces and create more volume and fullness to the arrangements. 

7. Add additional items. To bulk out your bouquet even more, add a few more filer flowers, sprigs of greenery, twigs, berries, etc., anything you’d like. 

A small bouquet of spring flowers in a mason jar on a wooden background. Still life photography

Take a Final Look

Once all of your pieces are in, take a final look and adjust as you see needed. The goal is to create a beautiful flower arrangement that appears full and colorful. What’s great about mason jar arrangements is that any type of floral piece or greenery looks amazing within it. Feel free to use what you have lying around, or fill it with blooms, wildflowers, or twigs you’ve picked up in your backyard. Simple and inexpensive but highly charming, mason jar arrangements make great gifts. 

Glass jar with pink purple flowers on a white wall background. Interior decorating.

Additional Decor Tips: 

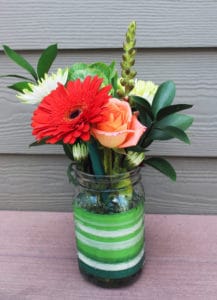
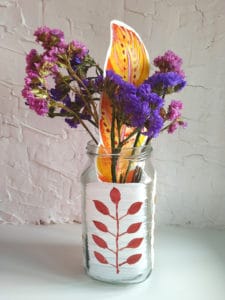
If you want to add a little pizzazz to your mason jar, wrap a colorful ribbon around the neck and tie a bow, or loosely wrap a piece of burlap around the jar’s body and secure it with twine for a beautiful farm-style look. Other ideas are to paint the jar, add glitter, glue on lace, or decorate with stickers. 

Posted on

How to Arrange Ranunculus Blooms

Beautiful fresh blossoming single salmon colored Ranunculus flower on the grey wall background, close up view

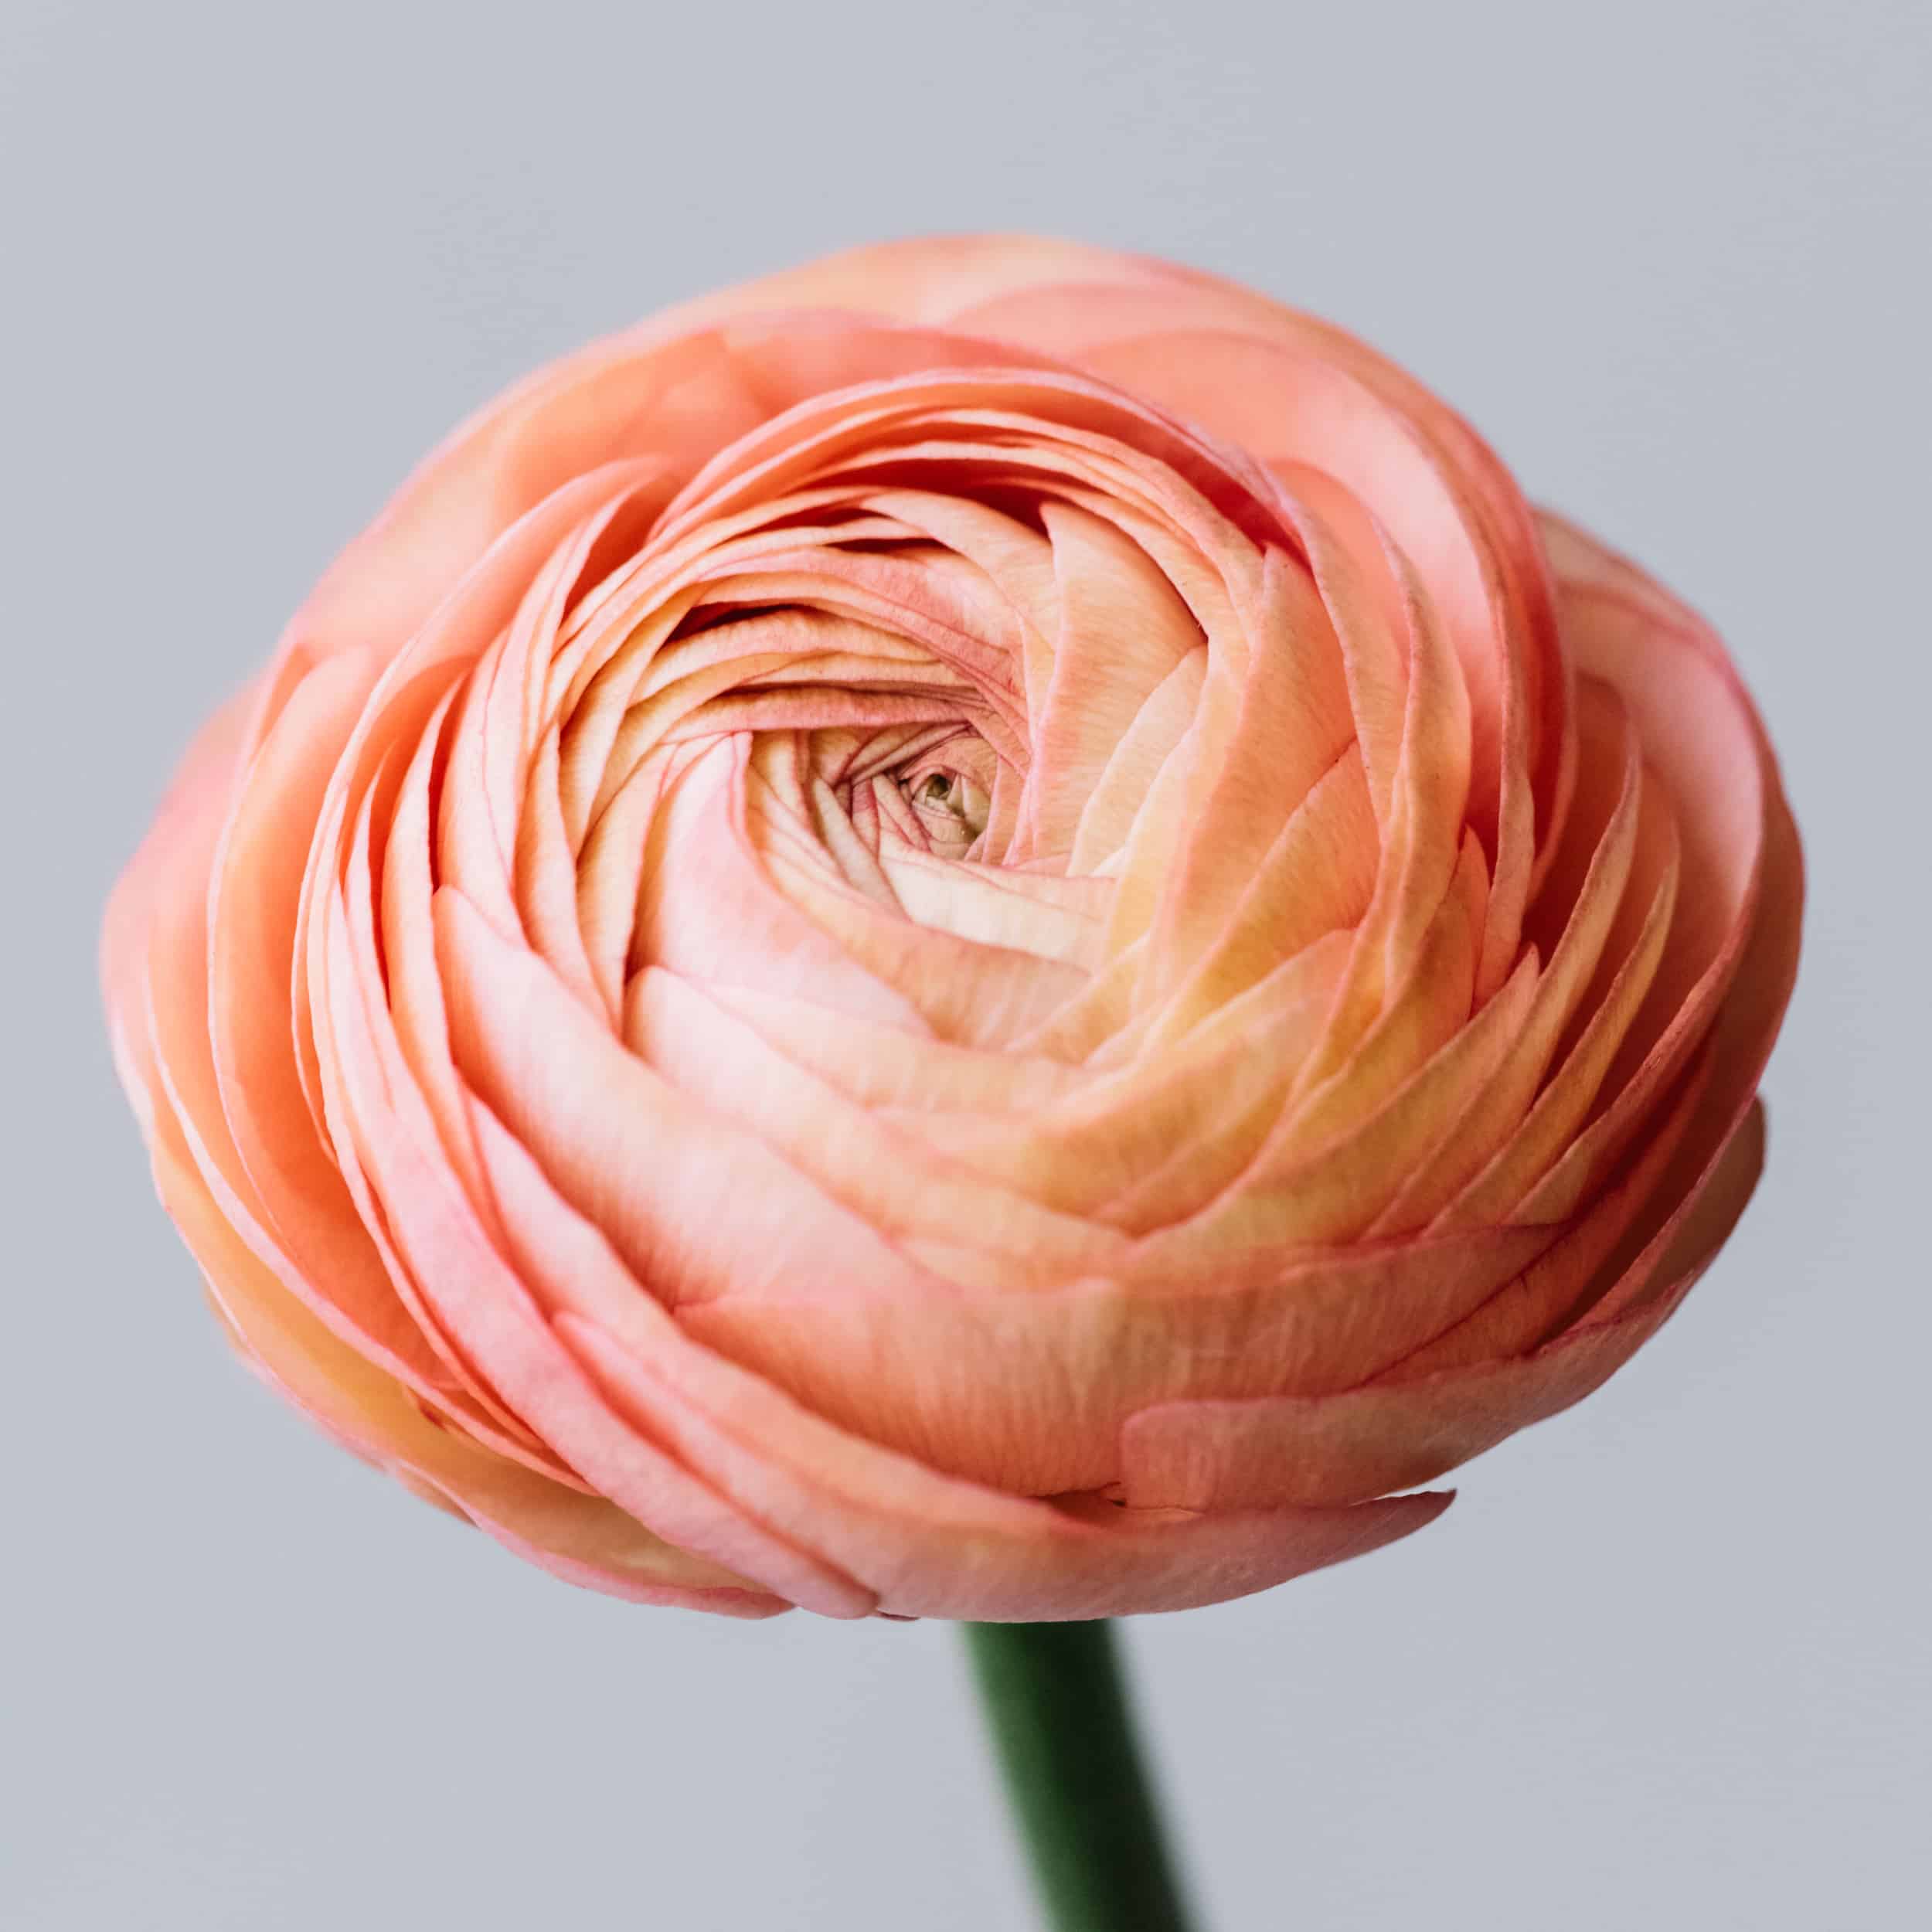
Beautiful, dainty, and striking, the ranunculus is one of our favorite blooms! Their paper-thin petals and lovely hues give them a timeless, classic look that evokes romanticism and femininity. A popular bloom frequently used in weddings, ranunculuses are great for everyday bouquets as well. If you’re ready to try your hand at creating a stunning arrangement with ranunculus blooms, then keep reading. The floral designs experts at Cascade Floral Wholesale have step-by-step instructions for working with the resplendent ranunculus!

Beautiful fresh ranunculus flowers on white background

About Ranunculus

Also known as a “buttercup,” the ranunculus flower is native to Southwest Asia and was introduced to Europe in the 16th century. The Ranunculus is distinguished by its numerous thin, crepe paper-like petals that wind tightly around its center until it is in full bloom, where the outer petals expand. Each ranunculus blossom sits atop a curvy stem, and the flowers come in white, yellow, cream, orange, red, purple, and pink colors. Keep ranunculus stems away from kids and animals as fresh ranunculuses are poisonous. 

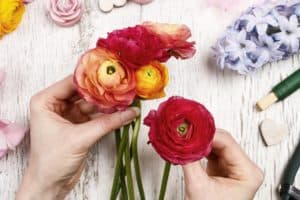
Florist at work. Woman making bouquet of persian buttercup flowers (ranunculus)

Preparing the Ranunculus Stem

Strip each stem of any foliage that will fall below the water line, and then cut the stems at a 45-degree angle an inch or so from the bottom. Since the stems are hollow, they may split or become too soft when placed in water. To prevent this, wrap a string around the base of each stem just above the point you plan to make your cut. Once the leaves have been removed and the stems given a fresh cut, place them in a vase of room-temperature water that has added floral preservative. Allow the stems to sit in the water for at least 2 hours before being stored or worked with.

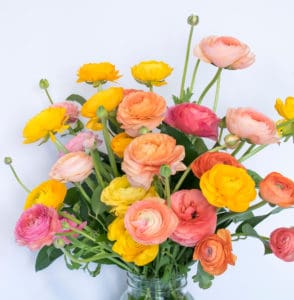
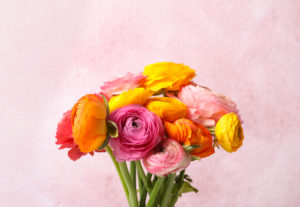
Bright Pink Yellow Peach Orange Ranunculus Fowers on White Backg

Tips for Creating an Arrangement with Ranunculus

Once you’ve selected the vase, fill it with warm water and add flower food. Starting on one side of the vase, place in a ranunculus stem and then place a second one on the opposite side. Go back and forth from side to side, adding greenery and other florals (if you like) to ensure the arrangement stays balanced. As the stems are curvy, work with the curve instead of against it. Placing the stems so they curve slightly outward and over the rim of the vase produces a nice effect where the flowers face you. Remember, not every stem will be fully bloomed, so leave room between them to allow space for when the buds are fully opened. 

As ranunculus stems are long and curvy, the flower makes it top-heavy, so they will need to be supported. The best way to do this is with a vase that has a long thin neck. Just a few fresh ranunculus stems and a piece of greenery in a bud vase are striking.

To easily create a full and balanced arrangement, use the chicken wire, tape-grid, or mason-jar technique. To add dimension and intrigue, cut the stems to varying lengths. If you need to fix drooping stems, place them in plastic straws. This works best if the straws can be hidden by the vase or in a full arrangement with plenty of other stems obscuring the plastic straws. 

Beautiful fresh ranunculus flowers in kitchen sink

Maintaining Your Arrangement

Keep your beautiful arrangement of fresh ranunculuses away from direct sunlight, hot or cold drafts, and pets. Every two days, give the stems a fresh cut with sharp scissors, change the water, and put in more floral nutrients. With proper care, ranunculus can last for 12 days!

For all your flower needs and DIY floral projects, Cascade Floral Wholesale is there for you! 

Beautiful fresh ranunculus flowers on color background

Posted on

Tips for Creating Flower Arrangements with Hydrangeas

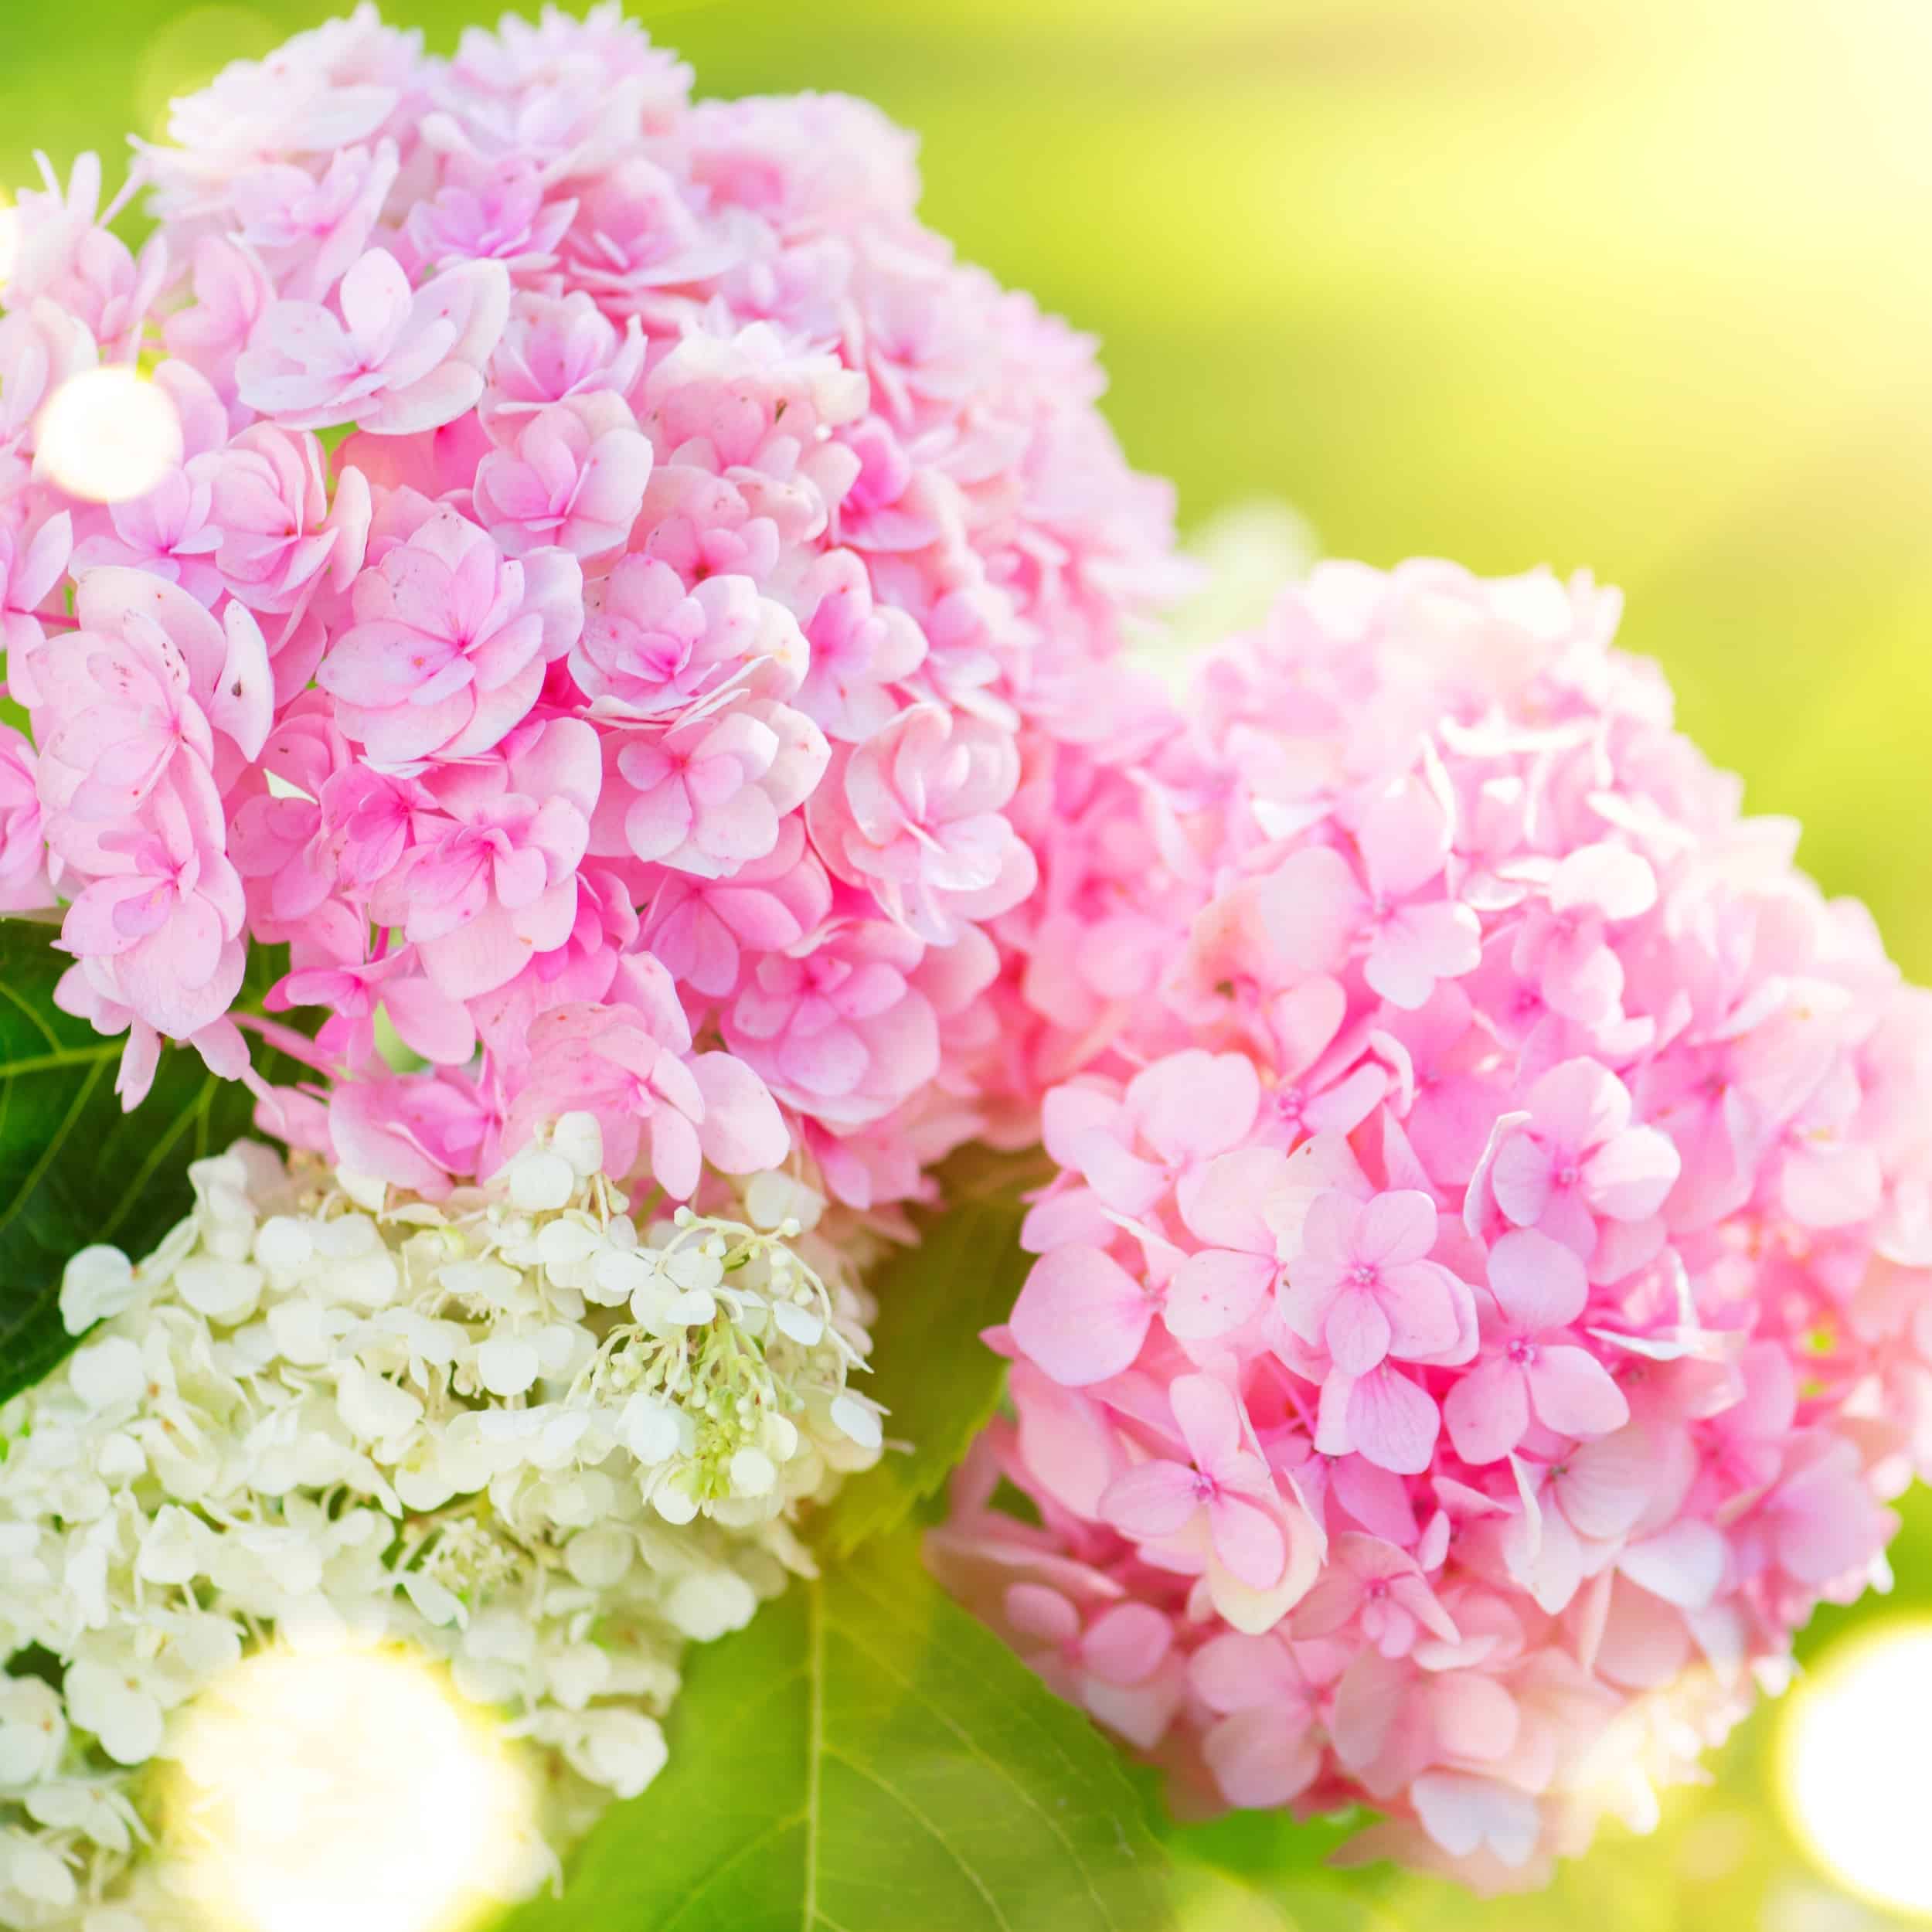
Hydrangea pink flower closeup. Beautiful Hortensia blooming in summer garden. Beauty pink and white colour Hydrangea flower close up. Nature floral backdrop. Easter, Birthday, Nature concept.

About Hydrangeas

A favorite bloom used in florist bouquets and popular at weddings, special events, and pretty much any occasion, hydrangeas are gorgeous, lush flowers that are as pretty as they are versatile. Notable for their large, showy blooms, the colorful pop-pom-like flowerheads of hydrangeas make them a great cut flower to display in vases. These ornamental blooms have been around for a long time and evoke an old-fashioned charm. With over 70 species and numerous varieties, hydrangeas come in various shapes, sizes, and colors such as blue, pink, red, purple, maroon, green, and white. 

Blue and pink hydrangea blooming flowers bouquet banner. Spring floral background. Copy space for text

Characteristics of Hydrangea

Hydrangeas are most commonly grown as shrubs with big beautiful blooms made up of clusters of smaller flowers called a “corymb.” The most commonly known variety of hydrangea is the “bigleaf hydrangea,” which has the lush, full, round blooms that enchant gardens and florist shops worldwide.

Tips for Creating a Floral Arrangement with Hydrangea

Because of the hydrangea’s large flowerhead, its stems will be top-heavy and can easily flop out of a vase if not positioned correctly. It’s important to choose a container with an opening that’s not too large or to create a grid system with tape to provide structure. 


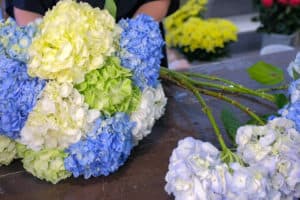
Floral business concept. Florist woman makes bouquet of blue, yellow and green hydrangea flowers in shop for sale, flowers closeup. Working in floristic studio store. Creating professional bouquet.

Preparing the Stems

  1. The first step in working with hydrangeas is to cut off all of the leaves below the flowerhead. 
  2. Next, cut the stems at a 45-degree angle with sharp scissors. This allows for the maximum amount of area for the stem to soak up water. 
  3. After cutting the stem, dip the end into a jar of alum, which you can pick up at the grocery store. The alum keeps the cut end of the stem from gunking up and free to absorb water. 


still life with blue and pink hydrangea

Arranging Tips

For a simple yet charming arrangement, put 2 or 3 hydrangea stems in a vase. Cut the stems so the blooms are just above the rim. 

For a more complex arrangement, use an opaque container and the grid method with chicken wire or tape on the opening. Bold blooms such as roses, peonies, and dahlias pair great with hydrangeas. Spire-like flowers like delphinium, freesia, foxglove, and bells of Ireland are perfect for adding vertical elements to the hydrangeas’ low, rounded shape. Experiment with different colors and blooms of different colors, shapes, and sizes. Add some greenery for a more complete look.  

Beautiful wedding flower decoration

How to Keep Your Hydrangea Stems Fresher Longer

  • To help prevent wilting, put a few ice cubes in the water to keep the stems cool. 
  • Give the stems a trim and a change of water every few days to prolong their life. 
  • Dry your hydrangeas – keep them in a few inches of water in a dry, cool place away from sunlight. Once the water has evaporated, usually 2-3 weeks, the petals should feel dry to touch and ready to use in a variety of creative ways. 

For all your flower needs for DIY crafts or arranging, use Cascade Floral for the freshest, longest-lasting stems. 

Posted on

Creating An Arrangement with Sunflowers 

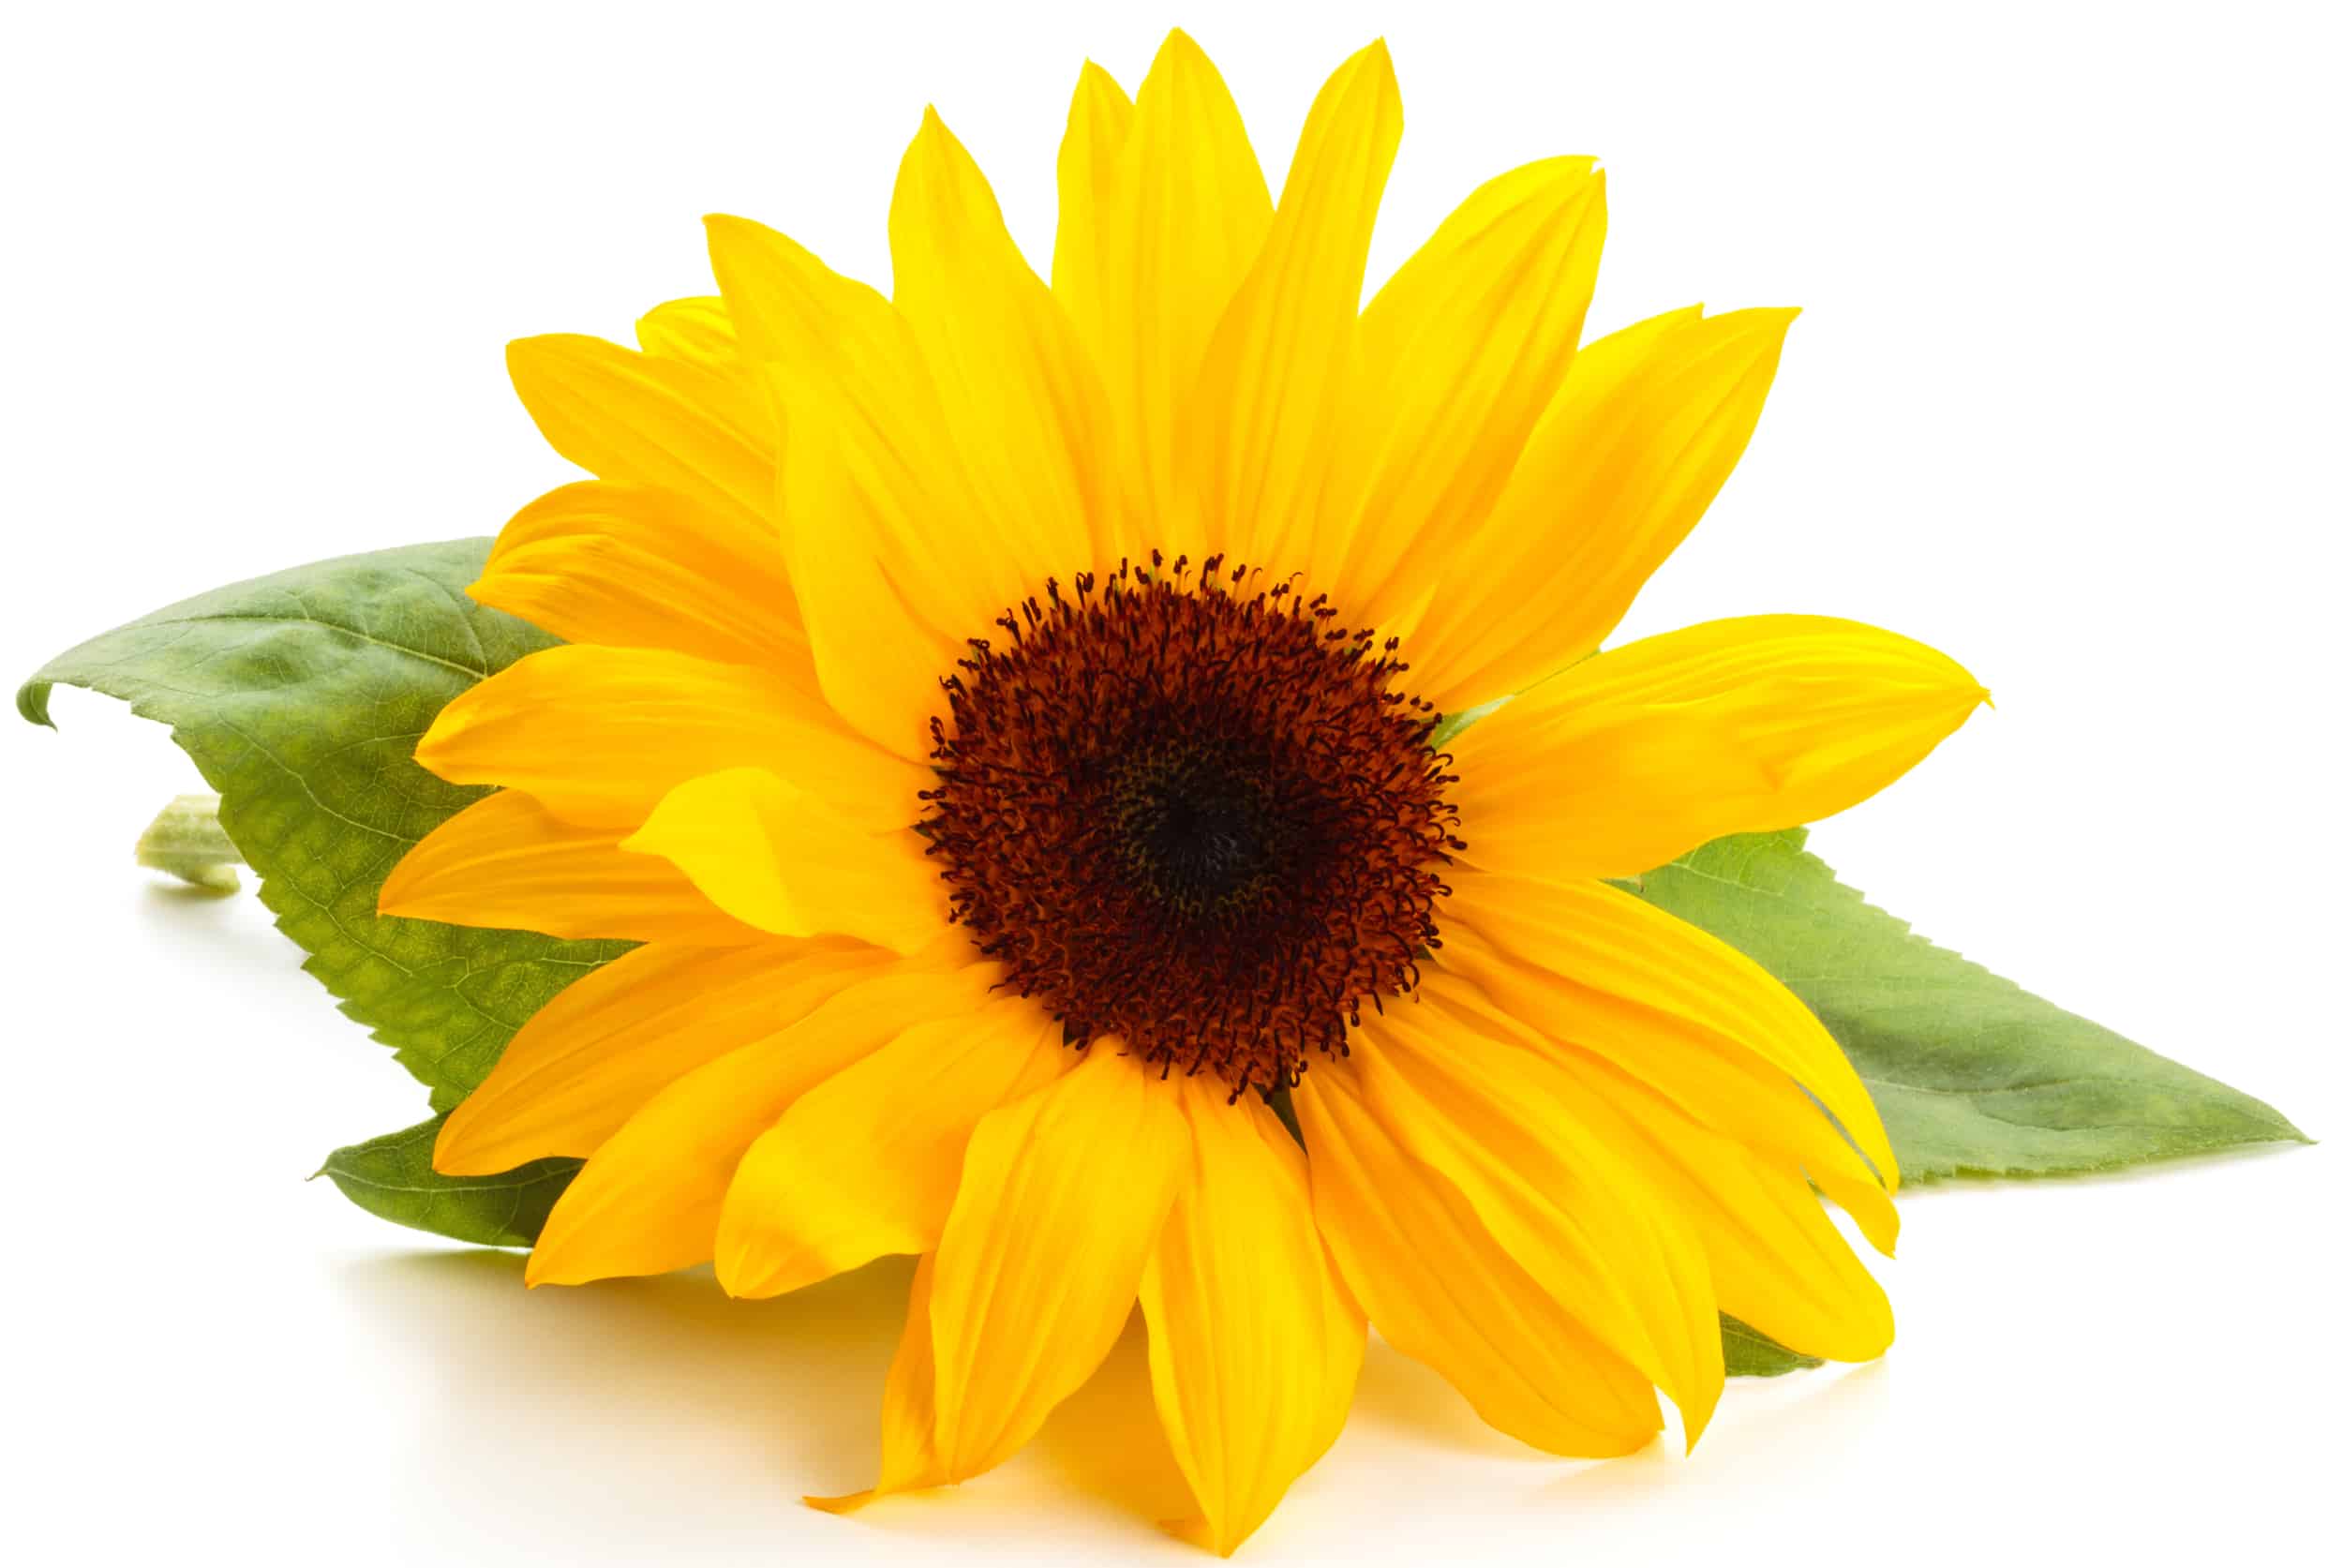
Sunflower with leaves isolated on white background.

There’s nothing like a bouquet of fresh, bright sunflowers to liven up a room and fill your spirit with cheer. These large, sunny blooms look great anywhere and are perfect for adding a vibrant pop of color to an arrangement of other flowers or striking when displayed on their own. Keep reading for tips on creating beautiful floral designs with the magnificent sunflower from Cascade Floral Wholesale

Sunflower with leaves isolated on white background.Sunflower Types

The large, bright yellow sunflower with a significant round center of brown is typically what most people call to mind when they think of a sunflower. However, there are actually over 70 species and hundred varieties of the sunflower (genus Helianthus). The sunflower genus is commonly broken down into three main groups, tall sunflowers, dwarf sunflowers, and colored sunflowers. 

Tall sunflowers are the ones you usually see in the fields where their large golden faces follow the path of the sun as it travels across the sky. With tall, sturdy stalks, these beauties can reach nearly 16 feet tall in their quest to reach the sun. 

Dwarf sunflowers are a result of hybridizing the bloom into a type that grows to three feet or smaller. These blooms grow in bunches and are great for filling in small spaces in gardens or floral arrangements. 

Colored sunflowers are also a result of hybridizing and have given us a beautiful array of sunflowers in pinks, oranges, burgundy, red, and mixed colors. 

Single-stem sunflowers are by far the most popular as they are easier for farmers to harvest, but they can also be found in branch varieties where multiple blooms are produced on a single stem.

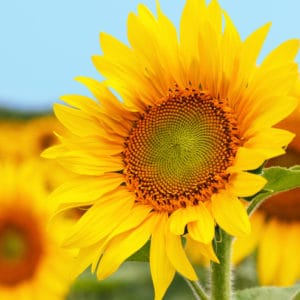
Sunflower natural background. Sunflower blooming. Close-up of sunflower.
Design Aesthetics of Sunflowers

Due to this bloom’s large face with long petals and prominent center, its simple symmetry is one of its most striking features. Upon closer inspection, though, the rotund central bloom reveals hundreds of tiny flowers arranged in an intricate radiating design that draws in the eye. This feature is great for adding texture, movement, and pattern to floral arrangements. 

Flowers to Pair with Sunflowers

Sunflowers bring a lot of charm and happy vibes to arrangements due to their bright color, dramatic size, and interesting natural pattern. Floral designers often use them to add a color contrast or color transition to a bouquet as well as texture or size variant. Roses pair well with sunflowers as they are both showy blooms, and the rose offers a nice pattern variation when viewed beside the sunflower. Blooms that resemble a sunflower, such as daisies, work great to amplify and bring attention to its beautiful shape as well as provide volume. Asters and mums are excellent supporting flowers for the sunflower.

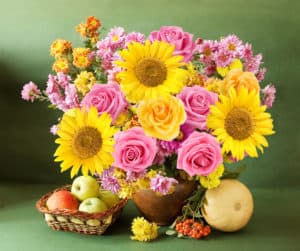
Still life with autumn flowers, sunflowers and roses, apples, rowan and gourd on artistic background

Sunflower Arranging Tips

Sunflower stems are very thirsty, so if you’re not designing with them right away, be sure to place them in water. When you are ready to begin making your bouquet, snip the stem to your desired length by making a 45-degree angled cut. If you are creating a mixed floral arrangement, add the sunflowers last. Since you’re working with fresh stems, they are not yet going to be in full bloom. Adding them into the arrangement last allows you to choose an area where they will have plenty of room to blossom. Remember, by nature, sunflowers are focal flowers, not supporting flowers, so place them accordingly for balance and interest. 

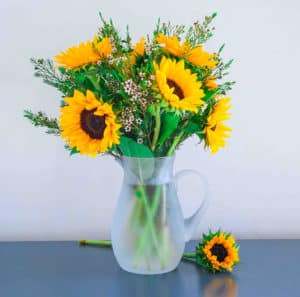
Sunflowers in a vase on a rustic, blue background

If you are arranging a bouquet of all, or mostly all, sunflowers, you need not worry much about placement. Just give each stem a fresh cut and put them into a vase. Next, take a look at the arrangement and adjust stem size, filler flowers, and/or greenery to ensure the sunflowers look tall and proud rather than flat. 

When done, place your lovely arrangement of sunflowers on your kitchen table or anywhere that needs a boost of cheeriness, then make another one for a friend. Get creative! There are all sorts of different arrangements, flower pairings, and colorful vase choices you can play with. Sunflowers are super easy to work with and always look great. 

Cascade Floral Wholesale makes your flower buying needs easy with a couple of clicks. Browse our latest selection of fresh-cut flowers and more. Wholesale flower delivery is available anywhere in the US.  

Posted on

Types of Flowers Used in Floral Arrangements – Focals, Fillers, Line Flowers, and Greenery

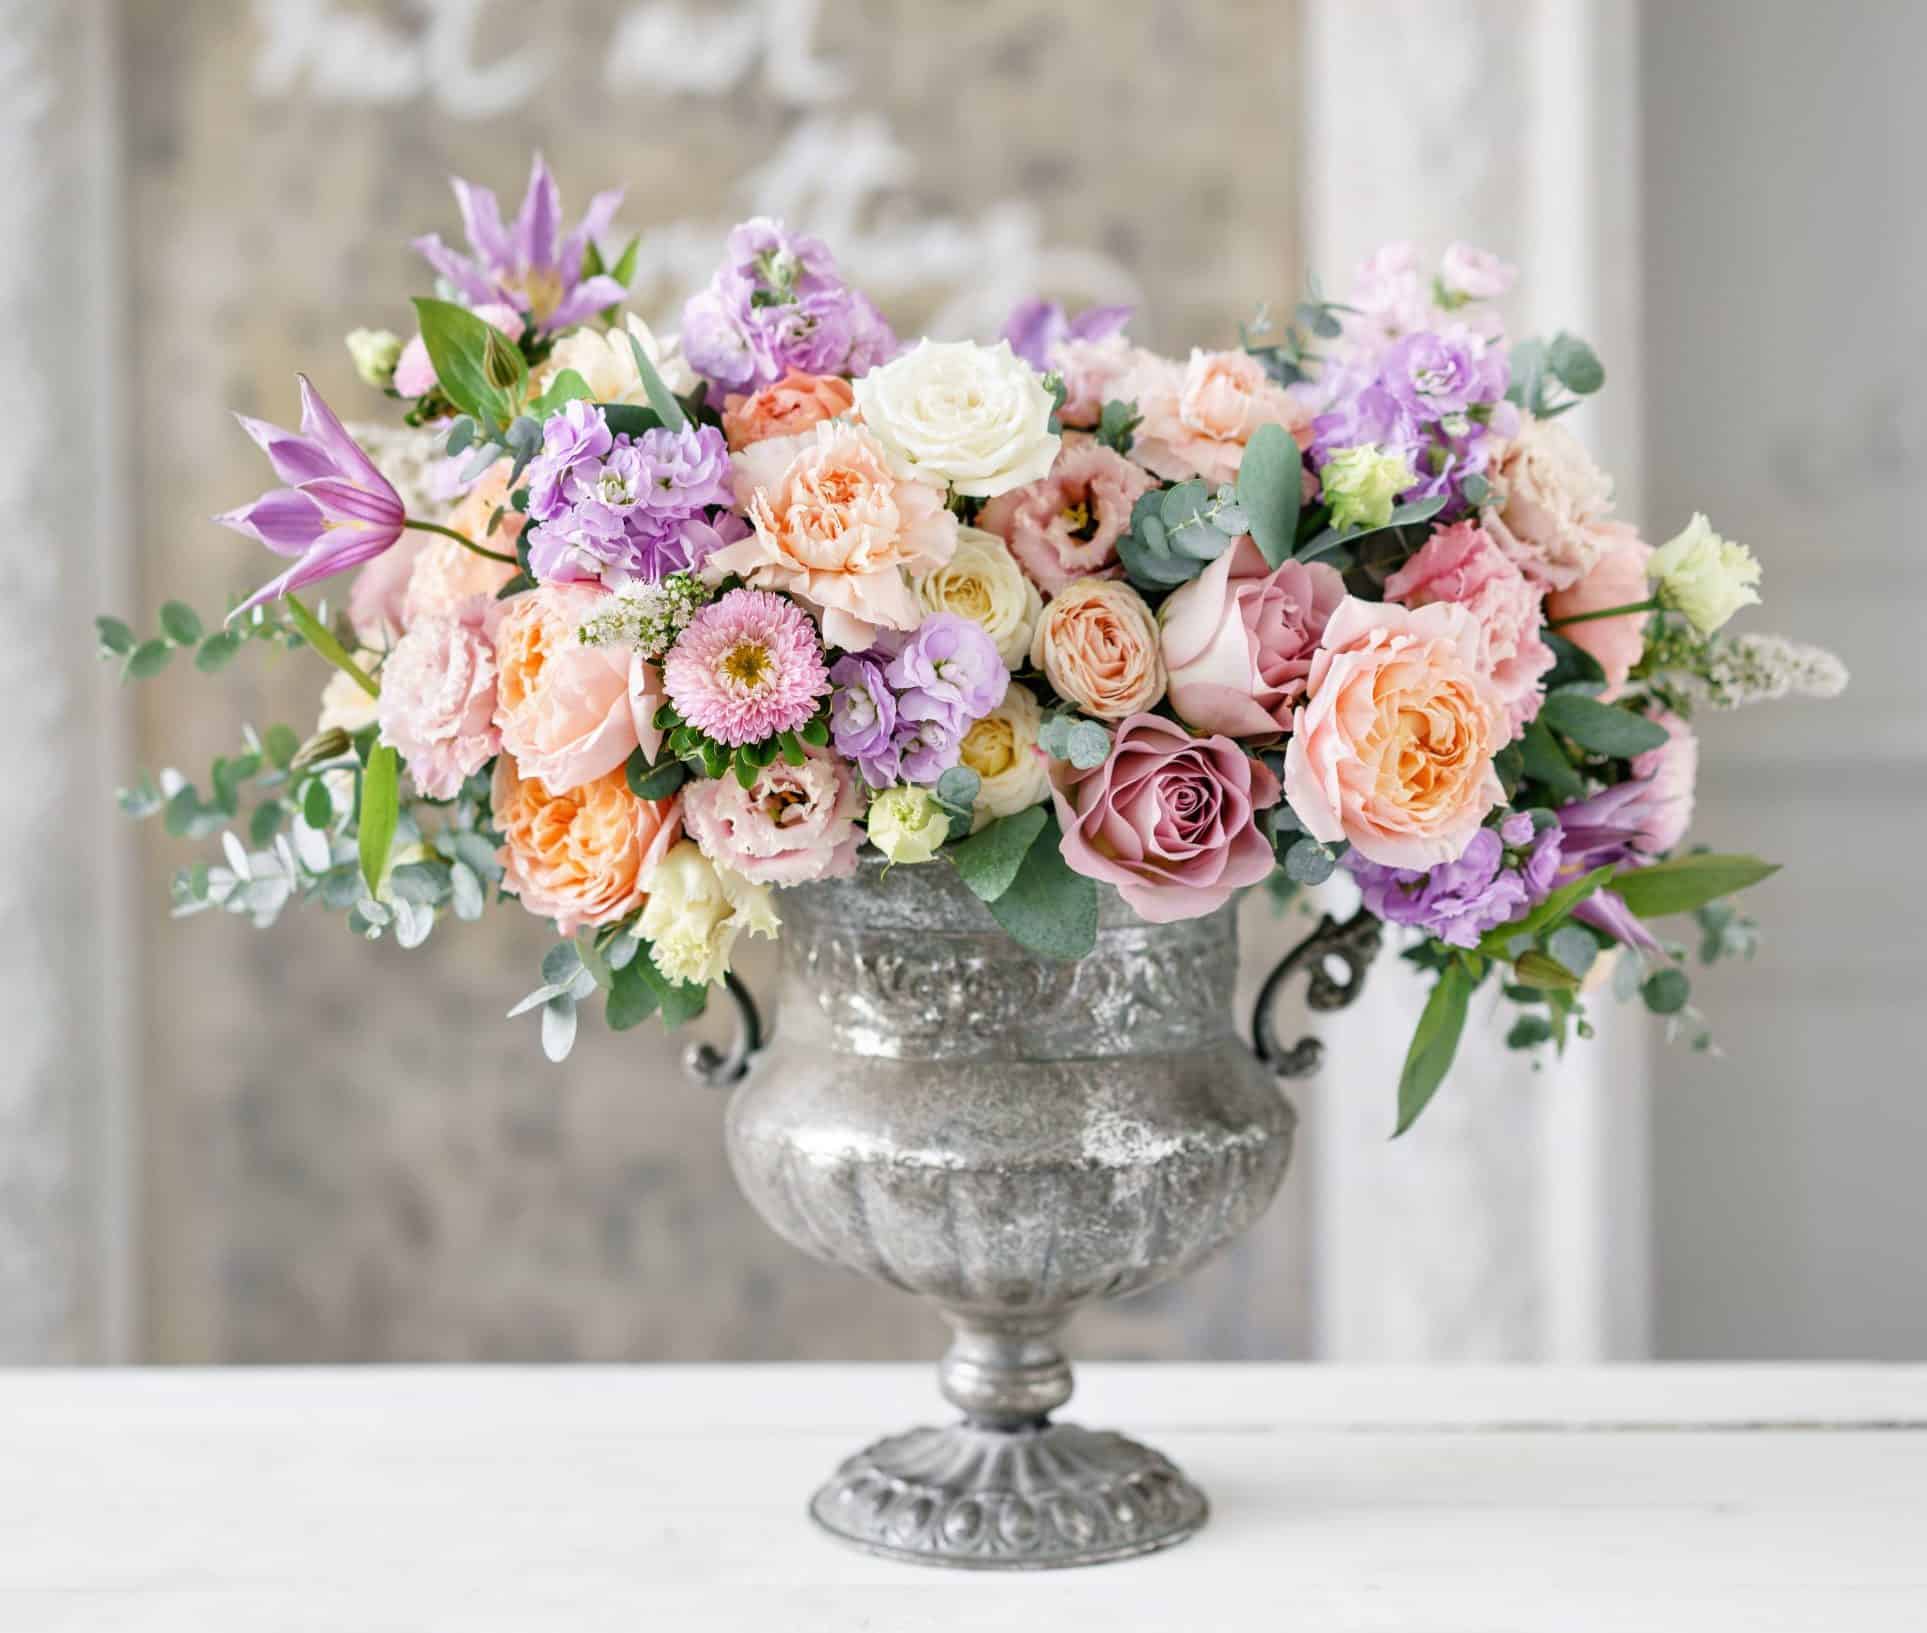
pink peach and purple pastel flowers in silver vase

A lot goes into creating a gorgeous arrangement of fresh flowers. With an endless number of possible floral combinations and hundreds of flower varieties to choose from, it’s important to know the essential “building blocks” of floral design. These building blocks encompass all flower varieties broken down into 4 categories: focal flowers, filler flowers, line flowers, and greenery. 

Each of the four types of flowers has a particular role to play and is an essential component in designing a balanced, lush, and visually appealing floral arrangement. Focal flowers draw one’s eye in, line flowers add height and vertical elements, filler flowers fill in the gaps, and greenery complements and bolsters the entire bouquet. Recognizing these different flower types, understanding the various roles they play, and how they work together is key to creating jaw-dropping, fabulous flower arrangements.   

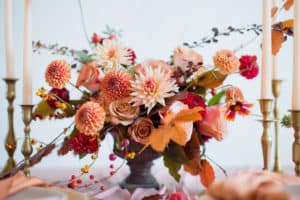
Beautiful flower composition with autumn orange and red flowers and berries. Autumn bouquet in vintage vase on a wooden table with pink tissue and candles

Types of Flowers You Need to Create a Beautiful Bouquet

What Are Focal Flowers?

Focal flowers are blooms that immediately attract your eye due to their size, color, or attractive features. These florals are the stars of the show and typically consist of a large bloom on a single stem. Having a selection of one to four focal flowers in your arrangement is a good rule of thumb to go by.

Popular Focal Flowers: 

Mums

Garden Roses

Anemones

Ranunculus

Peonies

Dahlias

What Are Line Flowers?

Line flowers have multiple clusters of blooms that grow along a tall stem. They add height, shape, and vertical elements to a bouquet. Line flowers create the “setting” or framework and stretch the arrangement into its surrounding space. Line flowers create a shape that can be structured, closed, symmetrical, asymmetrical, or open. In contrast to focal flowers, which give your eye a place to rest, line flowers create rhythmic and flowing movement throughout the bouquet, which pulls all the parts into a cohesive, beautiful composition. 

Popular Line Flowers

Larkspur

Stock

Snapdragons

Delphinium

Bells of Ireland

What Are Filler Flowers?

Filler flowers fill in the gaps and make arrangements look full, lush, and complete. Typically, filler flowers are smaller than focal flowers, with clusters of blooms that provide volume, texture, variety, and different colors to the overall floral design. Often playing the role of “supporting cast” to the larger, focal flowers, filler flowers can be just as striking, breathtaking, and mood-setting as any rose, peony, or dahlia. Filler flowers can help you set the tone for the effect you’re trying to evoke, such as dramatic, traditional, sweet, passionate, or cheery.

Popular Filler Flowers

Thistle

Wax Flower

Spray Roses

Baby’s Breath

Carnations

Lisianthus

How Is Greenery Used in Bouquets?

Greenery is an essential part of floral arrangements as it completes the overall look giving the bouquet a lush, healthy boost of overflowing greenery to support the colorful blooms. Not only does greenery add texture and movement, but it also complements the vibrant hues of the flowers, gives the eye a place to rest, adds interest and variety, and can make a statement all its own. 

Popular Types of Greenery

Italian Ruscus

Eucalyptus

Leather Leaf

Dusty Miller

Myrtle

Breaking Down a Floral Bouquet – Focals, Fillers, Line, and Greenery

Designing a floral arrangement is all about creating balance and contrast, movement and pauses, drama and tranquility to express your own unique floral story. Now that you know the types of flowers to use and their roles, you can begin creating a symphony of gorgeous bouquets. It’s best to start by selecting one to four focal blooms, the greenery you want to use, and then choose which line flowers and filler flowers will add the final touches and bring your vision to life. The bouquet below is a good example of how the four different flower types work together to create a beautiful final product.  

Focal flowers: Dahlias and Garden Roses

Line Flowers: Blue Thistle and Celosia

Filler Flowers: Alstromeria and Baby’s Breath

Greenery: Myrtle and Eucalyptus


Beautiful flower arrangements for winter, spring, summer and autumn with colored backgrounds of white

Posted on

How to Make a Boutonniere in 5 Easy Steps

For those who like to take on DIY projects, or if you’re looking for a way to save money on your wedding, then you may want to consider making your own boutonnieres and corsages. It’s not that hard and you’ll have a completely unique design all your own being worn by the bridal party and getting captured in pictures. Just follow the below simple instructions and let your creativity take over. 

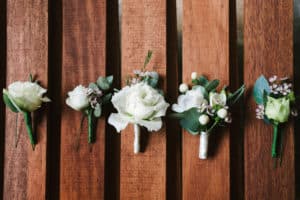
Top view of wedding boutonniere for the groom and bridesmaids on wooden background, free space. Wedding details outdoor with copy space. Wedding morning preparation

How to Make a Boutonniere

Before purchasing materials, decide just how many boutonnieres you will be making. The guide on who wears them is pretty flexible and up to the bride and groom, ultimately. Just having the groom wear a boutonniere is acceptable, or one for every groomsman or all the important males in the wedding, from dads to ringbearers. If you’ll be making a lot of them, you can save upwards of $20 per boutonniere! Here’s how: 

Choose the best blooms for boutonnieres

Hearty flowers that can hold up without a water source are best for boutonnieres. You’ll also want to select flowers and colors that will blend in with the overall floral design of the wedding. Blooms such as Spray Roses, Pansies, Ranunculus, Tulips, Mums, Calla Lilies, Billy Balls, and Carnations are all good options. Greenery and smaller accompanying flower choices include Baby’s Breath, Ivy, Eucalyptus, Heather, Italian Ruscus, Queen Anne’s Lace, or Wax Flowers. 

Materials Needed for Making a Boutonniere

Once you’ve selected your preferred blooms, there are a few more items needed to pull everything together: floral scissors or stem cutters, pins, floral tape, and ribbon (optional). The floral tape is a must-have as it is used to wrap around the flower stems sealing them which helps prevent wilting. If you want the floral tape covered up, adding a ribbon is a great way to hide it. 

Make a Boutonniere in 5 Easy Steps

Close up of florist's table as she is working on a groom's wedding boutonniere

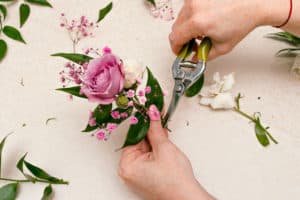
1. Gather your flowers and greenery. Decide on 1 or 2 statement blooms, 2-3 smaller accent blooms, and greenery.

Process of making a boutonniere for the groom from cream and pink roses, ruskus leaves and pink gypsophila, top view

2. Cut all the stems to your desired length for the boutonniere. (A stem length of 2-3 inches is ideal for working with). Make sure stems are clean and any leaves from the lower parts have been removed. 

Close up of hands of female caucasian florist as she is working on a groom's wedding boutonniere of white and pink roses

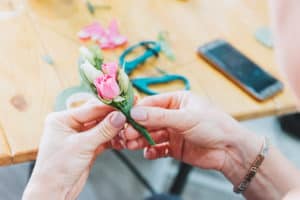
3. Create your arrangement. Start with the statement bloom and add additional accents and greenery behind it. Play around with the arrangement, put an accent flower in front, for example, until you like what you see. 

Florist at work: How to make a wrist corsage. Step by step, tutorial.

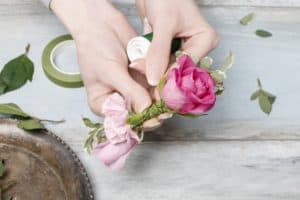
4. Once you’ve settled on your design, wrap all the stems tightly with the floral tape. Neatly trim the stems of your boutonniere to the one-inch mark. If desired, wrap a ribbon around the floral tape starting at the bottom and continuing until the base of the flowers. Tie a knot and secure with a pin. 

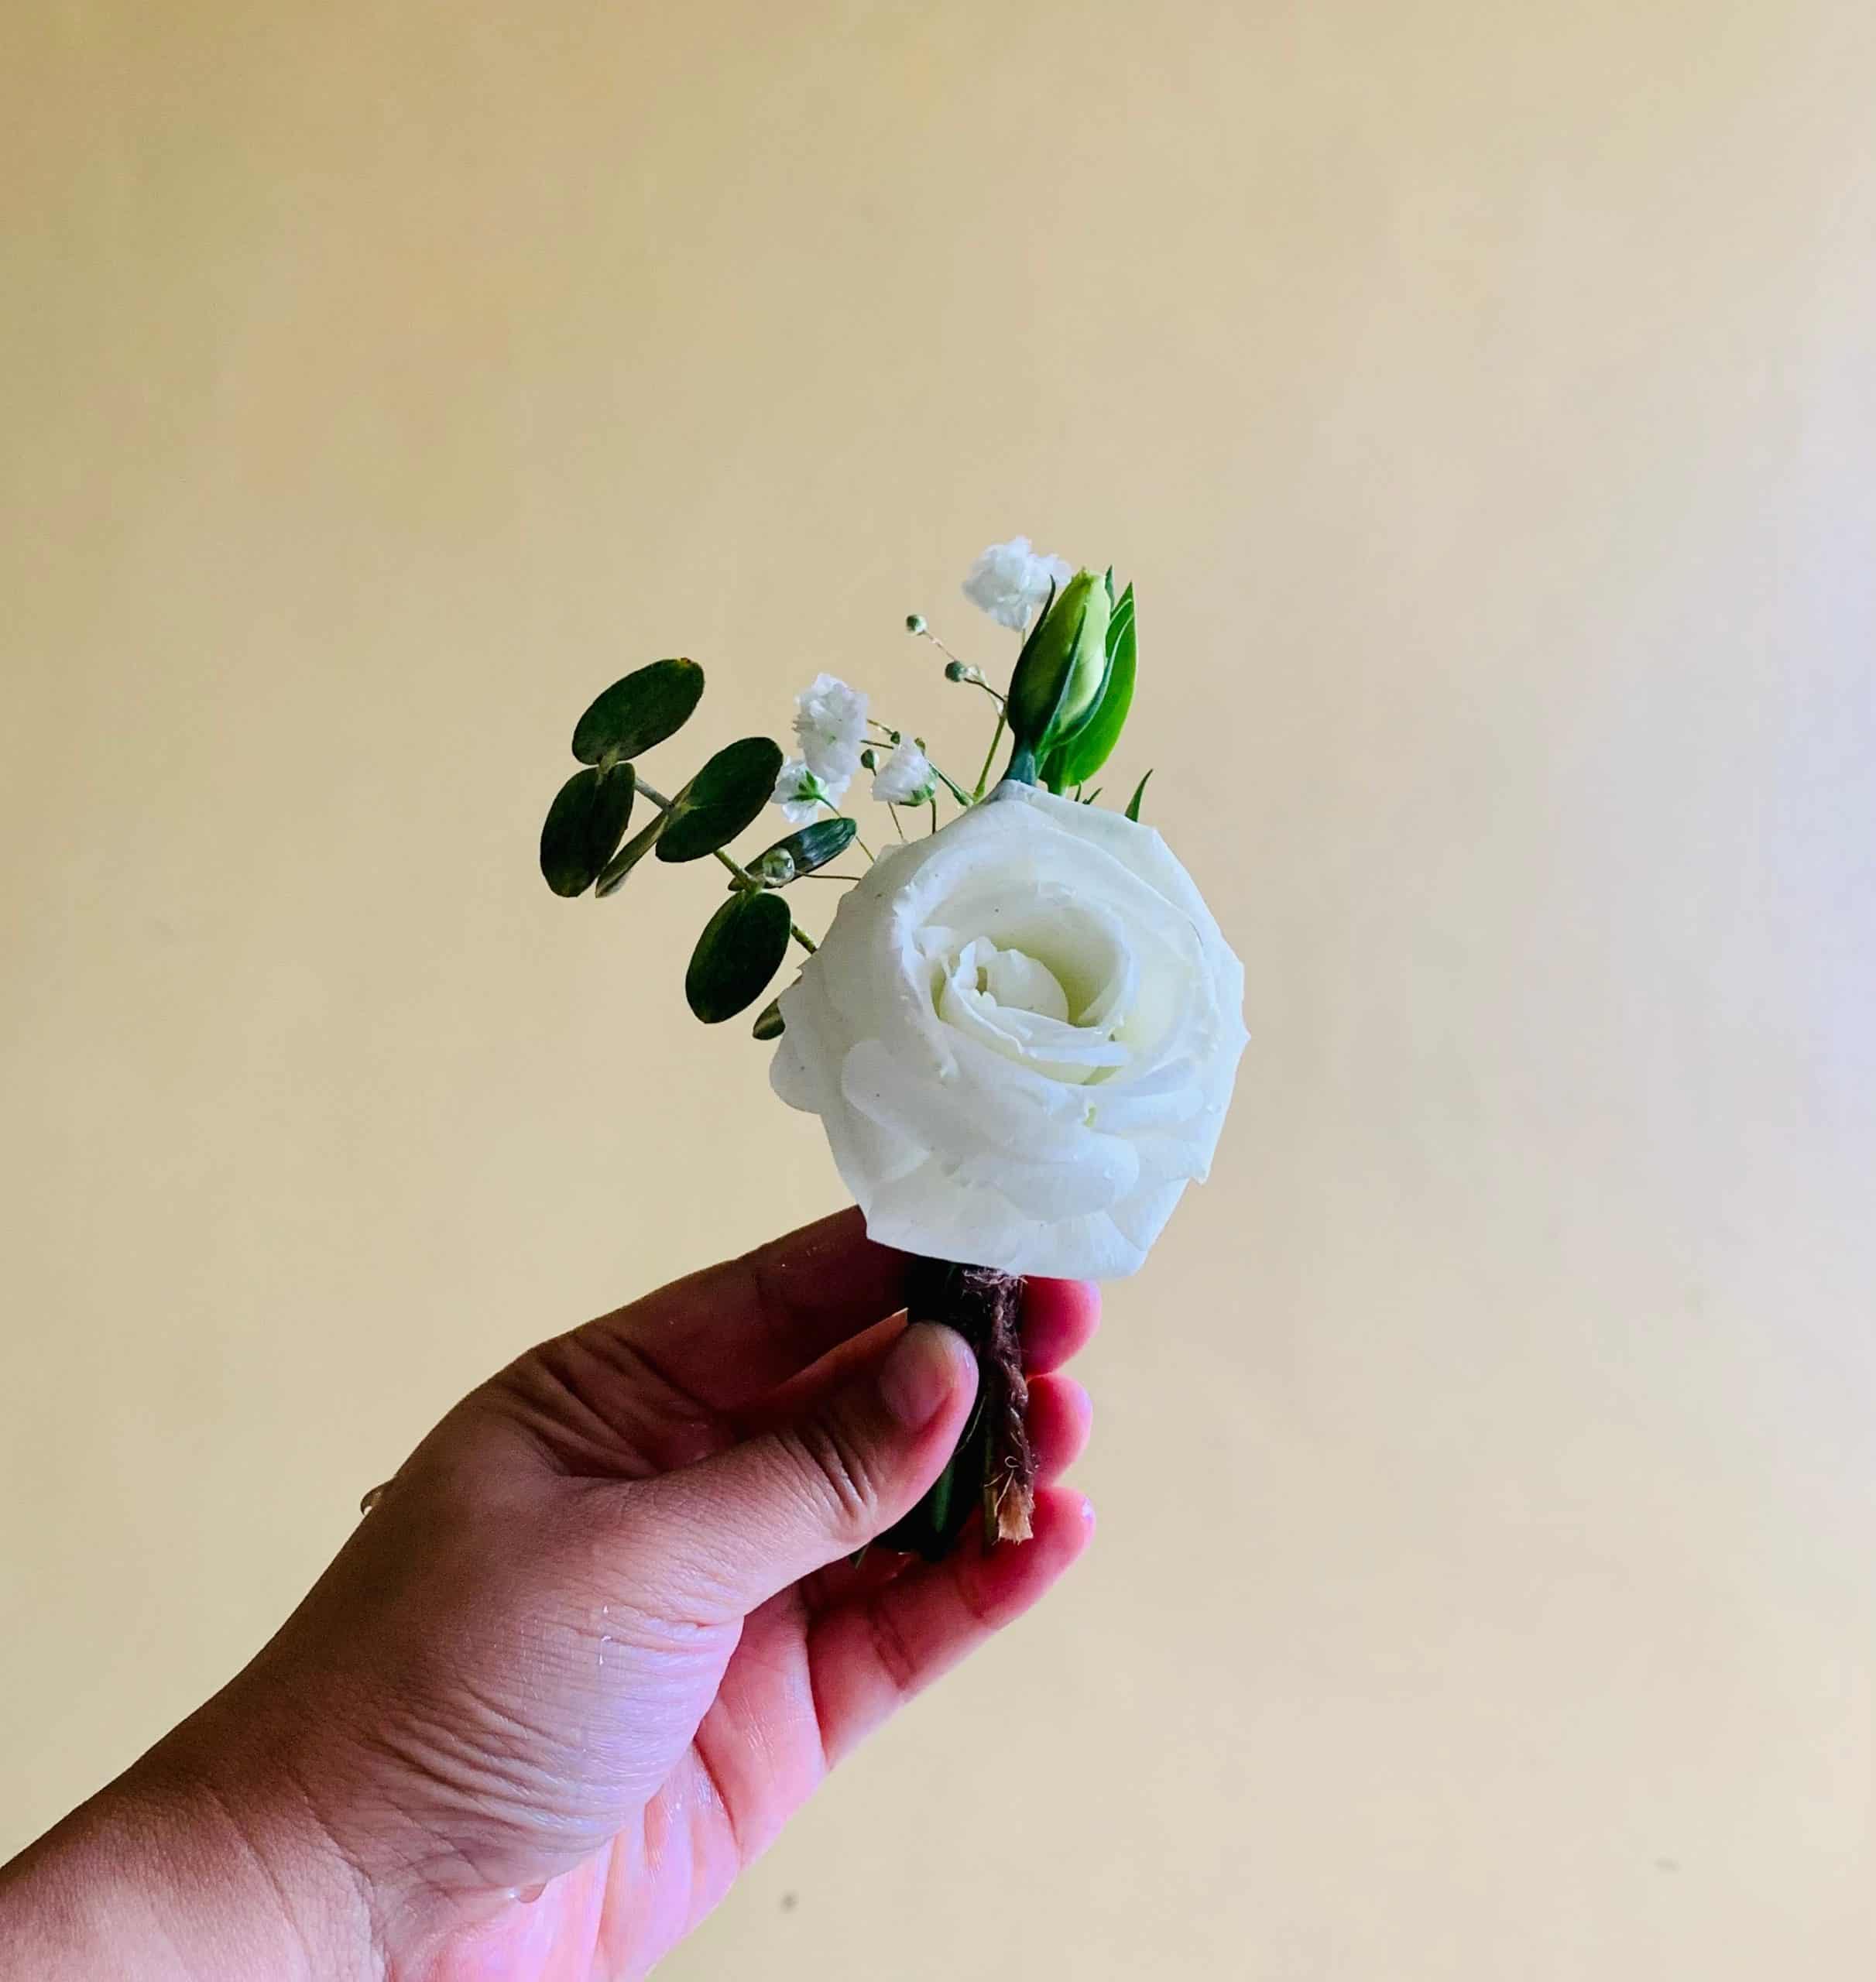
boutonniere with white rose

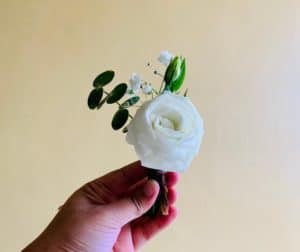
5. Use the pins to affix to the boutonniere to the lapel of the wearer’s jacket, step back and admire your work!

When to Make Your Boutonniere

If you have time in the morning of the ceremony, that’s the best time to make your boutonnieres, just store them in a cool, dry place. Do not put them in the fridge. If you need to make them the night before, leave the stems exposed and place the boutonniere in a shallow cup of water. Leave in a cool, dry place overnight avoiding the fridge. 


Posted on

5 Ways to Preserve Your Flowers

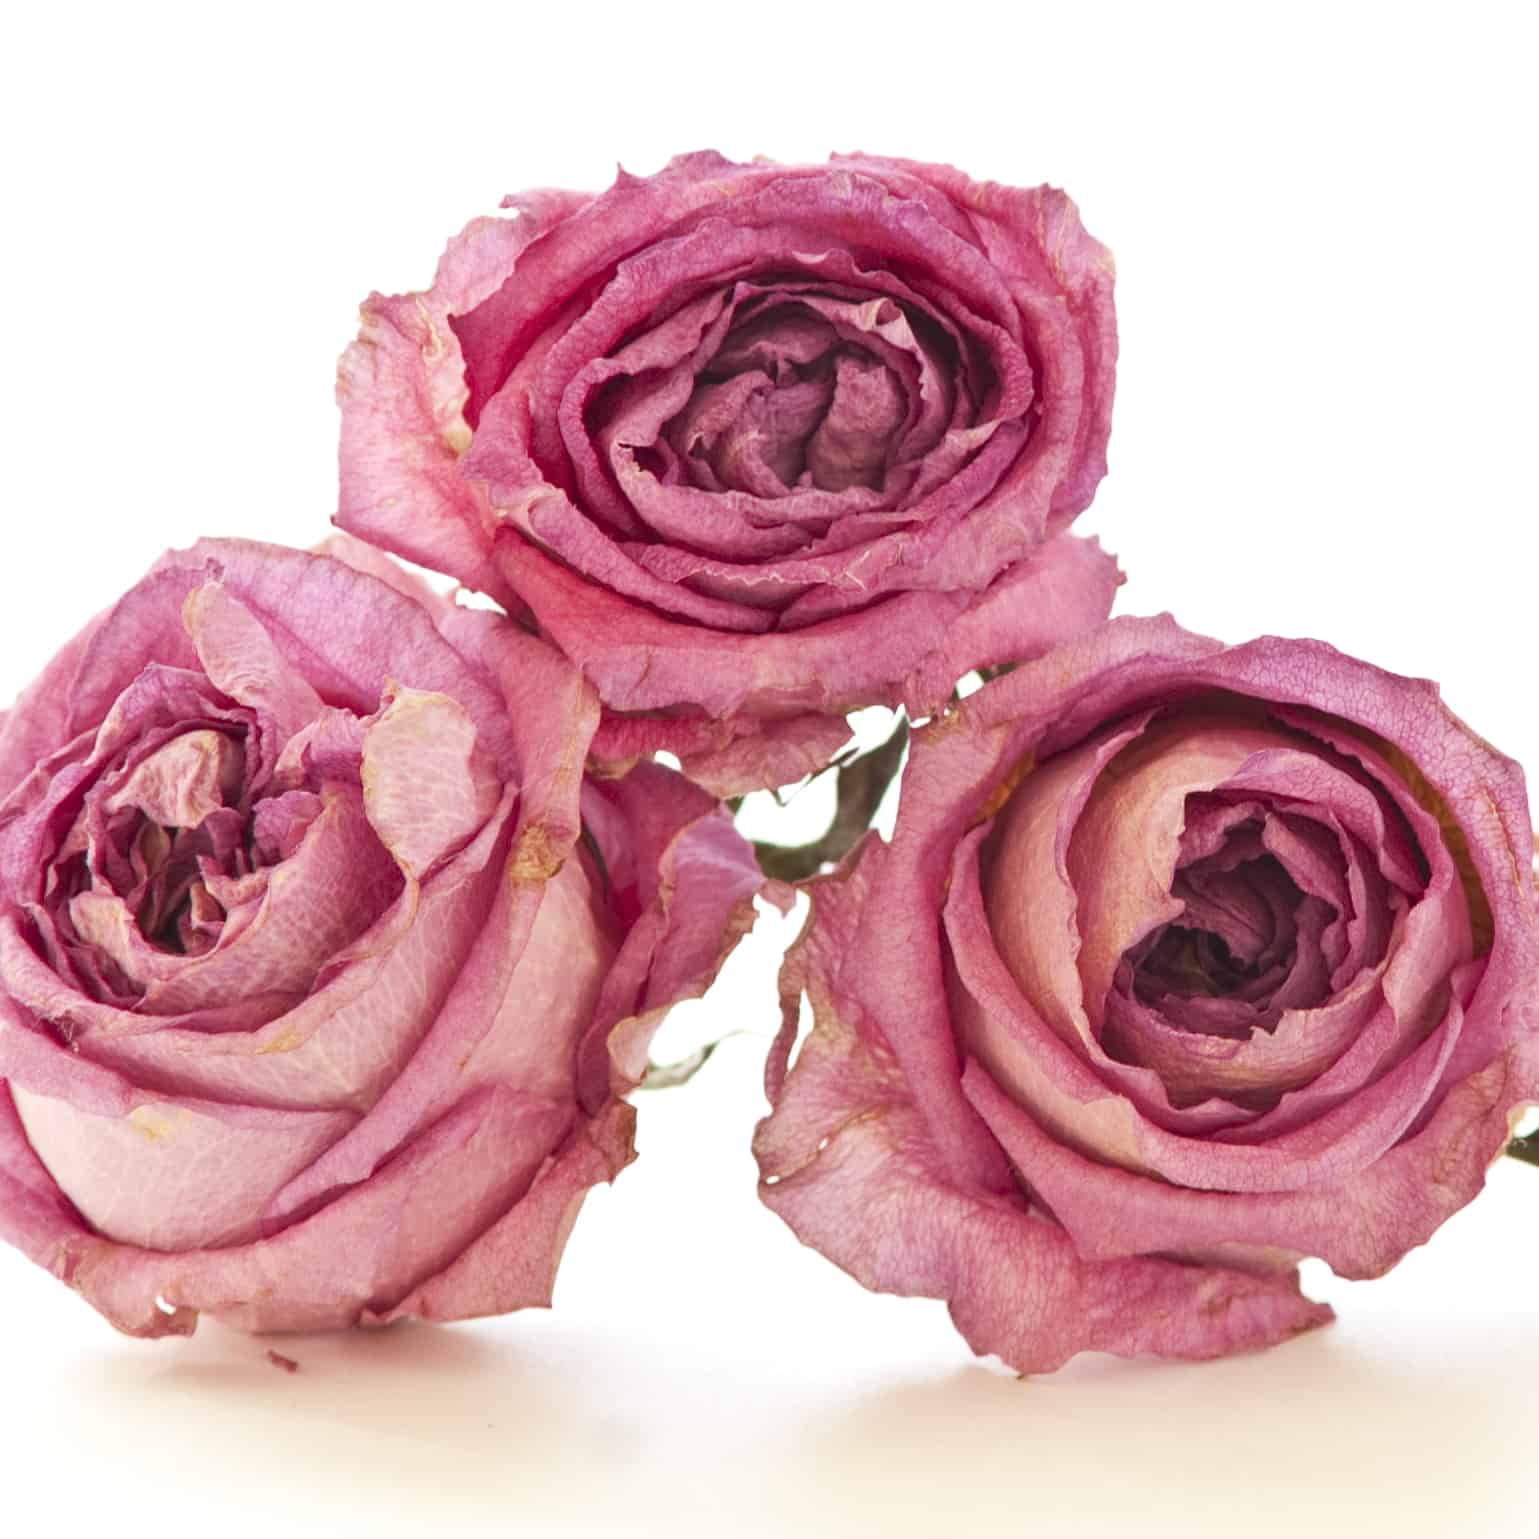
Dry roses isolated on white background

Few things are more beautiful than a fresh, colorful bouquet of fragrant flowers, and the fact that their beauty is fleeting is a part of their charm. However, if you have your heart set on keeping your pretty blooms around well beyond a few weeks, then try one of the methods below to preserve your special memories and your special bouquet. 

How to Preserve Flowers

There are several different methods of preserving flowers that vary in cost and difficulty, as well as how the finished product looks. There are some delicate florals, though, which may not do well with any type of preservation. Trial and error and a little patience will go long way in developing what may end being an enjoyable hobby. 

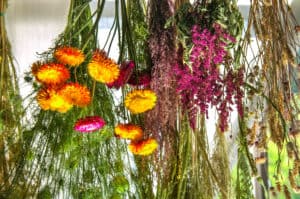
hanging drying flowers as astilba and immortelle1. Air Drying

A simple and inexpensive way to preserve roses forever is to air dry them. Choose roses with stems that are already fairly dry and with blooms that have not yet begun to wither. Trim the stems, remove the leaves, and then hang them upside down to dry. Tape them to a wall or tie them to hook in a cool, dark room to preserve the color. After a week or two, your flowers should be dried and preserved. Tip: Use hairspray to keep the blooms and petals in place when they are hung upside down.

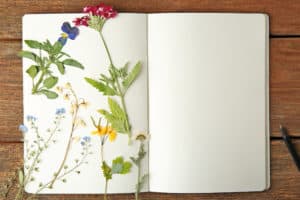
Beautiful dried flowers in notebook on wooden background2. Pressing

A common method of preserving flowers that has been used for centuries, placing blossoms between the pages of a heavy book is tried and true. Choose a flower that is at its peak and make sure it is not wet. If the bloom you have chosen is particularly full and has an abundance of petals, pinch out a few that are in the center so it will flatten easier when placed between the pages of a book. If pressing more than one flower, flip the pages to allow for 1/8th of an inch thickness between them. Once the blooms are firmly placed within the pages of a book, close it and place several heavy books on top for added weight. Leave for 2-3 weeks. If the flower is dry to the touch, it’s ready to be removed and used however you like!

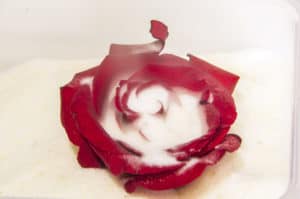
Red Rose buried in silica gel for drying3. Silica Gel

Silica gel is great to use if you want to preserve the color and shape of the rose as closely as possible. Select your rose and remove the stem so only the head of the rose remains. Fill a plastic container with several inches of silica gel, and place the rose within so that it is facing up. Slowly add more silica gel making sure all the small bits get in between the petals. Try not to squish or flatten the rose as how it rests in the silica gel is how it will be preserved. Once the rose looks completely dry, typically in 2 to 3 weeks, it can be removed from the solution. Use a tiny brush to remove any leftover silica beads from inside the flower and the preservation process is complete.

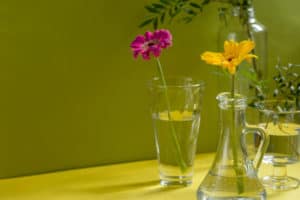
Beautiful shadows from glass vases in sunlight. Gerberas in glass bottles on a green background. A floral minimalistic concept in a modern interior with harsh light and shadow. Copy space.4. Glycerin

For a lifelike method of preservation, glycerin is the way to go. Glycerin replaces the water in the flower which keeps the stems, leaves, and blossom supple. It’s expensive, though, and the color fades after a while, which is why some hobbyists add food coloring or other dyes to preserve the color. Select your flower in peak condition and cut the stem to six inches. Cut the stem on a diagonal and peel off a little bit of skin from the base of the stem. Combine 2 parts warm water to 1 part glycerin in a pitcher. Place your bloom into this solution and leave it be for 2-3 weeks. If the petals are rubbery and pliable, then it’s ready to be removed. 

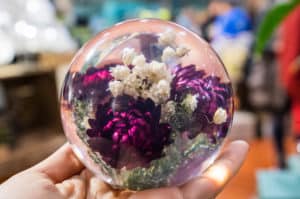
Dried flowers and dandelion in crystal resin.5. Resin

If you have gorgeous dahlia or rose, or another remarkable bloom, you’d like to preserve forever, consider putting it in resin. Using resin is also a great way to create one-of-kind art that will display your precious blooms. Before starting, make sure your flower is completely dry. Next, mix the resin according to package instructions and use tweezers to place the bloom within the solution. Allow the resin to cure for 2-3 days and then remove from the mold. Sand off any rough edges and admire your finished piece. 

Need fresh, high-quality blooms at affordable prices? Then visit Cascade’s online catalog of flowers and supplies for all your floral hobbies or events. 


Posted on

Why You Should Use Eucalyptus Greenery in Floral Arrangements

Eucalyptus is a popular type of greenery featured in many flower bouquets due to its versatility and many varieties that come in lovely shades of green with smooth round leaves. Eucalyptus is fashionable and chic with numerous applications that enhance a variety of arrangements from boho to glam, classic to modern, and vintage to elegant. Choose eucalyptus for greenery that creates a beautiful look in any floral design. Keep reading to find out what makes eucalyptus so special and why it’s the perfect greenery for all occasions. 

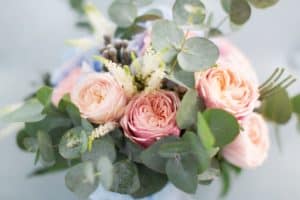
Bridal bouquet with an abundance of eucalytpus leaves andn white flowers


With over 600 species, you’ll have no trouble quickly accessing eucalyptus for your floral arrangements. Also, being an evergreen plant, it will be available year-round. Greenery in weddings and other special events is starting to play a more prominent role, and eucalyptus is one of the most popular greens. Pairing well with any color palette, this plant makes a statement whether used in large or small amounts. 

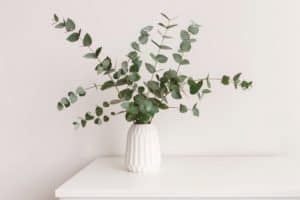
White vase with spiral eucalyptus stems in it

Popular Types of Eucalyptus


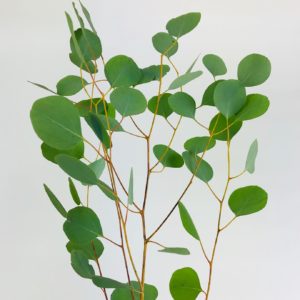
Silver Dollar: Featuring large, round leaves in a silvery green color, this variety works well in any flower design giving it a fresh, straight-from-the-garden look. Silver dollar eucalyptus is also great for decorating arches, doorways, and garlands.  


Eucalyptus - Seeded


Seeded: Featuring oblong-shaped silvery green leaves and bunches of small seeds, this variety brings a touch of boho chic and elegance to any arrangement.  


Spiral: With a tall, stiff stem sprouting circular leaves, this eucalyptus variant is popular for adding a vertical element, texture, color, and a lovely fragrance. 


Gunni Eucalyptus


Gunni: Featuring numerous, small delicate leaves in a muted silvery-green color, this is another popular variety that adds a stylish garden look and an abundance of greenery. 


The versatility of the eucalyptus is one of its main appeals. Its leaves can be tossed down the aisle for a beautiful, woodsy look, placed on the cake for decoration, or in the bride’s hair. The stems can be hung from doorways or arches, used to make wreaths or garlands, placed in wedding bouquets, or added to tables and chairs for decoration.    

Beautiful bouquet of silver dollar eucalyptus and peach ranunculas


Eucalyptus is also known for its medical benefits and is often used in natural remedies to alleviate colds, congestion, and cough. When used as greenery in a bouquet, there are also benefits. For example, eucalyptus is:  

  • Hypoallergenic and good for allergy sufferers
  • Deters insects and keeps pesky biting bugs at bay
  • Pleasantly fragrant with a soothing smell that pairs well with other scented blossoms.

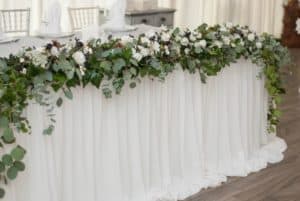
Garland of eucalyptus decorating edge of wedding table with white flowers

Flowers that Pair Well With Eucalyptus

Roses: Deep green-colored eucalyptus paired with lighter-colored roses is a striking combination bringing attention to the contrasting shades of hues. Pale-colored eucalyptus combined with pale roses also creates a stunning all-pastel bouquet that evokes elegance and romance. 

Peonies: An abundance of eucalyptus greens with a few peonies creates a beautiful boho look, while eucalyptus paired with only white peonies create a lovely chic aesthetic. 

Hydrangea: Offering the beauty and texture and hydrangeas to shine, eucalyptus leaves complement the blooms without competing with them, producing a simple yet elegant bouquet. 

Waxflowers, succulents, and ranunculus are also great options that pair well with eucalyptus, as this lovely greenery enhances the elegance and chicness of these blooms. 

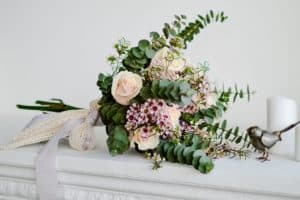
Small bridal bouquet with peach ross waxflowers and spiral eucalyptus

When designing your bouquet or looking for greenery to add to an upcoming wedding or special event, you can’t go wrong with eucalyptus. Bringing elegance, fragrance, style, and garden freshness, the versatile eucalyptus is an excellent choice for your floral decor. 

Posted on

Different Types of Greenery to Make Your Bouquet Complete

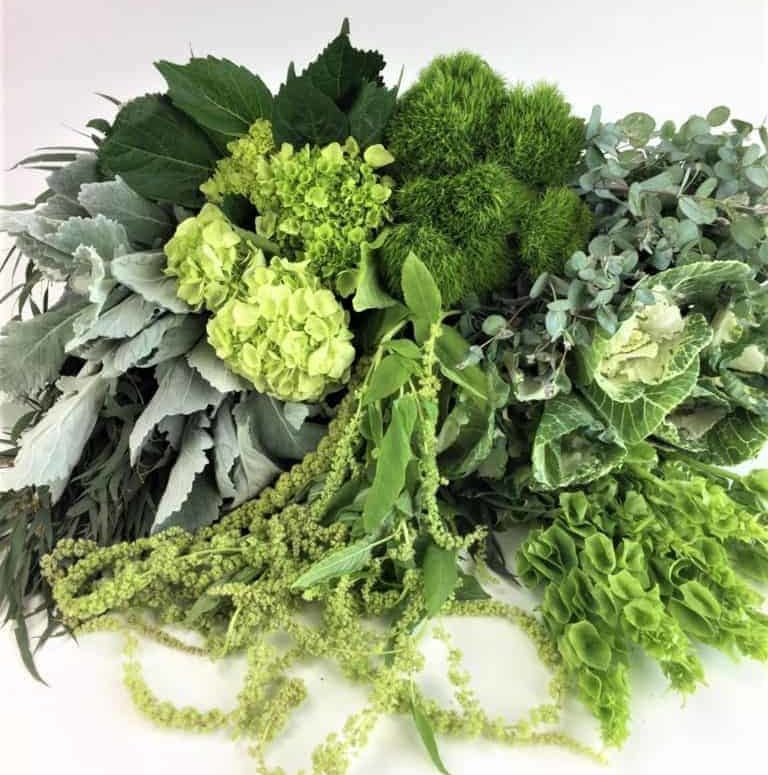
Green Mix of florals

Oftentimes the greenery used in an arrangement of flowers gets overlooked, taking a back seat to the stars of the show – the beautiful and colorful blooms. But it’s time to show these green accents some love! Yes, they are often supporting characters to the main attraction, but without them, bouquets of flowers just wouldn’t be the same – they would be lacking. 

Greenery is essential to floral arrangements because they provide a soothing, neutral backdrop for the robust flowers to shine. They also do so much more, though, like provide interesting shapes and textures that add to the overall look of the arrangement. Below, we list some of the greenery typically used in flower arranging and why they are so special.   

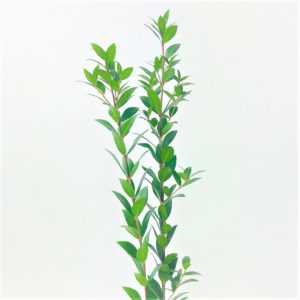
Myrtle

With long stems lined with glossy leaves in a pretty, mid-tone green, myrtle is a popular choice for many floral designers. Using multiple stems together creates lush, thick foliage that looks great in centerpieces. It’s also a wonderful addition to any decor piece for the home as it exudes a sweet fragrance. Myrtle symbolizes love, luck, and prosperity which is why it is often used in weddings. 

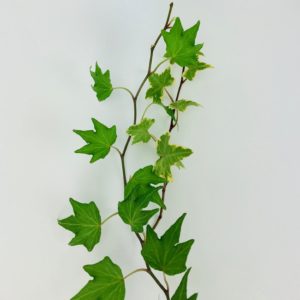
Ivy

Ivy has unique, triangular-shaped leaves that fall elegantly from the main stem, making it perfect for creating flow and wrapping around headdresses, wreaths, or centerpieces Ivy has a long lifespan making it ideal for holiday decor. Ivy symbolizes fidelity and eternal life. 

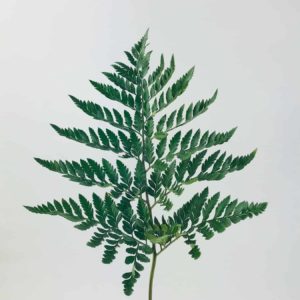
Leatherleaf Fern

Thicker and more lush-looking than other types of greenery, the leatherleaf fern branches out to create a wide triangular shape made up of many small leaflets. This particular greenery is great for adding body to a floral arrangement as well as a tropical vibe. During the Victorian era, leatherleaf fern symbolized humility and sincerity. 

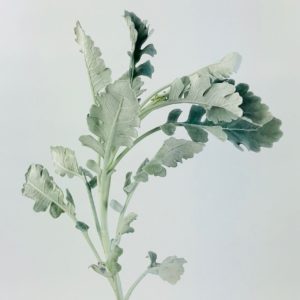
Dusty Miller

Dusty miller is unique due to its “frosted”, silvery-pale shade of green. A popular choice in many winter weddings and fall arrangements, dusty miller’s subdued color also pairs well with pastel-colored blooms. The soft and interesting texture of dusty miller help gives bouquets a chic, quiet beauty.

Silver Dollar Eucalyptus

So named for its round leaves that look silver dollars, and the silver dollar eucalyptus adds interest and circular shapes to arrangements. With its’ matte, bluish-gray color, it pairs nicely with whites and pastels. The long, thin stems allow for the silver dollar eucalyptus to bend and wrap easily making it ideal for decorating wreaths and centerpieces. 

Spiral Eucalyptus

Spiral eucalyptus has a vertical stem with many, smaller circular leaves growing off of it creating a denser look than the silver dollar eucalyptus. As it grows it changes colors from a greyish-blue to a rich green. Perfect for adding a vertical element as well as a garden look, this greenery pairs well with most flowers and even looks great in a vase on its own. 

Tree Fern

With a tuft of plumage sprouting from its top, tree fern adds a touch of softness, wispiness, and fun to any arrangement. Often used in boutonnieres and corsages, this easy and adaptable greenery also works well in floral arrangements providing texture and allure. 

Try your hand at any of the above beautiful greenery, or additional types of greenery to experiment with. Adding the right type of greenery to a vase of flowers enhances beyond compare. For all DIY floral needs, Cascade Floral Wholesale is here to help. 

Posted on

2021 Floral Trends

When the pandemic hit last year, it forced us to slow down (a lot) which gave us ample time to think about the important things in life such as a good work-life balance, taking care of our mental and physical health, doing more with less, and appreciating the benefits of being in nature. being more in touch with natural beauty that surrounds us.

These things have shaped the floral trends of 2021 where flowers were used to not only bring color and beauty into our lives, but also to brighten our spririts, destress our lives, and connect us with  nature. 

Bulk Wholesale Summer Flowers Combo

Top 7 Floral Trends of 2021

1. Brighter Days

A sunny pop of yellow immediately brightens a room and our spirit. Choosing a bouquet with yellow floras paired with white blooms and some greenery is a classic way to bring warmth and happiness to any room. Also selecting an arrangement with other bright colors in addition to yellow really sings a colorful tune of joy. 

2. Relax and De-Stress

Let the delicate beauty and sweet fragrance of fresh-cut flowers put your thoughts into a wandering and dreamy state. Small and charming wildflowers paired with larger blooms of soft pinks, peaches, and greens are the perfect combination for making worries drop away. Even if for a little while, it’s worth it. 

3. Happiness at Home

Bringing in bright, radiant, fresh, and fragrant blooms into the home is becoming a regular part of modern life. The benefits of the joy, color, and happiness flowers provide make them essential to a cheerful and colorful home. The vitality, charm, and dance of light and colors helps us start each day in high spirits and joyful positivity. 

4. Showcasing Mother Nature

Arrangements that show off the wondrous beauty of Mother Nature are also on trend this year as many of us have spent more time outside instead of in crowded offices. This is reflected in bouquets which have earth tones or brown and green that highlight dramatic and bold blossoms in orange, red and yellow with plenty of greenery. 

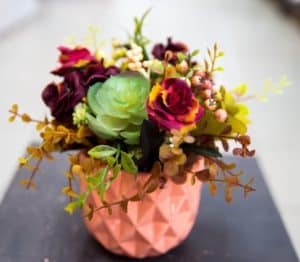
5. Daring Jewel-Tones

The ups and down of life are a normal part of living and we can’t enjoy the highs without going through a few lows. Bold and dramatic blooms with rich, deep colors bring passion and boldness which punch through the ordinary by celebrating the extraordinary. Vibrant plums, violets, scarlet, and burgundy blossoms paried with bright greenery is a striking combination that takes our breath away.

Beautiful Flower Arrangement with Succulent

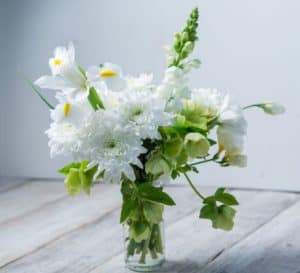
6. White Rules

Simple, elegant, and sophisticated, floral arrangements composed of all white blooms promotes a spiritual peace, purity, and timelessness. A home overflowing with bouquets of white flowers accented with bits of green allows a little oasis to escape to in every day life. Light, airy, and lovely, white bouquets are transcendant. 

7. Quality over Quantity

Following the rule of less is more, there is a focus on not only what is presented, but how it is presented. Desiring unique, handcrafted floral arrangements with blooms thoughtfully placed, sustainably resourced, and of the highest quality are on the rise. Careful attention to detail and a desire for pure style is a trend that comes from people being more aware of their consumption practices and focusing on quality over quantity. This is a trend we hope lasts a while. 


Posted on

Tips for Creating Pretty Floral Arrangements

Decorating your home with fresh flowers is perfect for adding instant style and a pleasant refresh that brings beauty, fragrance, and other benefits flowers provide to your life. Plus, it’s easy! All it takes is some gorgeous fresh-cut stems from your florist and a variety of containers. The following tips will get you started in creating your prettiest arrangements ever. 

  1. Select in-season blooms to save money and celebrate that particular time of year. Some varieties, such as orchids and roses, are available all year round. 
  2. Decide on your theme: either a mix of complementary colors and types, shades of one color and different types, or all the same type in a variety of colors or the same color. Select some greenery for color and texture.  Bulk Wholesale Summer Flowers Combo
  3. Before placing a single stem into a vase, cut at least 1/2 an inch off of the bottom at a 45-degree angle. This increases the surface area so the floral can get plenty of water. Re-cutting the stems every 2-3 days will prevent bacteria from growing and make the flowers last longer. 
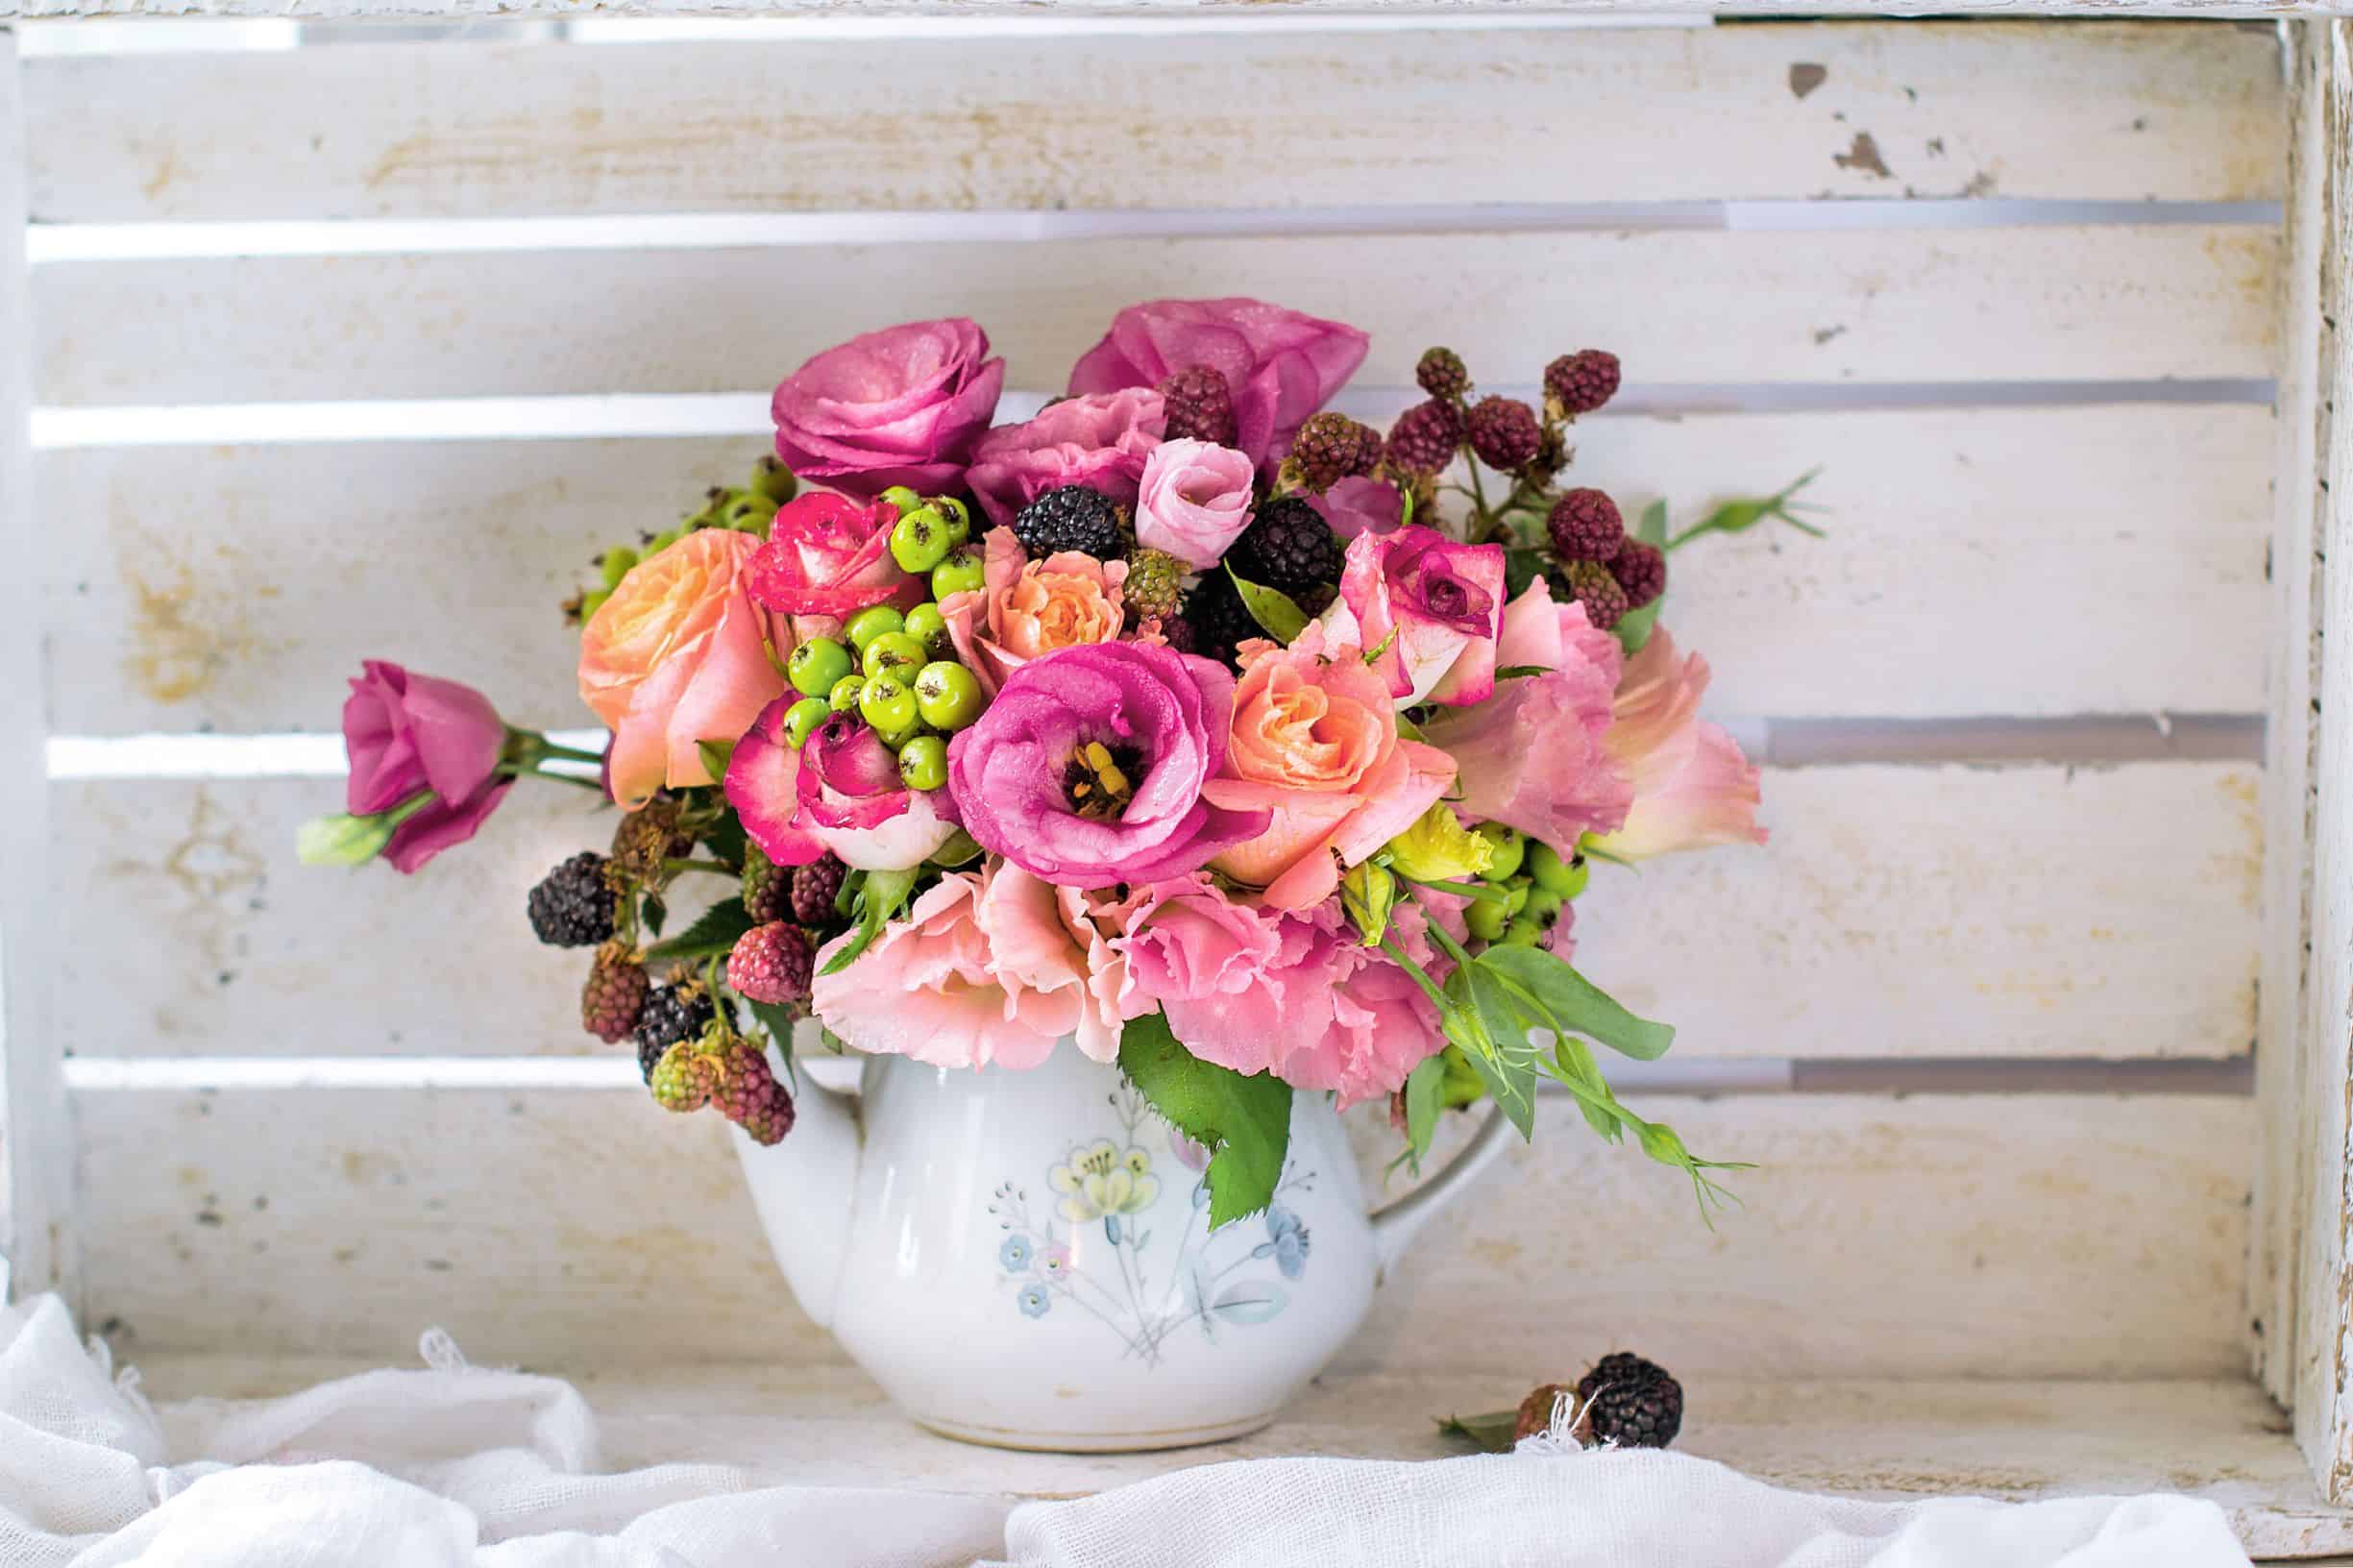
  4. Choose interesting containers for your flowers such as a teapot, pitcher, mason jar, wine glass, teacup, etc. Smaller vases allow you to display 2 or 3 striking blooms while shallow containers give you a way to display florals with very short stems. (To keep the stems from separating, bind them together with an elastic hairband).
  5. If you want to open closed buds quickly, place them in warm water for about a minute and then in color water. Leave for 15-20 minutes and the flowers will open to their maximum size. 
  6. The best way to preserve your flowers to look fresh for the longest amount of time is to use a commercial flower preservative that florists typically provide. You can also keep your bouquets in the fridge overnight if you have the room. Beautiful Flower Arrangement with Succulent
  7. To keep flowers in place, particularly in shallow vases, make a grid using clear floral tape (or thin strips of transparent Scotch tape). Insert fullest flowers first at an angle to cover the rim/sides of the bowl. Next, fill in the remaining holes with medium-sized flowers, and use the smallest flowers as accent florals to complete the design. 
  8. Place a vase within a vase to hide the stems with pieces of fruit or broad leaves. 
  9. To create a fuller arrangement, use filler flowers. Place them in gaps to create a more lush and full look.
  10. Create an interesting floral tablescape by placing single blooms in vintage glass bottles.
  11. When designing your arrangement, keep in mind balance, which does not necessarily mean everything has to be perfectly symmetrical. Play with different heights, lengths, and volume to create a visually balanced piece.