Posted on

A Joyful Guide to Holiday Decorating with Winter Berries

Winter berries

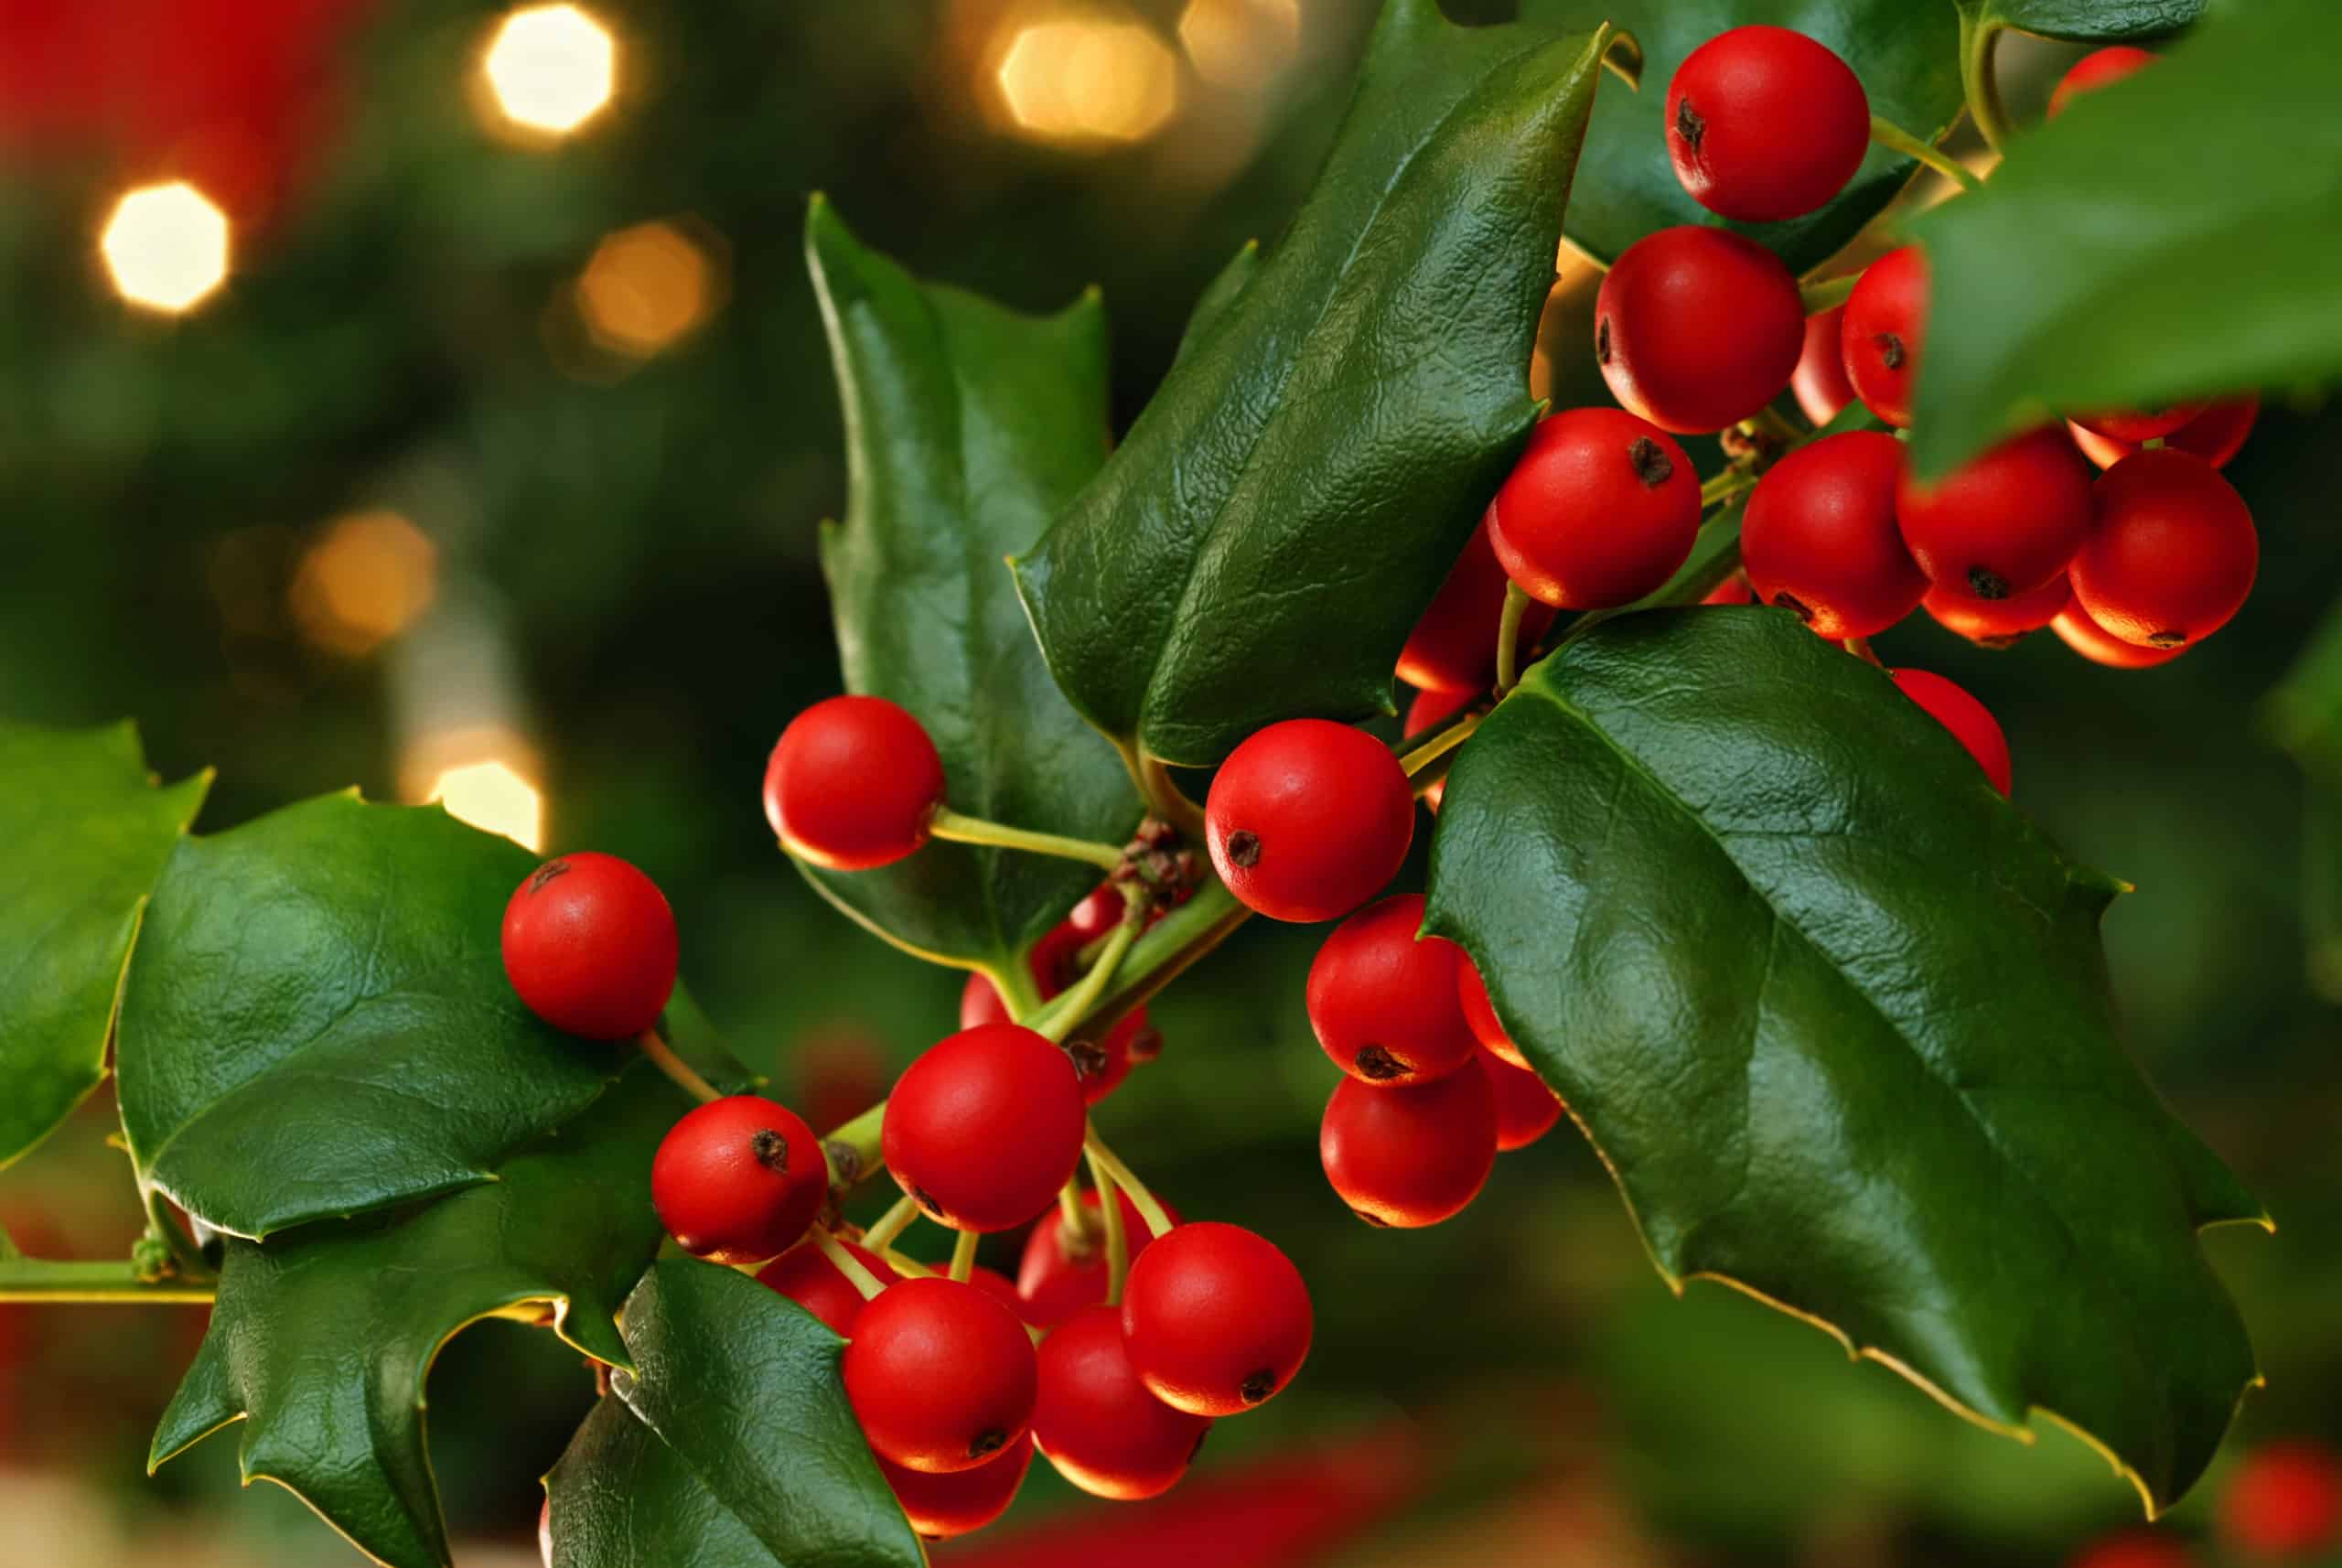
Homemade holiday decorations make your home feel a little cozier, warmer, and personal. At Cascade Floral Wholesale, creating brilliant arrangements, wreaths, garlands, and more live décor for your home or special event is what we’re all about. There is nothing more festive or versatile during the holiday season than winter berries. From American Holly and Winterberry to Hypericum and Brunia Berry, the tiny red, green, white, or silver berries add a new texture and dimension to just about anything.

Fun Ways to Decorate for the Holidays with Winter Berries
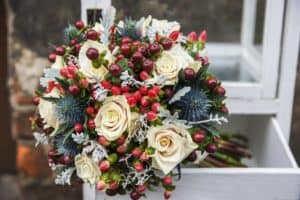
Winter floral arrangement with hypericum berries

Accent Flowers with Berries

 Holiday and winter floral arrangements bring life to our dinner tables, add a refreshing touch to our living rooms, or brighten up a loved one’s day when presented as a gift. This season, red, white, green, and silver berries are cheerful additions to seasonal flower designs, especially those made of lush greenery, crisp white blooms, and radiant red flowers. Because of their small, compact size, winter berries will entice the eye when nestled among large petals and fluffy textures.
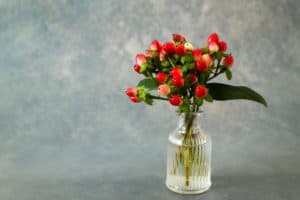
Red hypericum berries in a vase

Arrange Berries in a Stylish Vase

Whether you love a classic holiday look with lots of greenery or a minimalistic aesthetic, berries bring a warm and festive touch to any space, no matter your style. Collect only a few stems of winter berries to place in a tall, sleek vase for a perfect minimalist look, or brighten a bundle of eucalyptus, ruscus, magnolia foliage, myrtle, cedar, or pine with pops of festive berries.
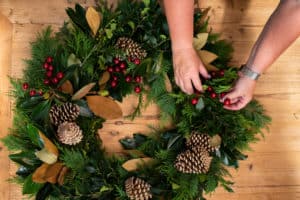
Putting winter berries in Christmas wreath

Adorn Holiday Wreaths & Fresh Garland

Holiday wreaths for your front door or above your fireplace are usually decorated with fresh evergreens, pinecones, flocking, and ribbons of all sorts of patterns and seasonal hues. The same can be said for garlands that hang above doorways or lay across a mantel or table. Like the floral arrangements and ornate vases, winter berries are always a wonderful addition. However, you can also create wreaths and garland straight from winter berries, creating a clean, put-together, bright, and energizing wreath or string of garland for your home.

Decorating the Christmas tree with winter berries

Decorate the Christmas Tree

One of our favorite holiday trends is swapping a few ornaments on your Christmas tree for holiday blooms and berries. Leaning into Mother Nature’s gifts and the fresh, crisp look, feel, and scents of the outdoors is simply magical. While meticulously adorning your Christmas tree with red and white flowers or a collection of red, white, and silver berries, the tree topper surely needs to match the rest of the tree. Gather your favorite winter berries and fasten a luxurious homemade design to the top of your Christmas tree.  
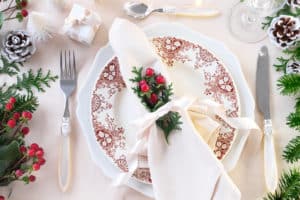
Welcoming and inviting place setting with winter berries

Dress Your Holiday Dinner Table

The holiday season wouldn’t be complete without several family dinners and gatherings with friends and loved ones. When it comes time to set the table, wow your guests with a small but impactful detail on their place setting – a small stem of winter berries. With the range of styles, shapes, and colors of berries available, you can coordinate your dishes and linens to offer a beautiful and inviting place for your guests to sit back, relax, and enjoy a meal together.

Tying hypericum berries to Christmas gifts

 Enhance Your Gift Packages

 The final stage of holiday planning and decorating is wrapping presents. Whether you are looking to impress or make your gifts stand out among the rest for a White Elephant or Secret Santa, don’t rely on fancy wrapping paper to do the job. Instead, turn to winter berries for the perfect gift accent to make your presents look elegant and festive.  

Kids crafts with winter berries

Enjoy Arts & Crafts with Your Family

 Winter berries are exceptional plants that can be utilized for a wide range of arts and crafts. From decorative accents that turn homemade Christmas gifts into pieces of art to a fun sensory project for kids, berries are perfect for holiday crafting. Fasten a small sprig to a coffee mug cozy, tie some around a sweet fragrant candle, add a pop of color to cinnamon sticks for decorating gifts or table settings, or have your kids glue each tiny berry to a paper Christmas tree to mimic red, white, and green ornaments. Let your creativity and imagination run wild with winter berries this holiday season.  

Flowers and greenery often steal the spotlight in arrangements and home décor almost all year round. The joy we feel during the holiday season deserves to be celebrated with something different and exciting, like winter berries. Find your favorite berries for holiday decorating and flower bouquets at Cascade Floral Wholesale.

Posted on

DIY Pumpkin Flower Arrangement for Thanksgiving

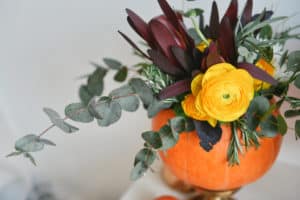
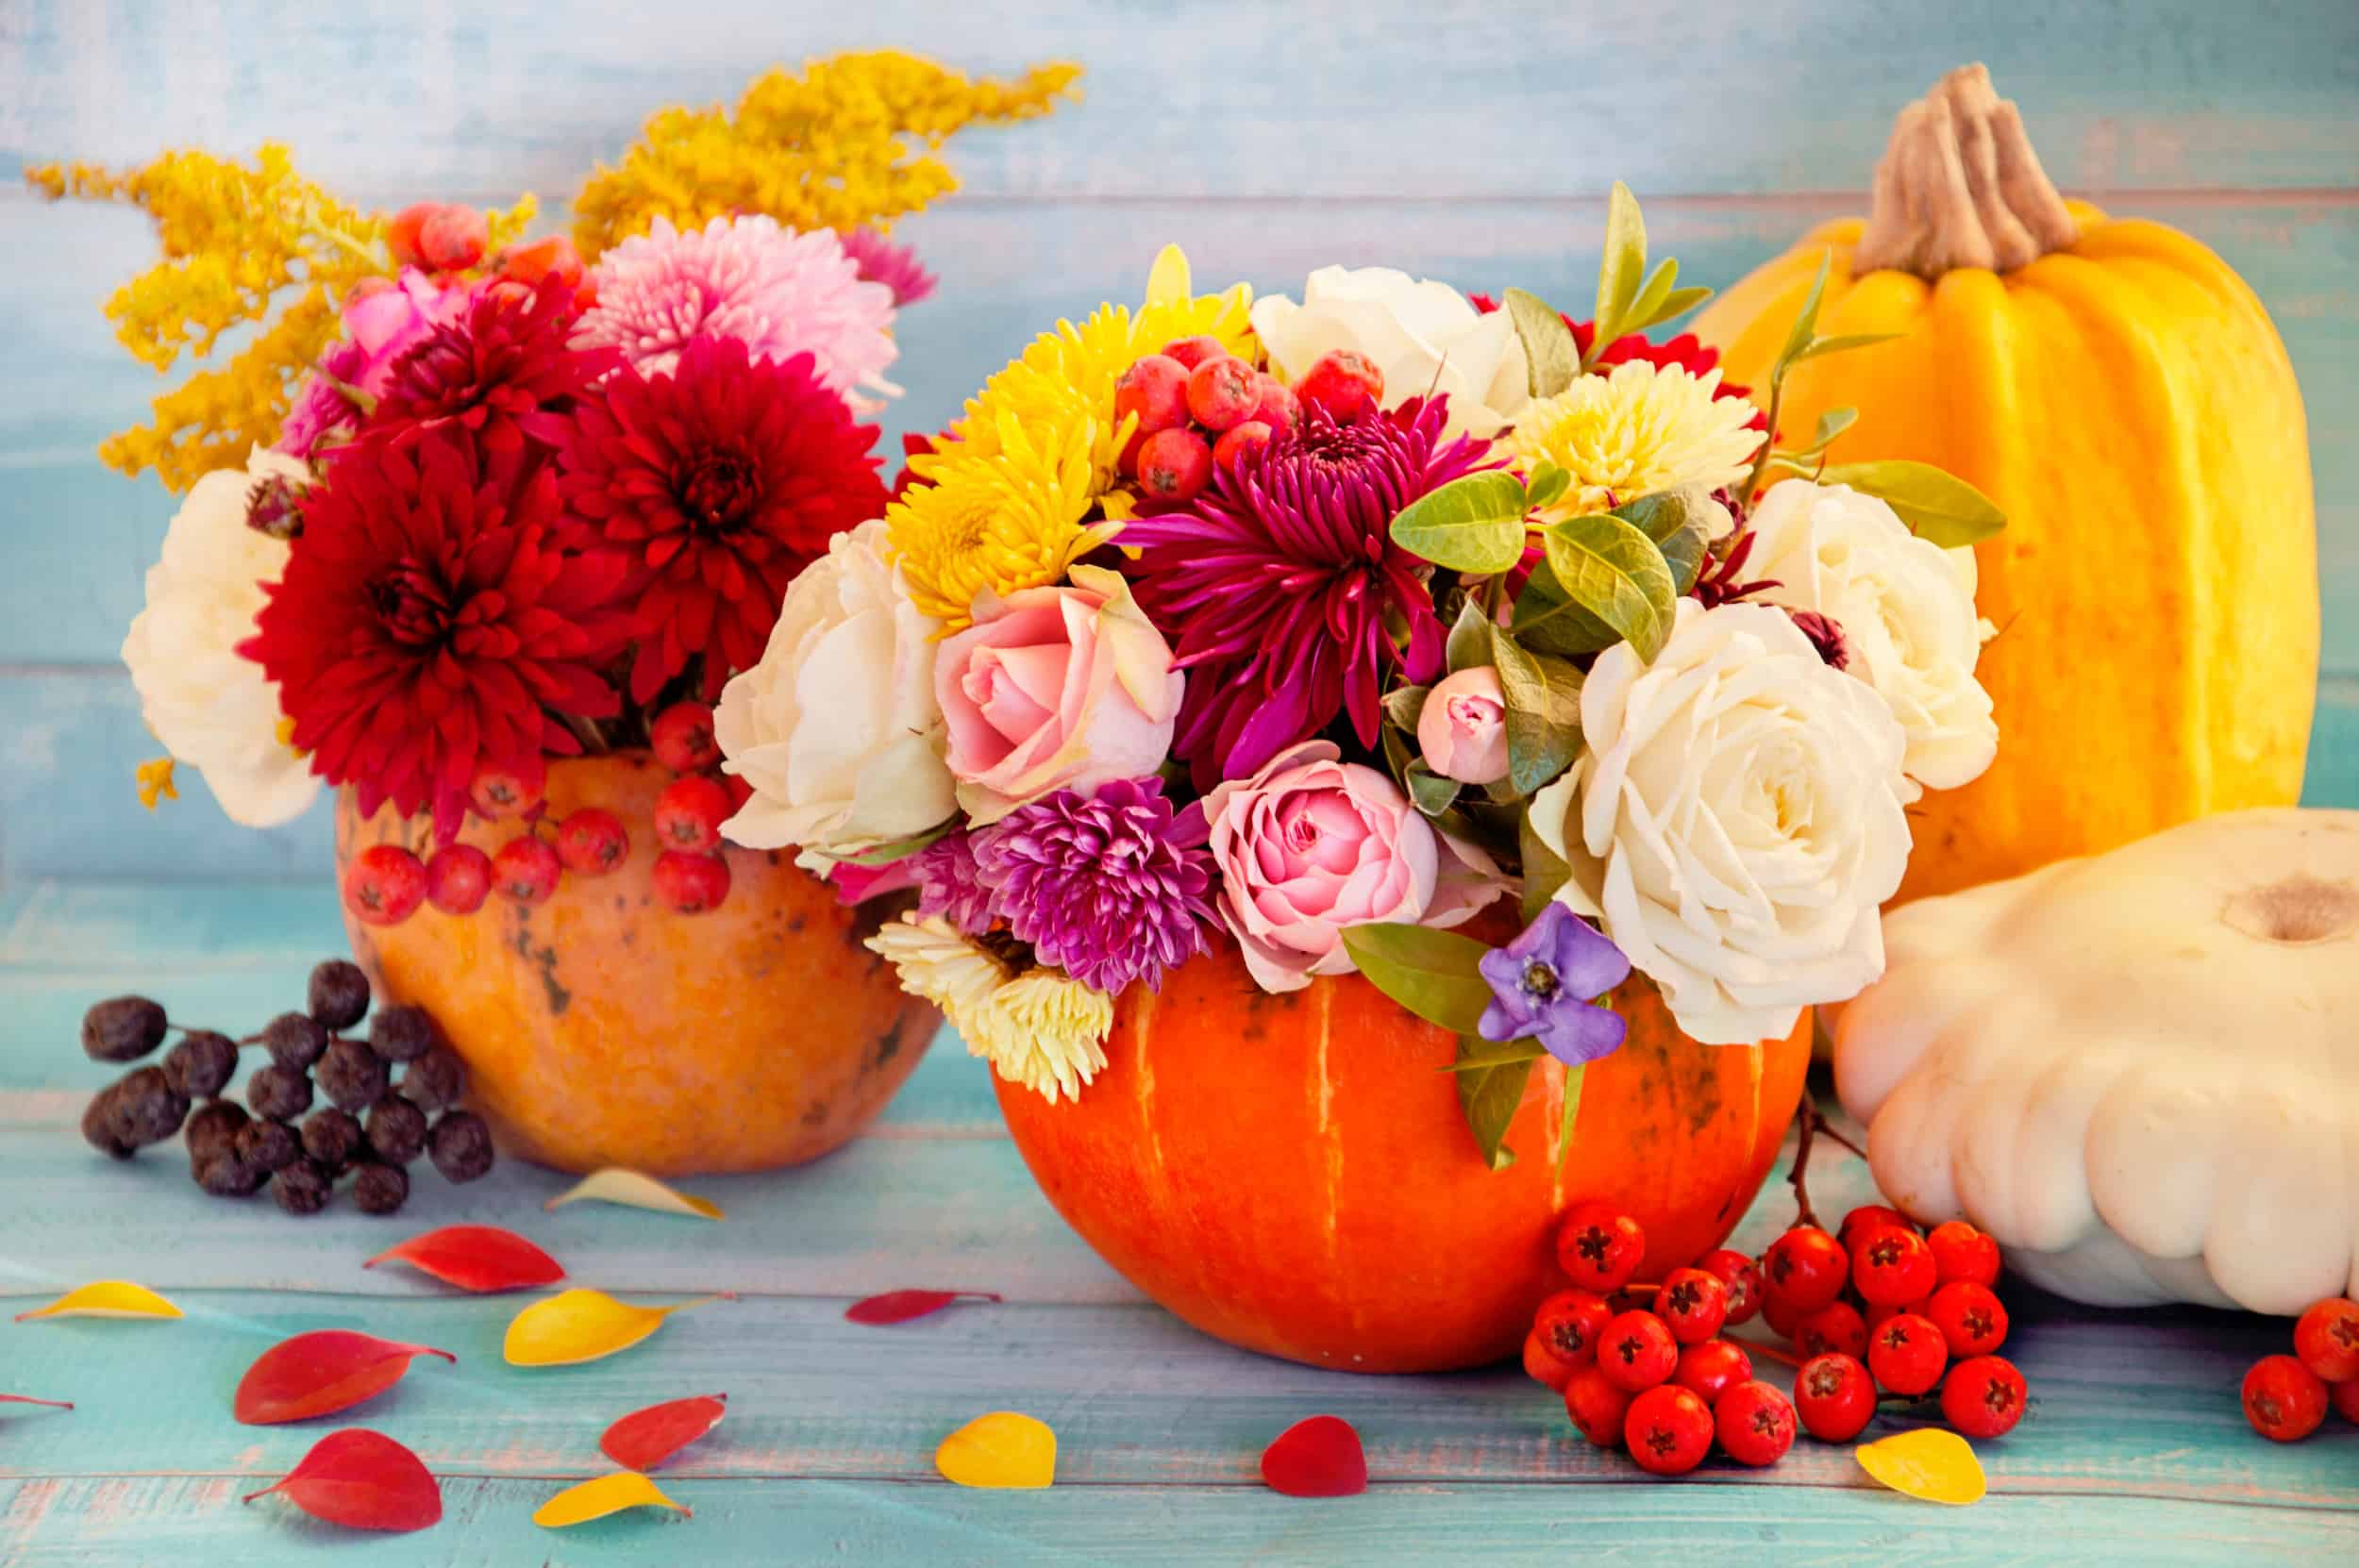
Flowers in a pumpkin. Bright autumn background. Colorful autumn card. Pumpkin with fresh flowers. Autumn flower arrangement. Autumn bouquet.

Bring the beauty of fall into your home with a charming and easy-to-make pumpkin floral arrangement. It’s a simple and festive way to decorate your home with fall’s beauty. A warm and welcoming floral bouquet of the season’s gorgeous rich color palette is a great way to celebrate autumn, spruce up your home, and add simple elegance to your Thanksgiving table. 
autumn floral bouquet in a pumpkin vase for Halloween. Table setting for wedding

How to Make a Pretty Pumpkin Floral Arrangement

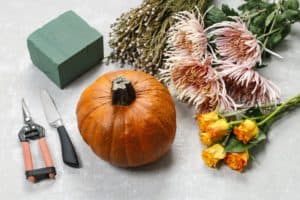
How to make a Thanksgiving centerpiece - step by step: flowers and accessories.

Tools you’ll need: 

  • Small to medium-sized pumpkin (select one with a level bottom, so the pumpkin doesn’t lean to the side)
  • Pumpkin carving knife or a regular sharp knife
  • Flower clippers or sharp scissors
  • Narrow vessel (tall shot glass or skinny vase) to place inside the pumpkin
  • Gorgeous fresh seasonal blooms of different sizes, colors, and textures 

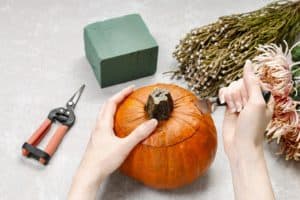
How to make a Thanksgiving centerpiece: bouquet of flowers in pumpkin.

How to make the flower bouquet

  1. Carve a hole in the top of the pumpkin large enough for the glass vase (or vessel holding the flowers) to fit inside. 
  2. Scoop out all the seeds and save them for later (to roast for a snack, add to salads or smoothies, or dry them and let the squirrels, deer, and birds enjoy them).
  3. Fill the vase with ½ to ¾ of water and place it inside the pumpkin. You do not want water to sit directly within the pumpkin itself – it will get messy quickly. You can also place a water-saturated piece of floral foam into the bottom of the vase instead of water.
  4. Once the vessel is in, you can begin designing your bouquet. Start with filling in the greenery first. Seeded eucalyptus or silver eucalyptus are great options for starting with. Fall leaves and branches are also excellent design choices.

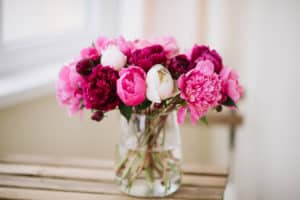
Beautiful bouquet of flowers: white, pink and burgundy peonies

           You can also create the flower arrangement in the vessel before you put it into the pumpkin if you prefer.

          5. Add sturdy flowers, followed by berries or other filler florals to fill in the spaces and complete the look. Since this is a centerpiece, you’ll want the arrangement to be viewable from all sides. Turn the pumpkin as you work to ensure it’s balanced and full all around. 


Tips for success: 

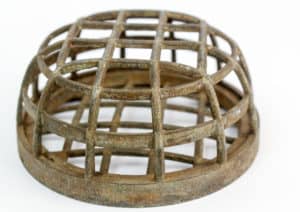
  • Use a flower frog to secure stems and assist in creating a rounded and balanced arrangement. A flower frog is an object made of metal, wood, ceramic, or plastic with evenly spaced holes for placing flowers into. 

Vintage metal flower cage used for arrangements

  • Place the vessel you’ve selected to go inside the pumpkin on top and trace around it with a sharp knife. Then using the tracing as a guide, cut deeper and carve out the pumpkin meat to create a hollow center so that that vessel will fit in snugly.
  • Use a spoon to scoop out the pulp – it works great at hollowing out pumpkins.
  • If using floral foam, leave it in water until it stops releasing bubbles. This is how you know it’s completely saturated. Don’t force or push the foam under the water; let it sink naturally. 
  • If you don’t have a flower frog, no need to go out and buy one – just use floral tape (or any thin tape) to create a grid over the opening of the vessel.
  • Make sure to cut the stems of your flowers at a 45-degree angle before placing them in water or floral foam. Place the longest stems in the center at different angles to create a domed look.
  • Make a trio of pumpkin bouquets with different-sized pumpkins for a more festive fall-inspired look. 
  • Use white pumpkins to elevate the design and give contrast to the richly-colored fall florals.
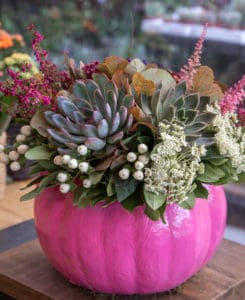
  • Paint the pumpkin a fun color or add succulents instead of flowers for a fun, chick look. 
  • Don’t fuss too much about the design. Looking carefree and fuss-free is the goal of the arrangement and what makes it charming. 

Decorated pink pumpkin with succulents, flowers and leaves at the greek garden shop in October. Vertical.

Non-carving method: 

Choose a level pumpkin of any color and place a block of water-saturated floral foam on top, pushing down onto the stem until it’s secure. Start building your arrangement laying a base of greenery to cover the foam. Build arrangement and fill in any areas showing the foam, so it’s fairly well concealed. 

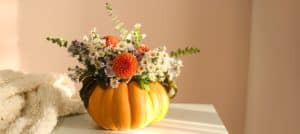
Beautiful autumn bouquet in pumpkin on table

Posted on

How to Create Stunning Floral Arrangements with Zinnias

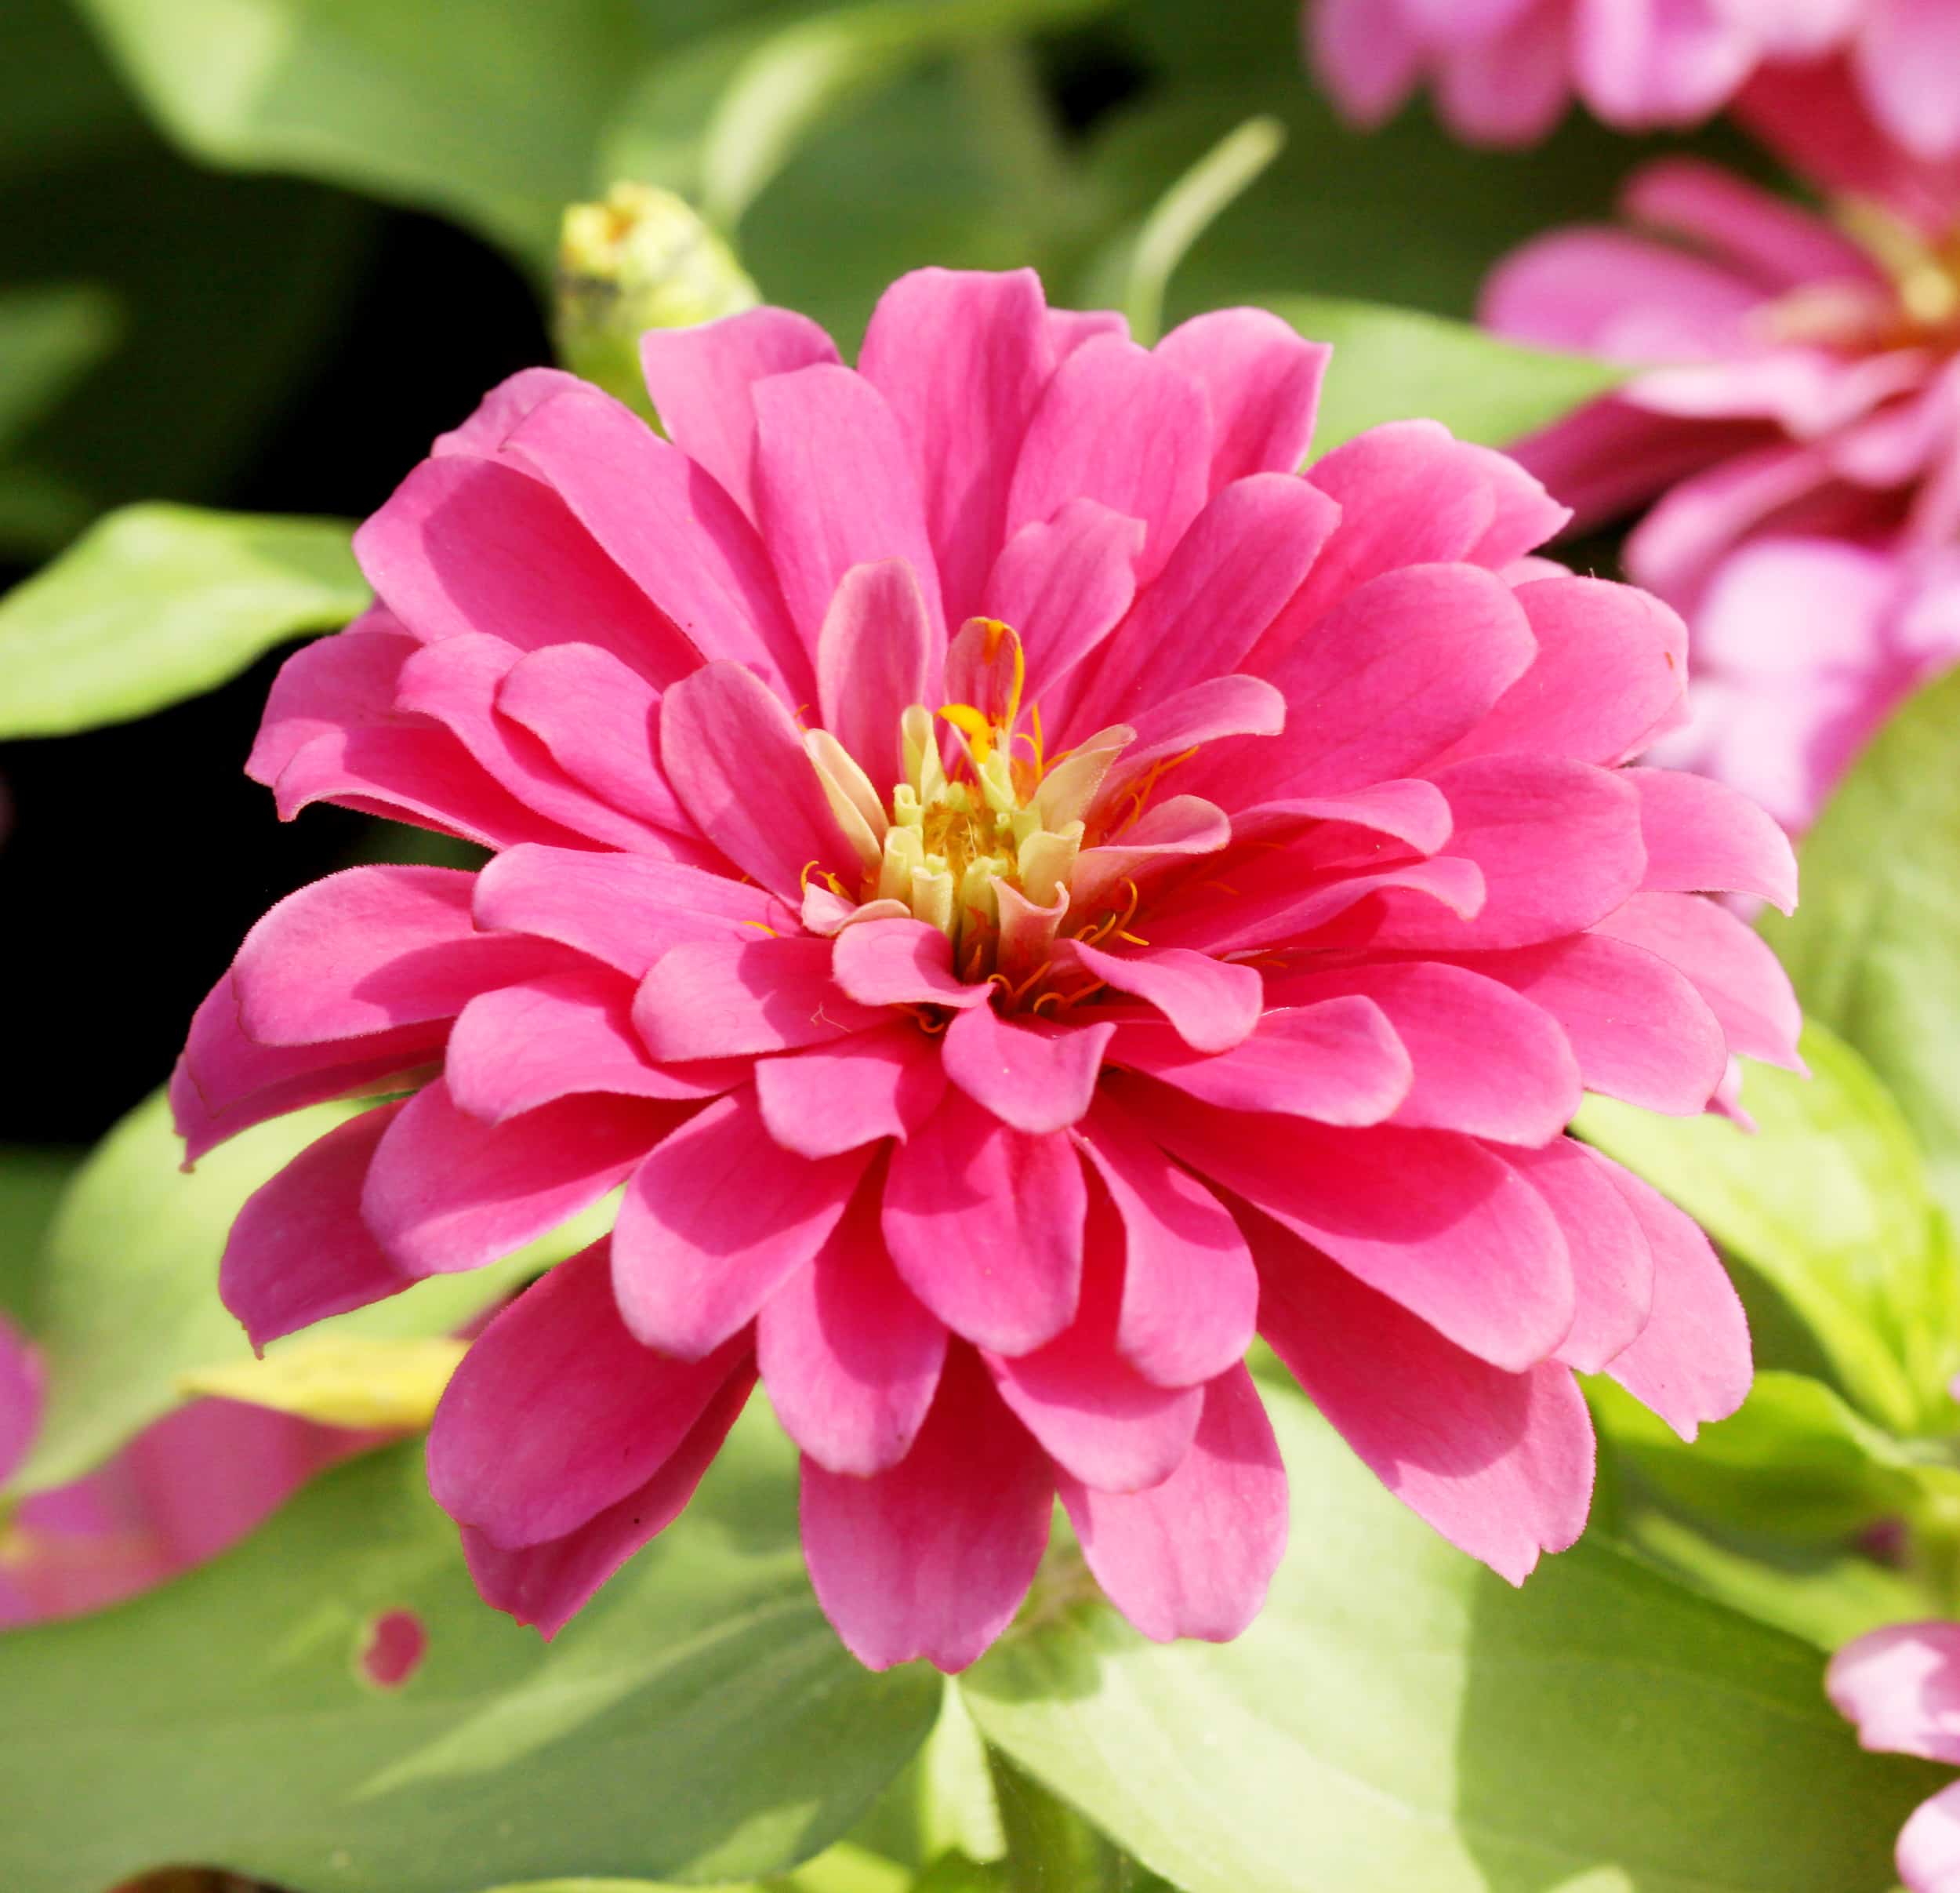
up close of pink Zinnia

Zinnias are loved by both florists and gardeners for their attractive, full shape and colorful varieties. They are easy to grow and care for and look amazing in arrangements with other florals or on their own. Because the zinnia is a hardy bloom and easy to grow, it is often used as a filler flower and considered more of a ‘basic” flower. Here at Cascade Wholesale Flowers, we think zinnias are spectacular with some truly gorgeous varieties, such as Zinnia Oaklahoma, Purple Prince, Peppermint, and Cactus-Flowered Zinnias. 

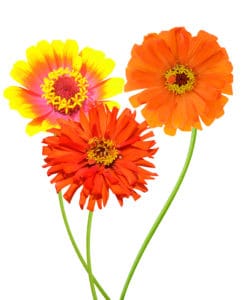
A summer zinnia flower branches isolated on white background

Zinnias are a genus of the sunflower plant in the daisy family, and there are 22 recognized types of zinnias, with zinnia elegans being the most popular. Native to Mexico and Central America, zinnias are named after German botanist Johann Gottfried Zinn, who discovered these colorful blooms and imported them into Europe. 

Pink yellow and red zinnias


Different types of zinnias vary in appearance and size and have either single- or double-formed petals. The zinnia elegans variety most closely resembles the dahlia due to its numerous, doubled-rolled petals. In fact, zinnias are often used as a substitute bloom for the dahlia. 

To bring out the beauty and brightness of the lovely zinnia, use the below floral arranging tips to make this underrated bloom shine! 

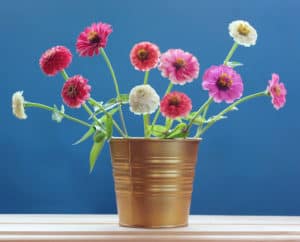
Bouquet of zinnia on the table on a blue background. Flowers in a vase. Copy space.

Leaves the stems long

Unless you are creating a traditional mound-shape arrangement, leave the zinnia stems long to allow for interesting shapes, forms, and dimensions within the design. Plus, there’s just something about longer stems that make them appear more elegant yet more naturally wild at the same time. 

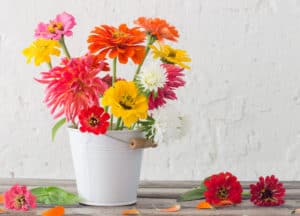
zinnia flowers in bucket on white background

Remove all the leaves from the stem

To highlight the interesting shape, line, and elongated form of the stem, it must be clean and free of all foliage. Removing all the leaves accomplishes this as well as enhances its linear quality. The natural curve of the stem does a great job of adding motion, action, and a dynamic quality to the design. 

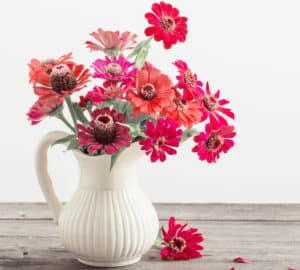
Bouquet of zinnia flowers

Leave open spaces

Your instinct may be to group zinnias close together to create a voluminous mound of colorful petals, but leaving ample space in between individual stems produces the appearance of depth and openness while allowing the flowers to “breathe.”  An open arrangement such as this also allows the eye to fall upon each bloom, taking in its individual beauty rather than competing with an overabundance of petals. 

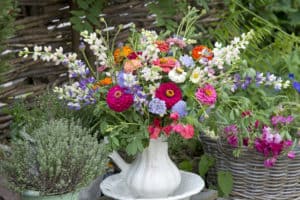
Flower bouquet in vase in a garden setting

Pair zinnias with skinny filler flowers and greenery

Most zinnia varietals have broad, smooth petals that are layered upon each other to create a full, ruffled look. To highlight this characteristic, avoid placing similarly wide-petaled blooms, such as hydrangea, roses, and daisies, next to zinnias, or the design might start to look overly poofy and monotonous. Instead, use finely-textured filler flowers and greenery such as celosia, globe thistle, feather eucalyptus, bear grass, Queen Anne’s lace, or baby’s breath. The contrast between the thin and the wide, the light and the heavy, and the flat texture with non-flat is what will make your design exciting and full of interesting energy.

Multi-colored zinnia flowers close-up on wooden table

Use double-flowering zinnias

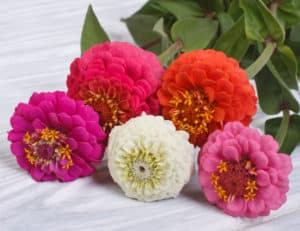
Voluminous, globe-shaped, double-form blooms like Oklahomas, Queens, and Zinderellas are the best types of zinnias to use as they are gorgeous, lush, and eye-catching. These large, spherical blooms are perfect focal flowers, while single-petal varieties work well as secondary flowers in an arrangement. 

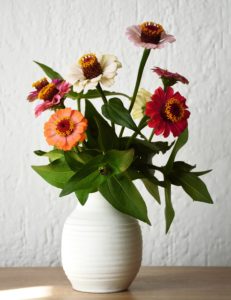
Close up of zinnia flowers in vase

Using the above design tips is a great way to start experimenting with creating striking designs with the unique shape, texture, and colors of zinnias. You just might find this under-the-radar-bloom is your new favorite flower to work with!

Posted on

How to Arrange Ranunculus Blooms

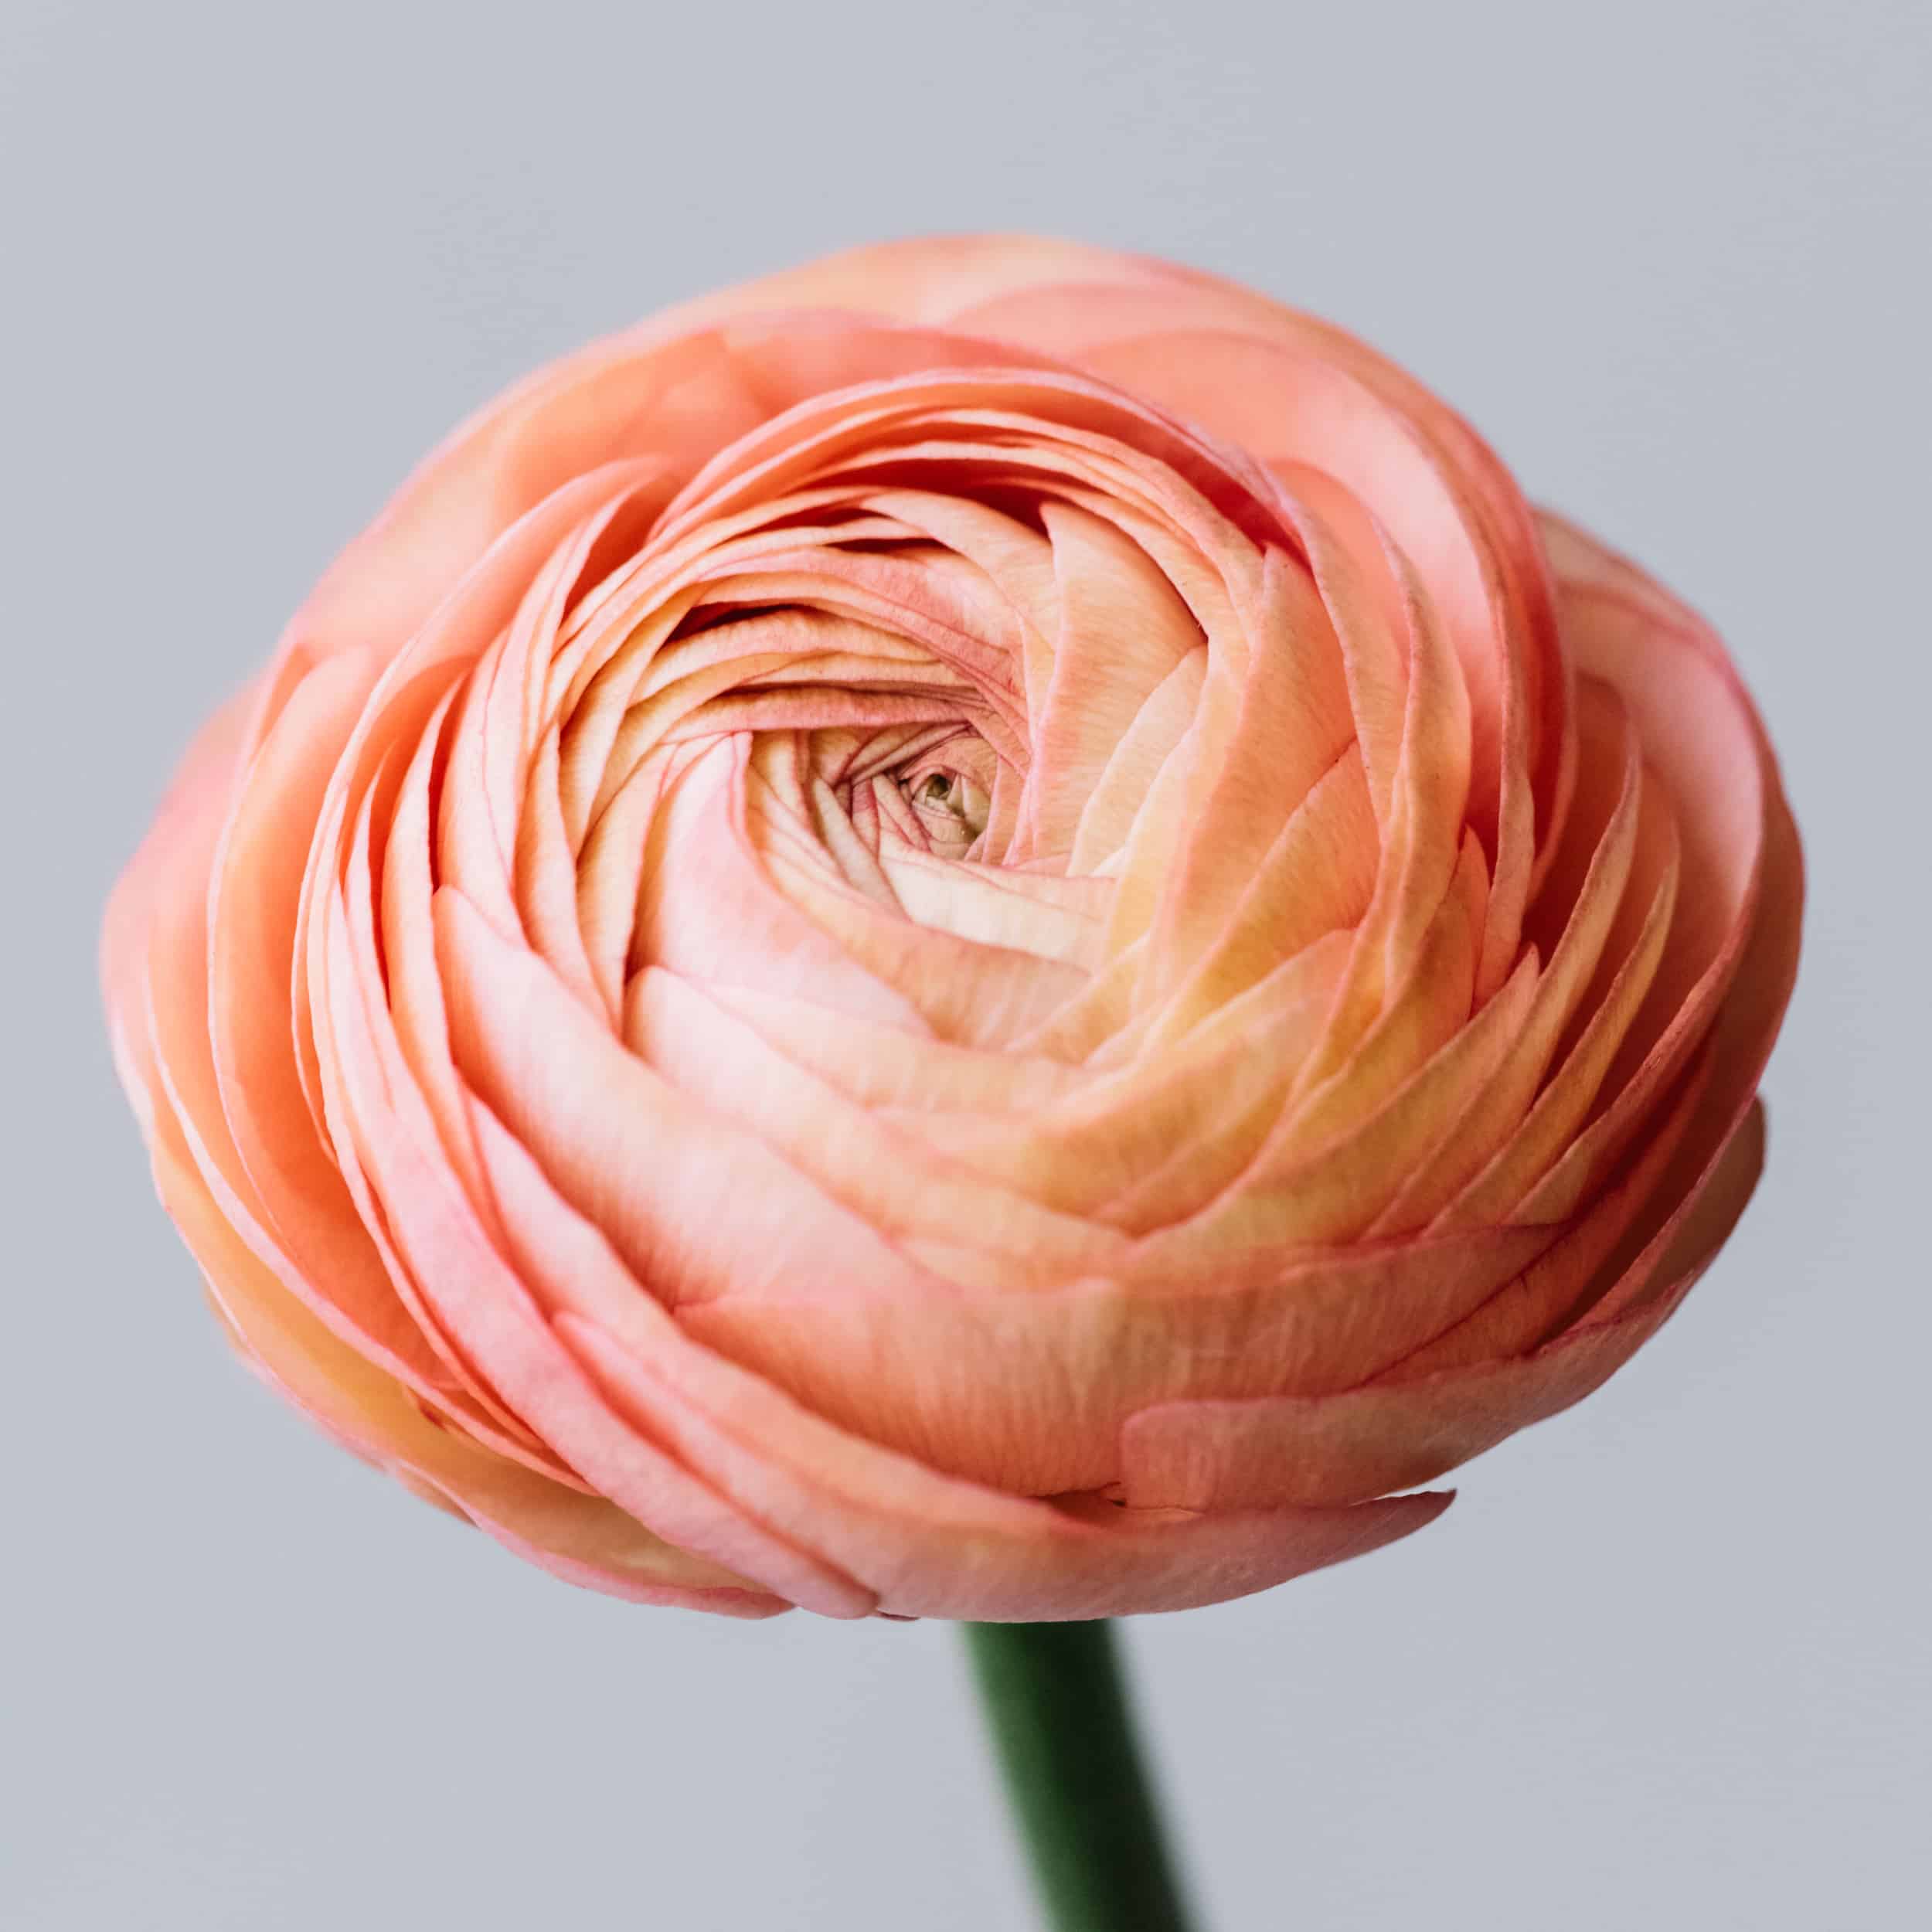
Beautiful fresh blossoming single salmon colored Ranunculus flower on the grey wall background, close up view

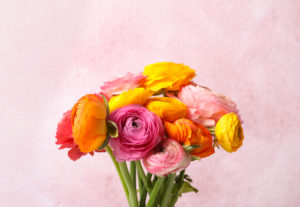
Beautiful, dainty, and striking, the ranunculus is one of our favorite blooms! Their paper-thin petals and lovely hues give them a timeless, classic look that evokes romanticism and femininity. A popular bloom frequently used in weddings, ranunculuses are great for everyday bouquets as well. If you’re ready to try your hand at creating a stunning arrangement with ranunculus blooms, then keep reading. The floral designs experts at Cascade Floral Wholesale have step-by-step instructions for working with the resplendent ranunculus!

Beautiful fresh ranunculus flowers on white background

About Ranunculus

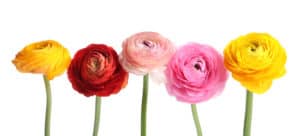
Also known as a “buttercup,” the ranunculus flower is native to Southwest Asia and was introduced to Europe in the 16th century. The Ranunculus is distinguished by its numerous thin, crepe paper-like petals that wind tightly around its center until it is in full bloom, where the outer petals expand. Each ranunculus blossom sits atop a curvy stem, and the flowers come in white, yellow, cream, orange, red, purple, and pink colors. Keep ranunculus stems away from kids and animals as fresh ranunculuses are poisonous. 

Florist at work. Woman making bouquet of persian buttercup flowers (ranunculus)

Preparing the Ranunculus Stem

Strip each stem of any foliage that will fall below the water line, and then cut the stems at a 45-degree angle an inch or so from the bottom. Since the stems are hollow, they may split or become too soft when placed in water. To prevent this, wrap a string around the base of each stem just above the point you plan to make your cut. Once the leaves have been removed and the stems given a fresh cut, place them in a vase of room-temperature water that has added floral preservative. Allow the stems to sit in the water for at least 2 hours before being stored or worked with.

Bright Pink Yellow Peach Orange Ranunculus Fowers on White Backg

Tips for Creating an Arrangement with Ranunculus

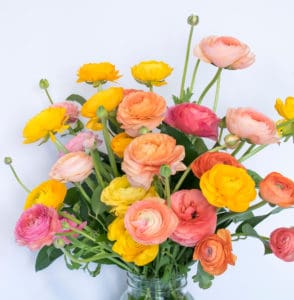
Once you’ve selected the vase, fill it with warm water and add flower food. Starting on one side of the vase, place in a ranunculus stem and then place a second one on the opposite side. Go back and forth from side to side, adding greenery and other florals (if you like) to ensure the arrangement stays balanced. As the stems are curvy, work with the curve instead of against it. Placing the stems so they curve slightly outward and over the rim of the vase produces a nice effect where the flowers face you. Remember, not every stem will be fully bloomed, so leave room between them to allow space for when the buds are fully opened. 

As ranunculus stems are long and curvy, the flower makes it top-heavy, so they will need to be supported. The best way to do this is with a vase that has a long thin neck. Just a few fresh ranunculus stems and a piece of greenery in a bud vase are striking.

To easily create a full and balanced arrangement, use the chicken wire, tape-grid, or mason-jar technique. To add dimension and intrigue, cut the stems to varying lengths. If you need to fix drooping stems, place them in plastic straws. This works best if the straws can be hidden by the vase or in a full arrangement with plenty of other stems obscuring the plastic straws. 

Beautiful fresh ranunculus flowers in kitchen sink

Maintaining Your Arrangement

Keep your beautiful arrangement of fresh ranunculuses away from direct sunlight, hot or cold drafts, and pets. Every two days, give the stems a fresh cut with sharp scissors, change the water, and put in more floral nutrients. With proper care, ranunculus can last for 12 days!

For all your flower needs and DIY floral projects, Cascade Floral Wholesale is there for you! 

Beautiful fresh ranunculus flowers on color background

Posted on

A Guide To Popular Greenery

mixed-eucalyptus

Flowers may be the star of the show, but with greenery working as their ever-important supporting cast and backup singers, the “show” is more well-rounded, complete, and so much more amazing. Nearly every floral design relies on greenery to bring the entire piece to life. Greenery provides support and a foundation for beautiful blooms, as well as offers contrast, texture, rhythm, spatial dynamics, and wonderful green colors which act as a neutral tone to give your eyes a rest. 

More than just filler, sprigs of greenery are key players in the overall effect of a flower design. For some florists, greenery is the design, as fabulous greenery pieces are starting to take center stage in bridal bouquets, centerpieces, and floral decor. According to the floral experts at Cascade Floral Wholesale, the only limit to how greenery can be used is your imagination! Below we list some of the more popular and versatile pieces of greenery we love working with. For even more options, browse our selection.

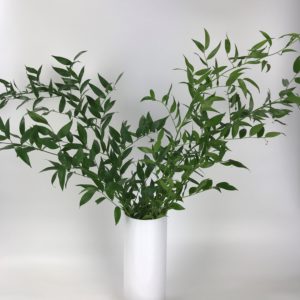
Italian Ruscus

Italian Ruscus

Italian Ruscus lends a vivid, vibrant green, and dynamic nature to floral designs. Beloved for its versatility, hardy stems, and slim, elegant leaves, Italian Ruscus works especially well in floral arches or trailing beautifully from a cascading bouquet. Place it in a bride’s hair for a Greek goddess effect, weave it down the middle of an event table, or place it atop a cake for a wonderfully natural addition. However you use it, the beautiful emerald green leaves of Italian Ruscusa are always up to the occasion.  

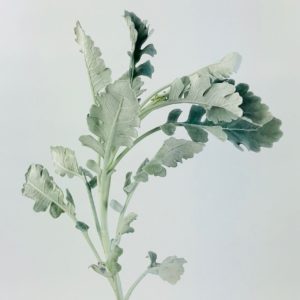
Dusty Miller

Dusty Miller 

For a soft, ethereal look, add a bit of Dusty Miller which evokes charm and mystery with its silvery-green leaves and fuzzy texture. When added in bunches to your floral designs, it resembles clusters of lace. There is nothing fragile about this greenery, though, as its stalk is sturdy, and the leaves are thick, belying its overall delicately romantic nature. Nestle it within bridal bouquets or centerpieces for a soft, understated elegant look. 

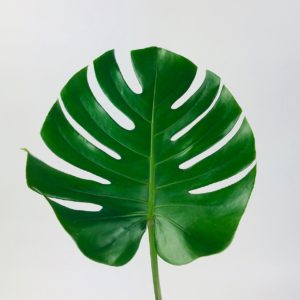
Monterra Leaf

Monstera

This gorgeous tropical leaf is from the Monstera plant, also known as the “Swiss Cheese plant” due to its dramatic and large holes. It’s a piece of greenery that is becoming increasingly popular, appearing as a focal point of green decor for events that lean toward the modern and tropical. Just one or two of these dinner-plate-sized leaves make a striking impact when used as table runners, centerpieces, or hanging greenery. They can even be used as placemats for food or the main piece of decor repeated in invitations, signage, dress patterns, and in the bridal bouquet.

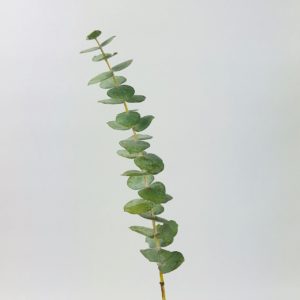
Spiral Eucalyptus

Spiral Eucalyptus

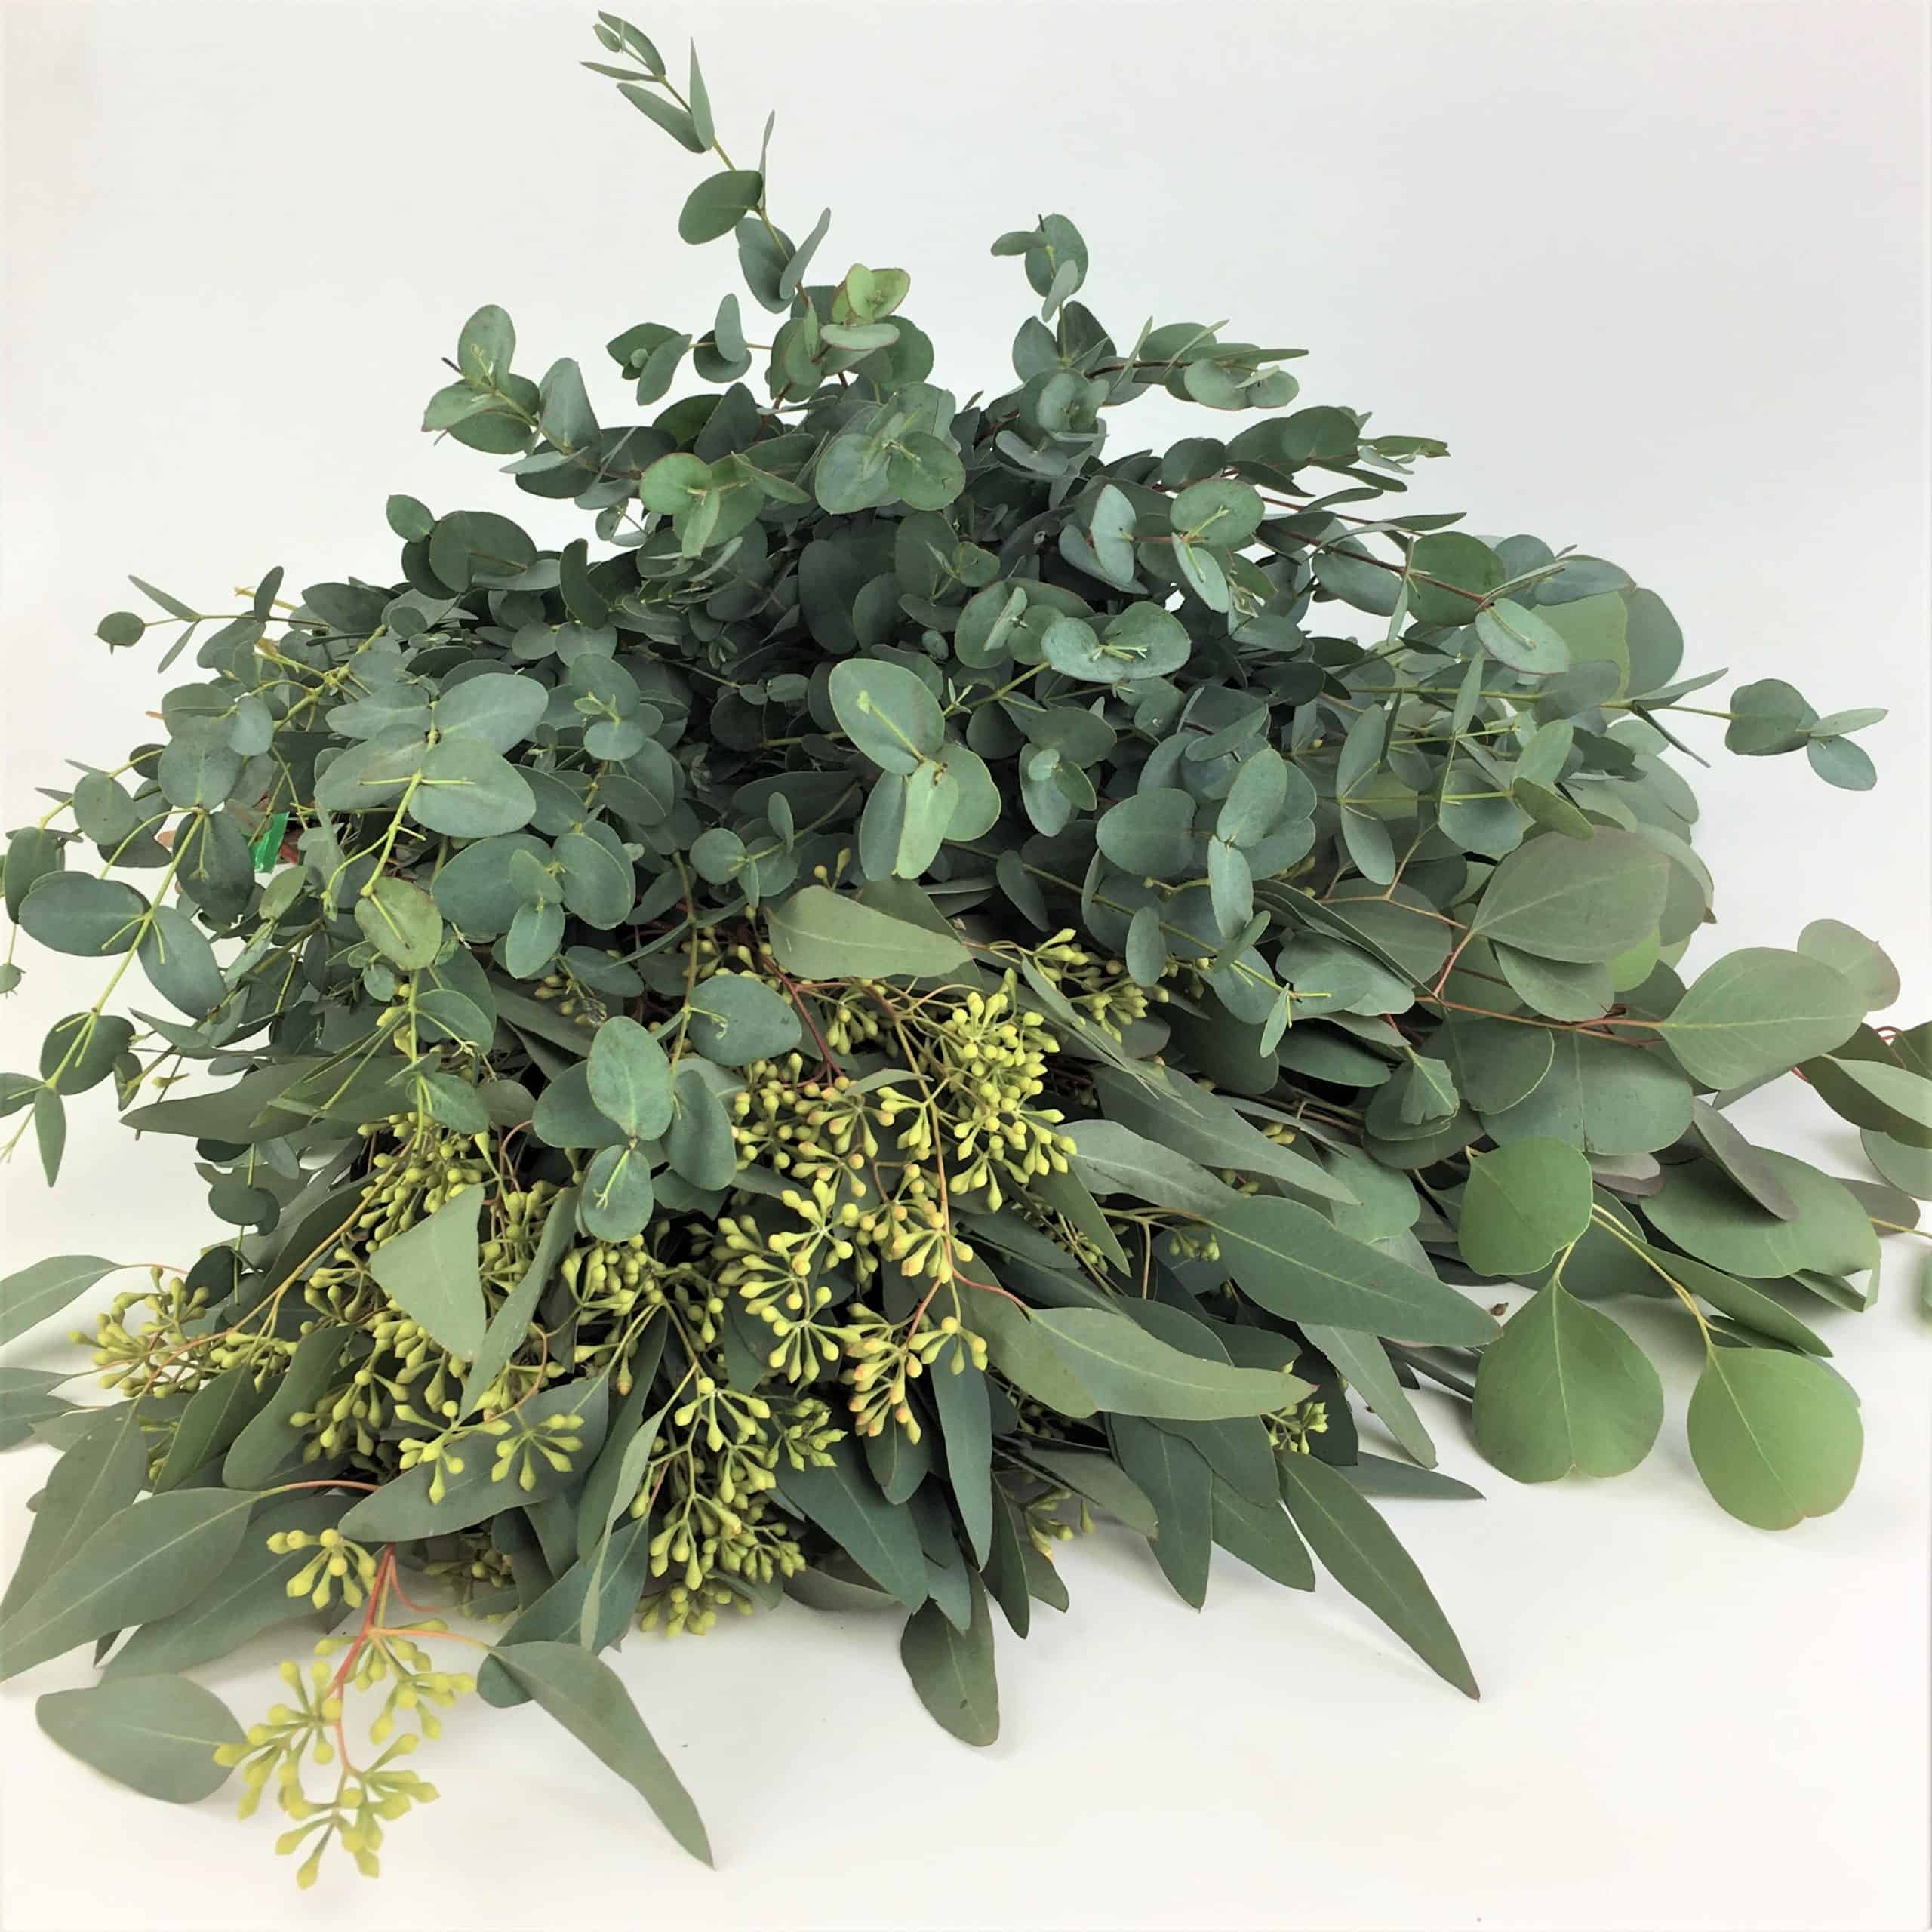
Spiral Eucalyptus brings a whimsical yet intriguing look to floral bouquets. They provide vertical accents with their straight sturdy stems that have numerous, smaller circular leaves growing off of them. When used in a bunch, the dynamic and voluminous look they create is rich with texture, rhythm, and patterns. The spiral Eucalyptus pairs well with most flowers and also looks great in a vase on its own. 

Myrtle Leaves

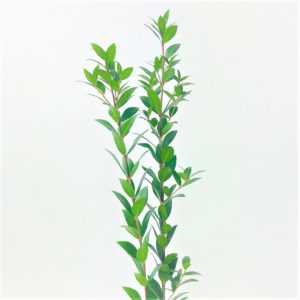
Myrtle

With long stems lined with glossy leaves in a pretty, mid-tone green, myrtle is a popular choice for many floral designers. Using multiple stems together creates lush, thick foliage that looks great in centerpieces. It’s also a wonderful addition to any decor piece for the home as it exudes a sweet fragrance. Myrtle symbolizes love, luck, and prosperity which is why it is often used in wedding decor. 

Spring of Tree Fern

Tree Fern

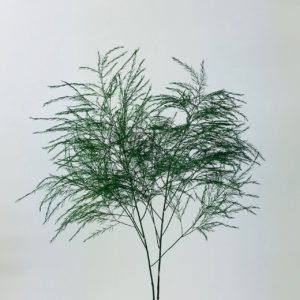
With a tuft of plumage sprouting from its top, tree fern brings softness, wispiness, and fun to any arrangement. Often used to add a touch of green to boutonnieres and corsages, this refreshing and versatile greenery provides airiness, texture, and allure to floral arrangements. 

Explore the many incredible ways to use a variety of greenery in your own floral creations, and don’t hesitate to ask us how we can help you find your perfect selection today. 

Posted on

How to Arrange Roses

Roses are perfect for brightening any space, lifting our spirits, and filling us with a sense of calm as we gaze upon and admire their beauty, so why not make them a regular part of your life? Arranging fresh-cut rose stems into an enchanting design is easy. Below are two of the most popular flower arranging methods you can do yourself.

Close-up of male florist preparing flower bouquet at his flower shop

Prepping Your Roses

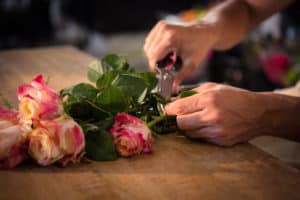
When you have your fresh roses in front of you, remove all the leaves along the stem and any brown or damaged petals. 

Choosing Your Vase

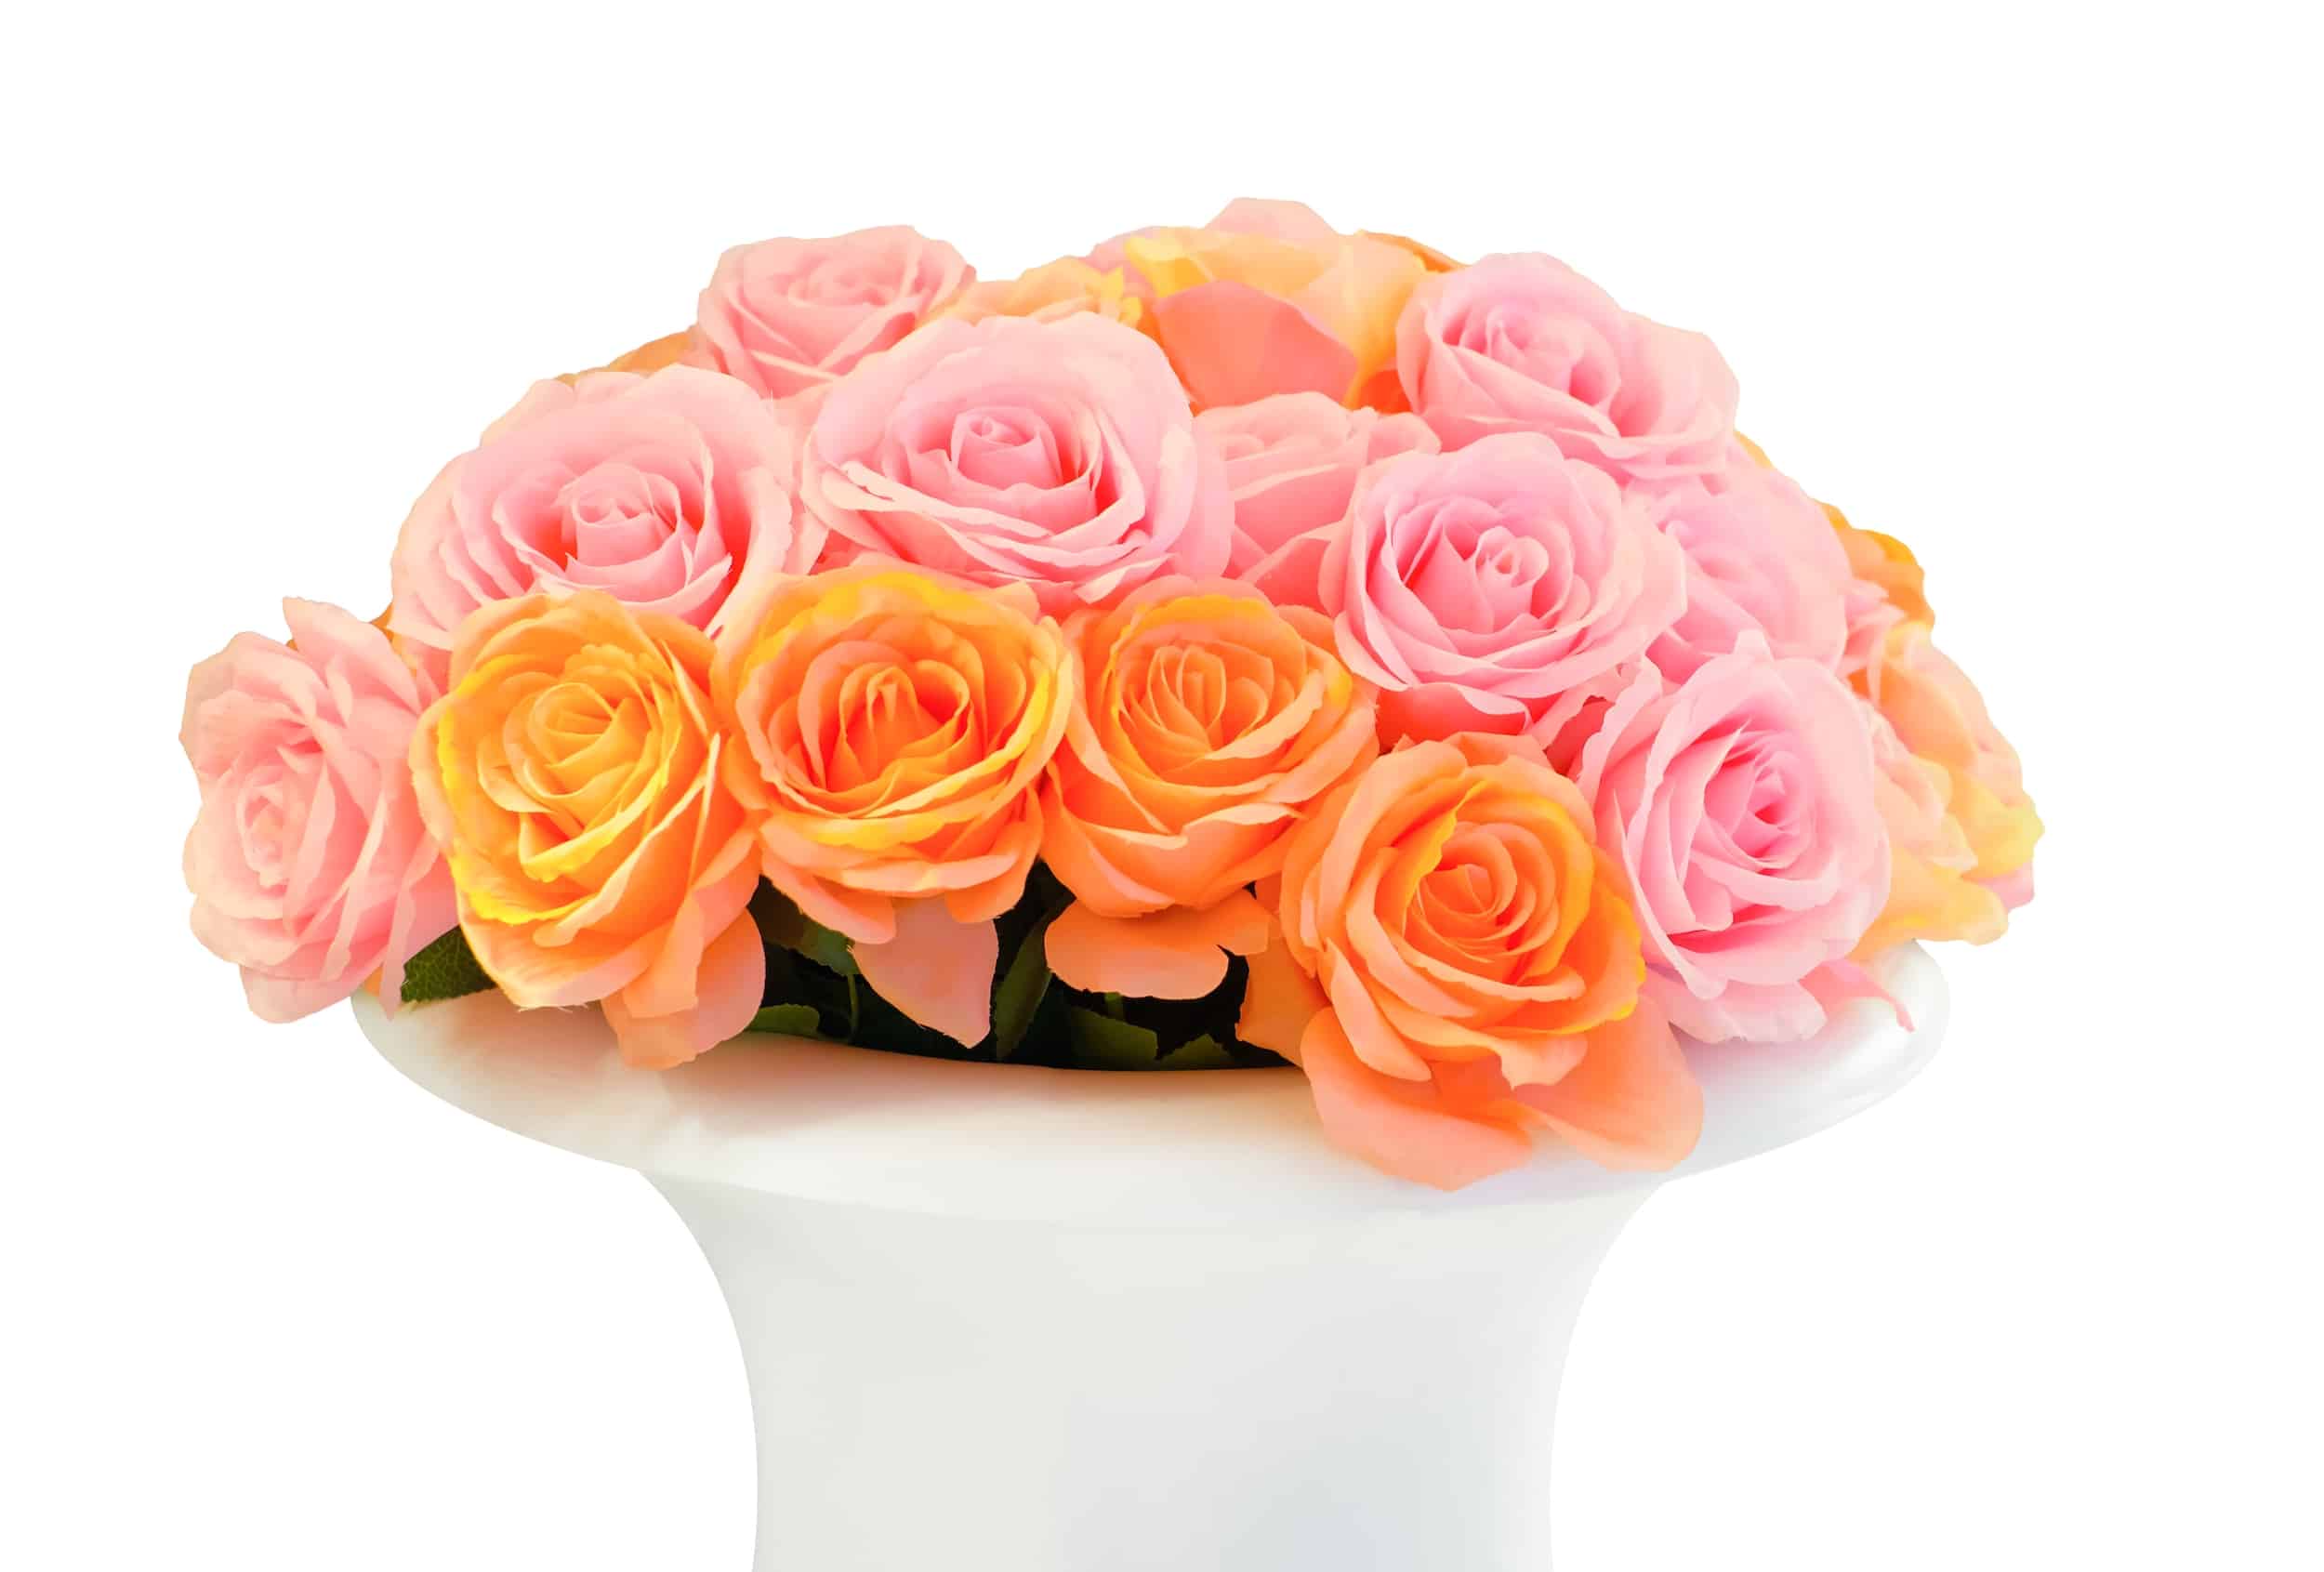
When choosing a vase, opaque is typically better than clear glass. A great vase shape is an hourglass shape that is wide at the bottom, eventually narrowing, and then flares out slightly at the top. Another popular vase shape is round which tends to be shorter but makes compact, striking floral designs. 

Beautiful bouquet of blooming long stem pink roses on white background.

Rose Arrangement #1 – European Hand Tie Method

Vase type – Hourglass

Fill the vase with tepid water no more than ¾ full. Add flower food. 

After the stems have been prepped, lay them out in front of you. 

Select a stand-out bloom to be your center rose. Add a second rose on an angle next to it so the stems criss-cross. 

Portrait of female florist in apron arranging fresh flowers for bouquet in the flower shop, using roses, hydrangea, peonies. Small local business

Continue adding roses in a circle ensuring the stems cross each other to create a domed effect for the buds and a sprawling look for the stems underneath.

Once you’ve used up all the roses or reached your desired size (or capacity for the vase), hold the bouquet next to the vase and cut off the stems so that rose heads are just above the lip of the vase. The roses are now ready to be placed into the vase. Fluff up and move individual stems as necessary, but the bouquet should be fairly tight with little to no gaps. If the arrangement is too loose and falls open, remove them and bind the bouquet at the base with twine or florist tape before placing back into the vase.  

Female florist holding fresh roses in vase

Rose Arrangement #2 – Tape Grid Method

Vase type – Round

Fill the vase with tepid water ¾ full. Make sure the edges of the vase are dry. Next, cut strips of clear tape and place them across the top of the vase in a horizontal and vertical grid fashion. The grid will help keep your flowers upright as you build your arrangement, leading to a robust design with evenly spaced flowers.  

scissors and tape on a white background. office equipment for work

After the stems have been prepped, lay them out in front of you. 

Cut the Stems

In order to create a full, rounded dome look, cut the roses at varying heights (at ½ inch increments) so the shortest rest just above the top of the vase and the tallest is about 2 inches from the top of the vase.  

Woman making floral wedding decorations. Tiny bouquet of beautiful pink flowers

Arrange Your Stems

Start with the tallest bloom and place it in the very center. Surround this bloom with the second tallest stems in a circular fashion. Continue doing this with the shortest blooms making up the outside circle of the arrangement. The grid design is perfect for also adding greenery to add height and dimension. 

Wild roses bouquet in a glass vase

For all your wholesale floral needs, visit Cascade Floral to find the best, highest-quality, and longest-lasting blooms.