
How to Make a Boutonniere in 5 Easy Steps
For those who like to take on DIY projects, or if you’re looking for a way to save money on your wedding, then you may want to consider making your own boutonnieres and corsages. It’s not that hard and you’ll have a completely unique design all your own being worn by the bridal party and getting captured in pictures. Just follow the below simple instructions and let your creativity take over.
How to Make a Boutonniere
Before purchasing materials, decide just how many boutonnieres you will be making. The guide on who wears them is pretty flexible and up to the bride and groom, ultimately. Just having the groom wear a boutonniere is acceptable, or one for every groomsman or all the important males in the wedding, from dads to ringbearers. If you’ll be making a lot of them, you can save upwards of $20 per boutonniere! Here’s how:
Choose the best blooms for boutonnieres
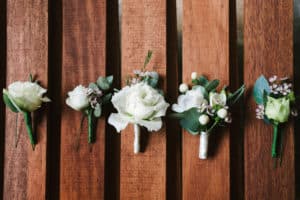
Hearty flowers that can hold up without a water source are best for boutonnieres. You’ll also want to select flowers and colors that will blend in with the overall floral design of the wedding. Blooms such as Spray Roses, Pansies, Ranunculus, Tulips, Mums, Calla Lilies, Billy Balls, and Carnations are all good options. Greenery and smaller accompanying flower choices include Baby’s Breath, Ivy, Eucalyptus, Heather, Italian Ruscus, Queen Anne’s Lace, or Wax Flowers.
Materials Needed for Making a Boutonniere
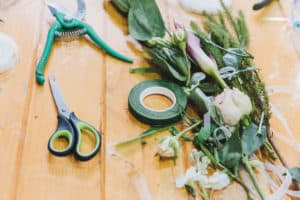
Once you’ve selected your preferred blooms, there are a few more items needed to pull everything together: floral scissors or stem cutters, pins, floral tape, and ribbon (optional). The floral tape is a must-have as it is used to wrap around the flower stems sealing them which helps prevent wilting. If you want the floral tape covered up, adding a ribbon is a great way to hide it.
Make a Boutonniere in 5 Easy Steps
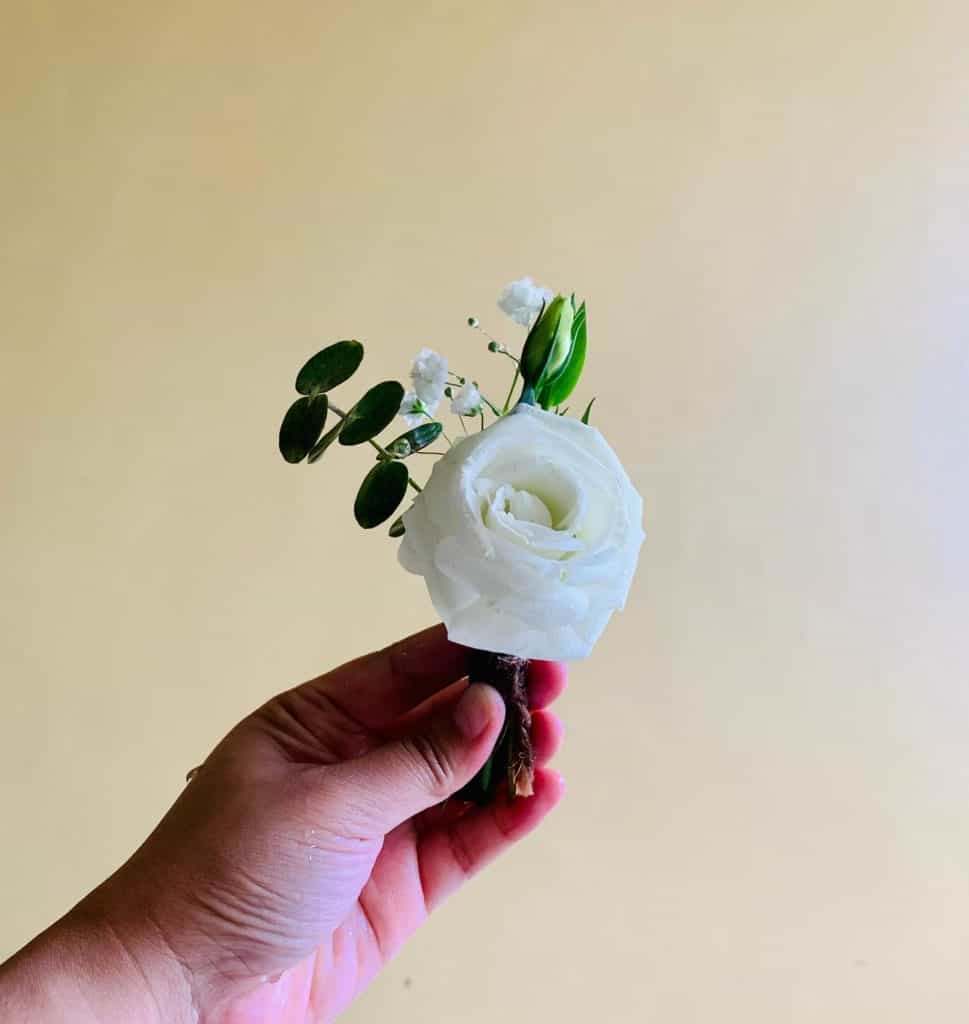
1. Gather your flowers and greenery. Decide on 1 or 2 statement blooms, 2-3 smaller accent blooms, and greenery.
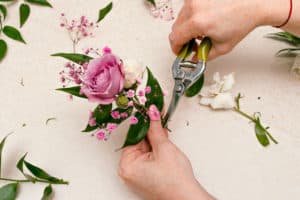
2. Cut all the stems to your desired length for the boutonniere. (A stem length of 2-3 inches is ideal for working with). Make sure stems are clean and any leaves from the lower parts have been removed.

3. Create your arrangement. Start with the statement bloom and add additional accents and greenery behind it. Play around with the arrangement, put an accent flower in front, for example, until you like what you see.
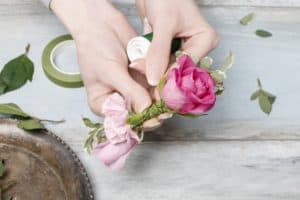
4. Once you’ve settled on your design, wrap all the stems tightly with the floral tape. Neatly trim the stems of your boutonniere to the one-inch mark. If desired, wrap a ribbon around the floral tape starting at the bottom and continuing until the base of the flowers. Tie a knot and secure with a pin.
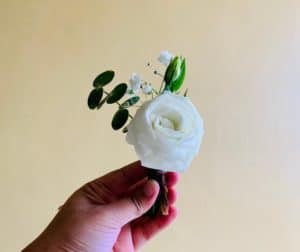
5. Use the pins to affix to the boutonniere to the lapel of the wearer’s jacket, step back and admire your work!
When to Make Your Boutonniere
If you have time in the morning of the ceremony, that’s the best time to make your boutonnieres, just store them in a cool, dry place. Do not put them in the fridge. If you need to make them the night before, leave the stems exposed and place the boutonniere in a shallow cup of water. Leave in a cool, dry place overnight avoiding the fridge.