
The simple yet classic mason jar has had a Renaissance of sorts as it’s seen everywhere these days and used in all manners of creative ways, such as decorative lighting, candle holder, plant jar, and a holder for anything you can imagine. If you’re a fan of Pinterest, then I’m sure you’ve seen many charming floral arrangements made with mason jars. We love them, too, which is why we are sharing some great tips with you on how to make beautiful mason jar flowers for your home or gifts to friends.
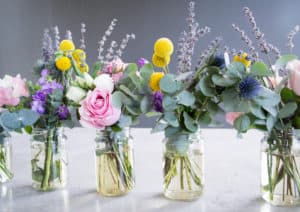
Economic and lovely mason jar arrangements allow you plenty of room to use your creativity to make a variety of styles. Use the below tips as a starting point to then let your creative side bloom!
7 Simple Steps to Make a Mason Jar Flower Bouquet
1. Gather your foliage, blooms, and filler flowers. Trim the stems to a 45-degree angle and clear all leaves and debris off any part of the stems that will be in the water.
2. Start with your foliage. Place a few stems of foliage into the mason jar so that each cut end rests against the side of the glass while the top part rests against the lid. These two anchor points help keep the stems in place.
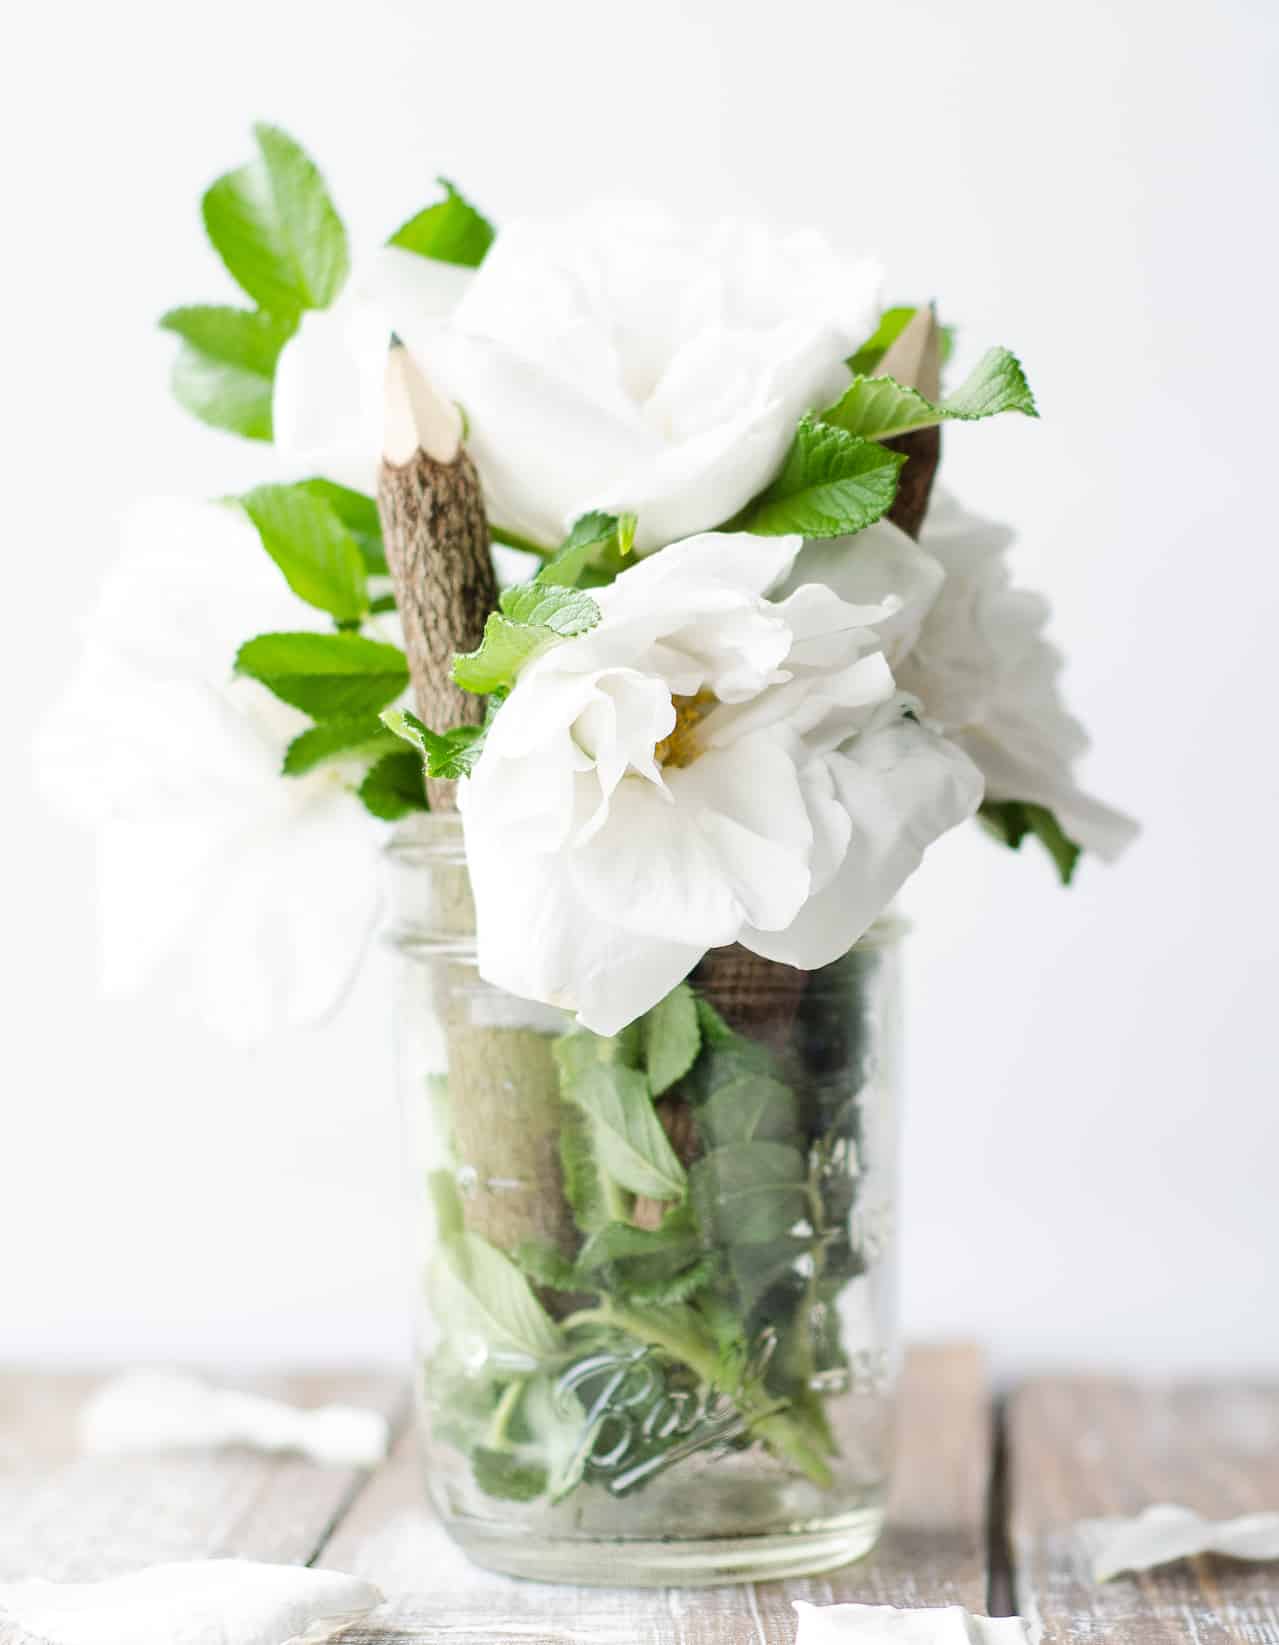
3. Add the focal flower. Any large bloom makes an excellent focal flower, such as a zinnia, dahlia, garden rose, sunflower, pom-pom mum, or large lisianthus. The focal flower is going to be the “front” of the arrangement, although it can still be viewed from all sides.
4. Add secondary flowers. Smaller than the focal flower, secondary flowers should complement the focal flower by having a similar form or color. However, this is also where you can play with a variety of colors and shapes to see how it works in the design.
5. Add a line element. Add height and volume to your arrangement with a long stem placed either vertically to draw the eye upwards or diagonally to draw the eye outwards. This is an optional step, but a tall stem helps make the arrangement appear fuller and bigger than it actually is.
6. Add filler pieces. Add filler flowers or greenery to fill the empty spaces and create more volume and fullness to the arrangements.
7. Add additional items. To bulk out your bouquet even more, add a few more filer flowers, sprigs of greenery, twigs, berries, etc., anything you’d like.
Take a Final Look
Once all of your pieces are in, take a final look and adjust as you see needed. The goal is to create a beautiful flower arrangement that appears full and colorful. What’s great about mason jar arrangements is that any type of floral piece or greenery looks amazing within it. Feel free to use what you have lying around, or fill it with blooms, wildflowers, or twigs you’ve picked up in your backyard. Simple and inexpensive but highly charming, mason jar arrangements make great gifts.
Additional Decor Tips:
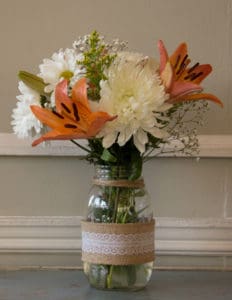
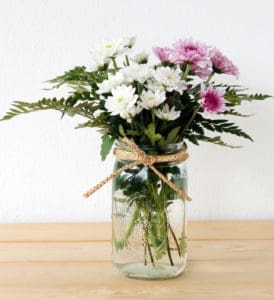
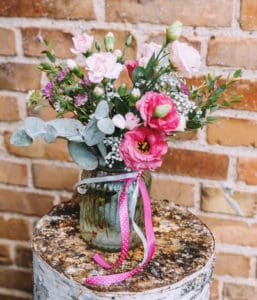
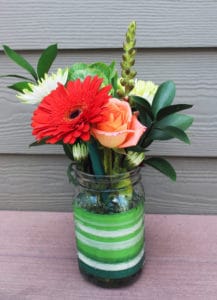
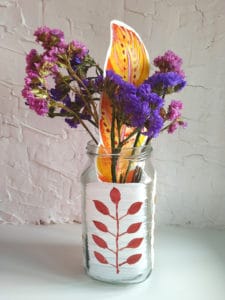
If you want to add a little pizzazz to your mason jar, wrap a colorful ribbon around the neck and tie a bow, or loosely wrap a piece of burlap around the jar’s body and secure it with twine for a beautiful farm-style look. Other ideas are to paint the jar, add glitter, glue on lace, or decorate with stickers.