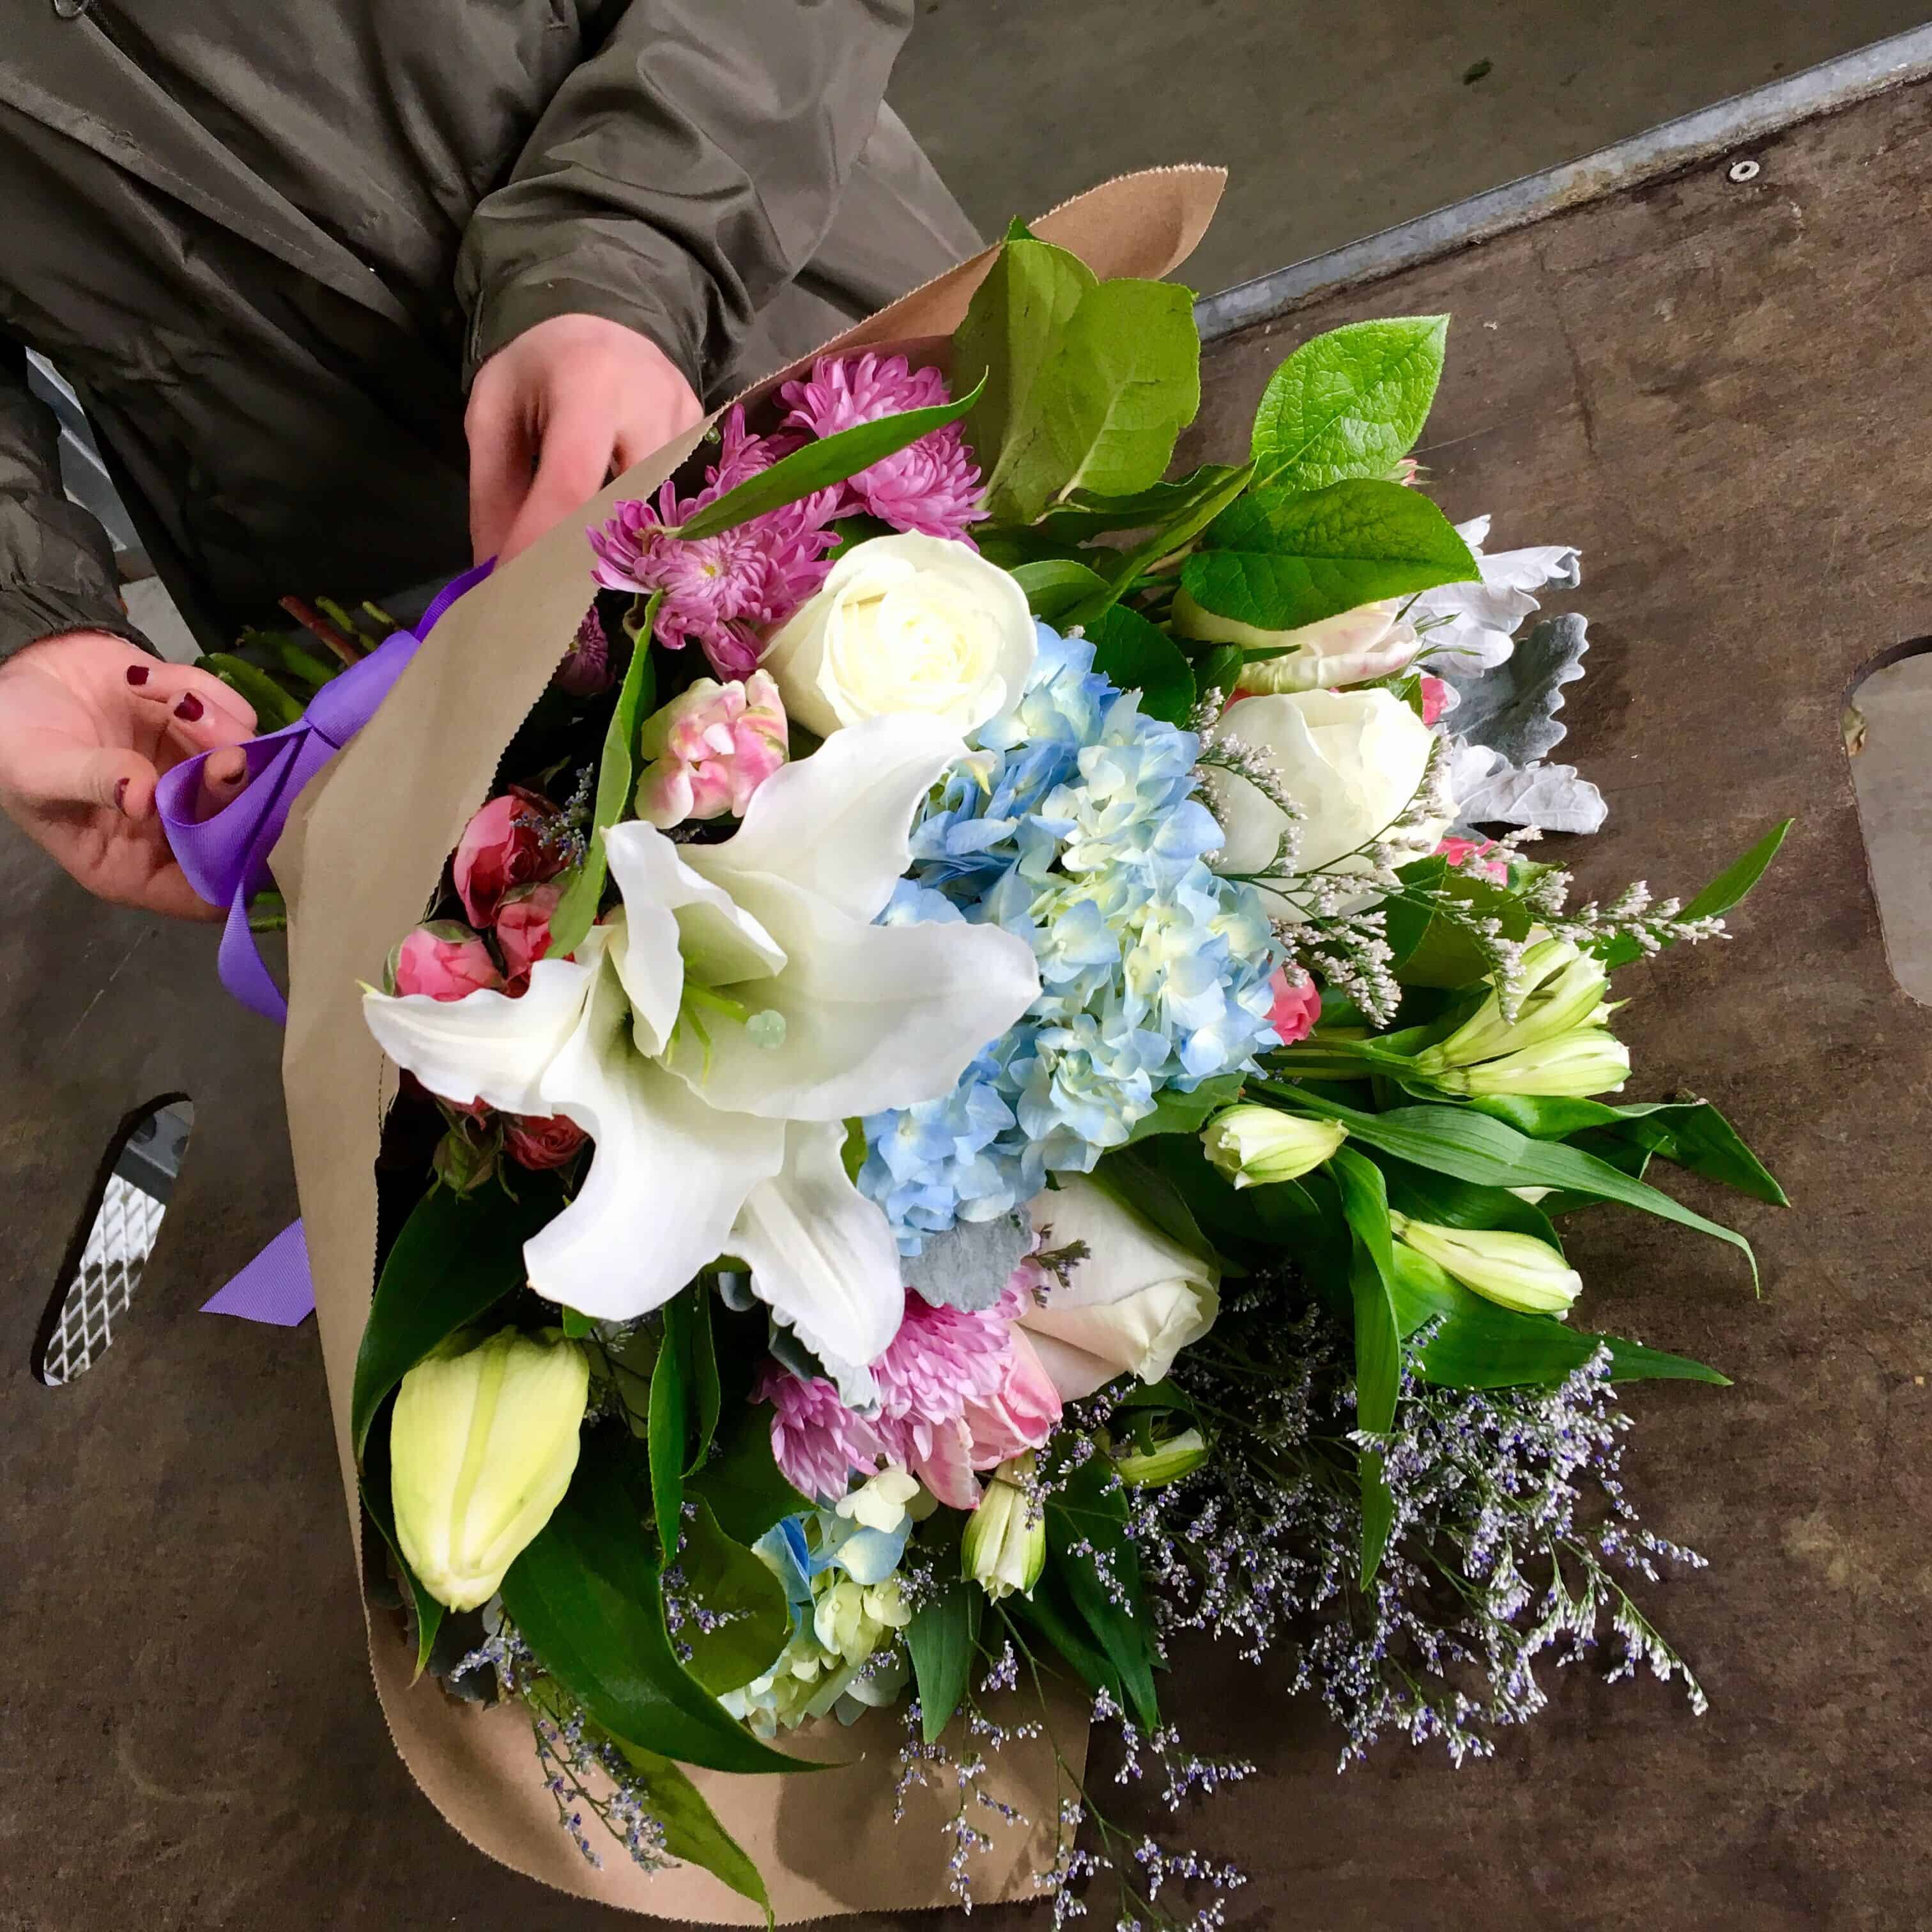
Step aside, brides. There’s a new bouquet in town.
When’s the last time you handed over a hand-wrapped bouquet of flowers, specifically designed to be gathered up in one’s arms, its beauty breathed in, its fragrance fawned over? Chances are, it’s probably been a minute. And while it’s de rigueur to offer mom a pretty floral arrangement for Mother’s Day, presenting her with a gorgeous handmade bouquet is a more meaningful gesture. Especially when she finds out it was made by none other than you. Cascade Floral Wholesale has the skinny on how to make a Mother’s Day bouquet that she will never forget.
Step One: Gather Ye Rosebuds
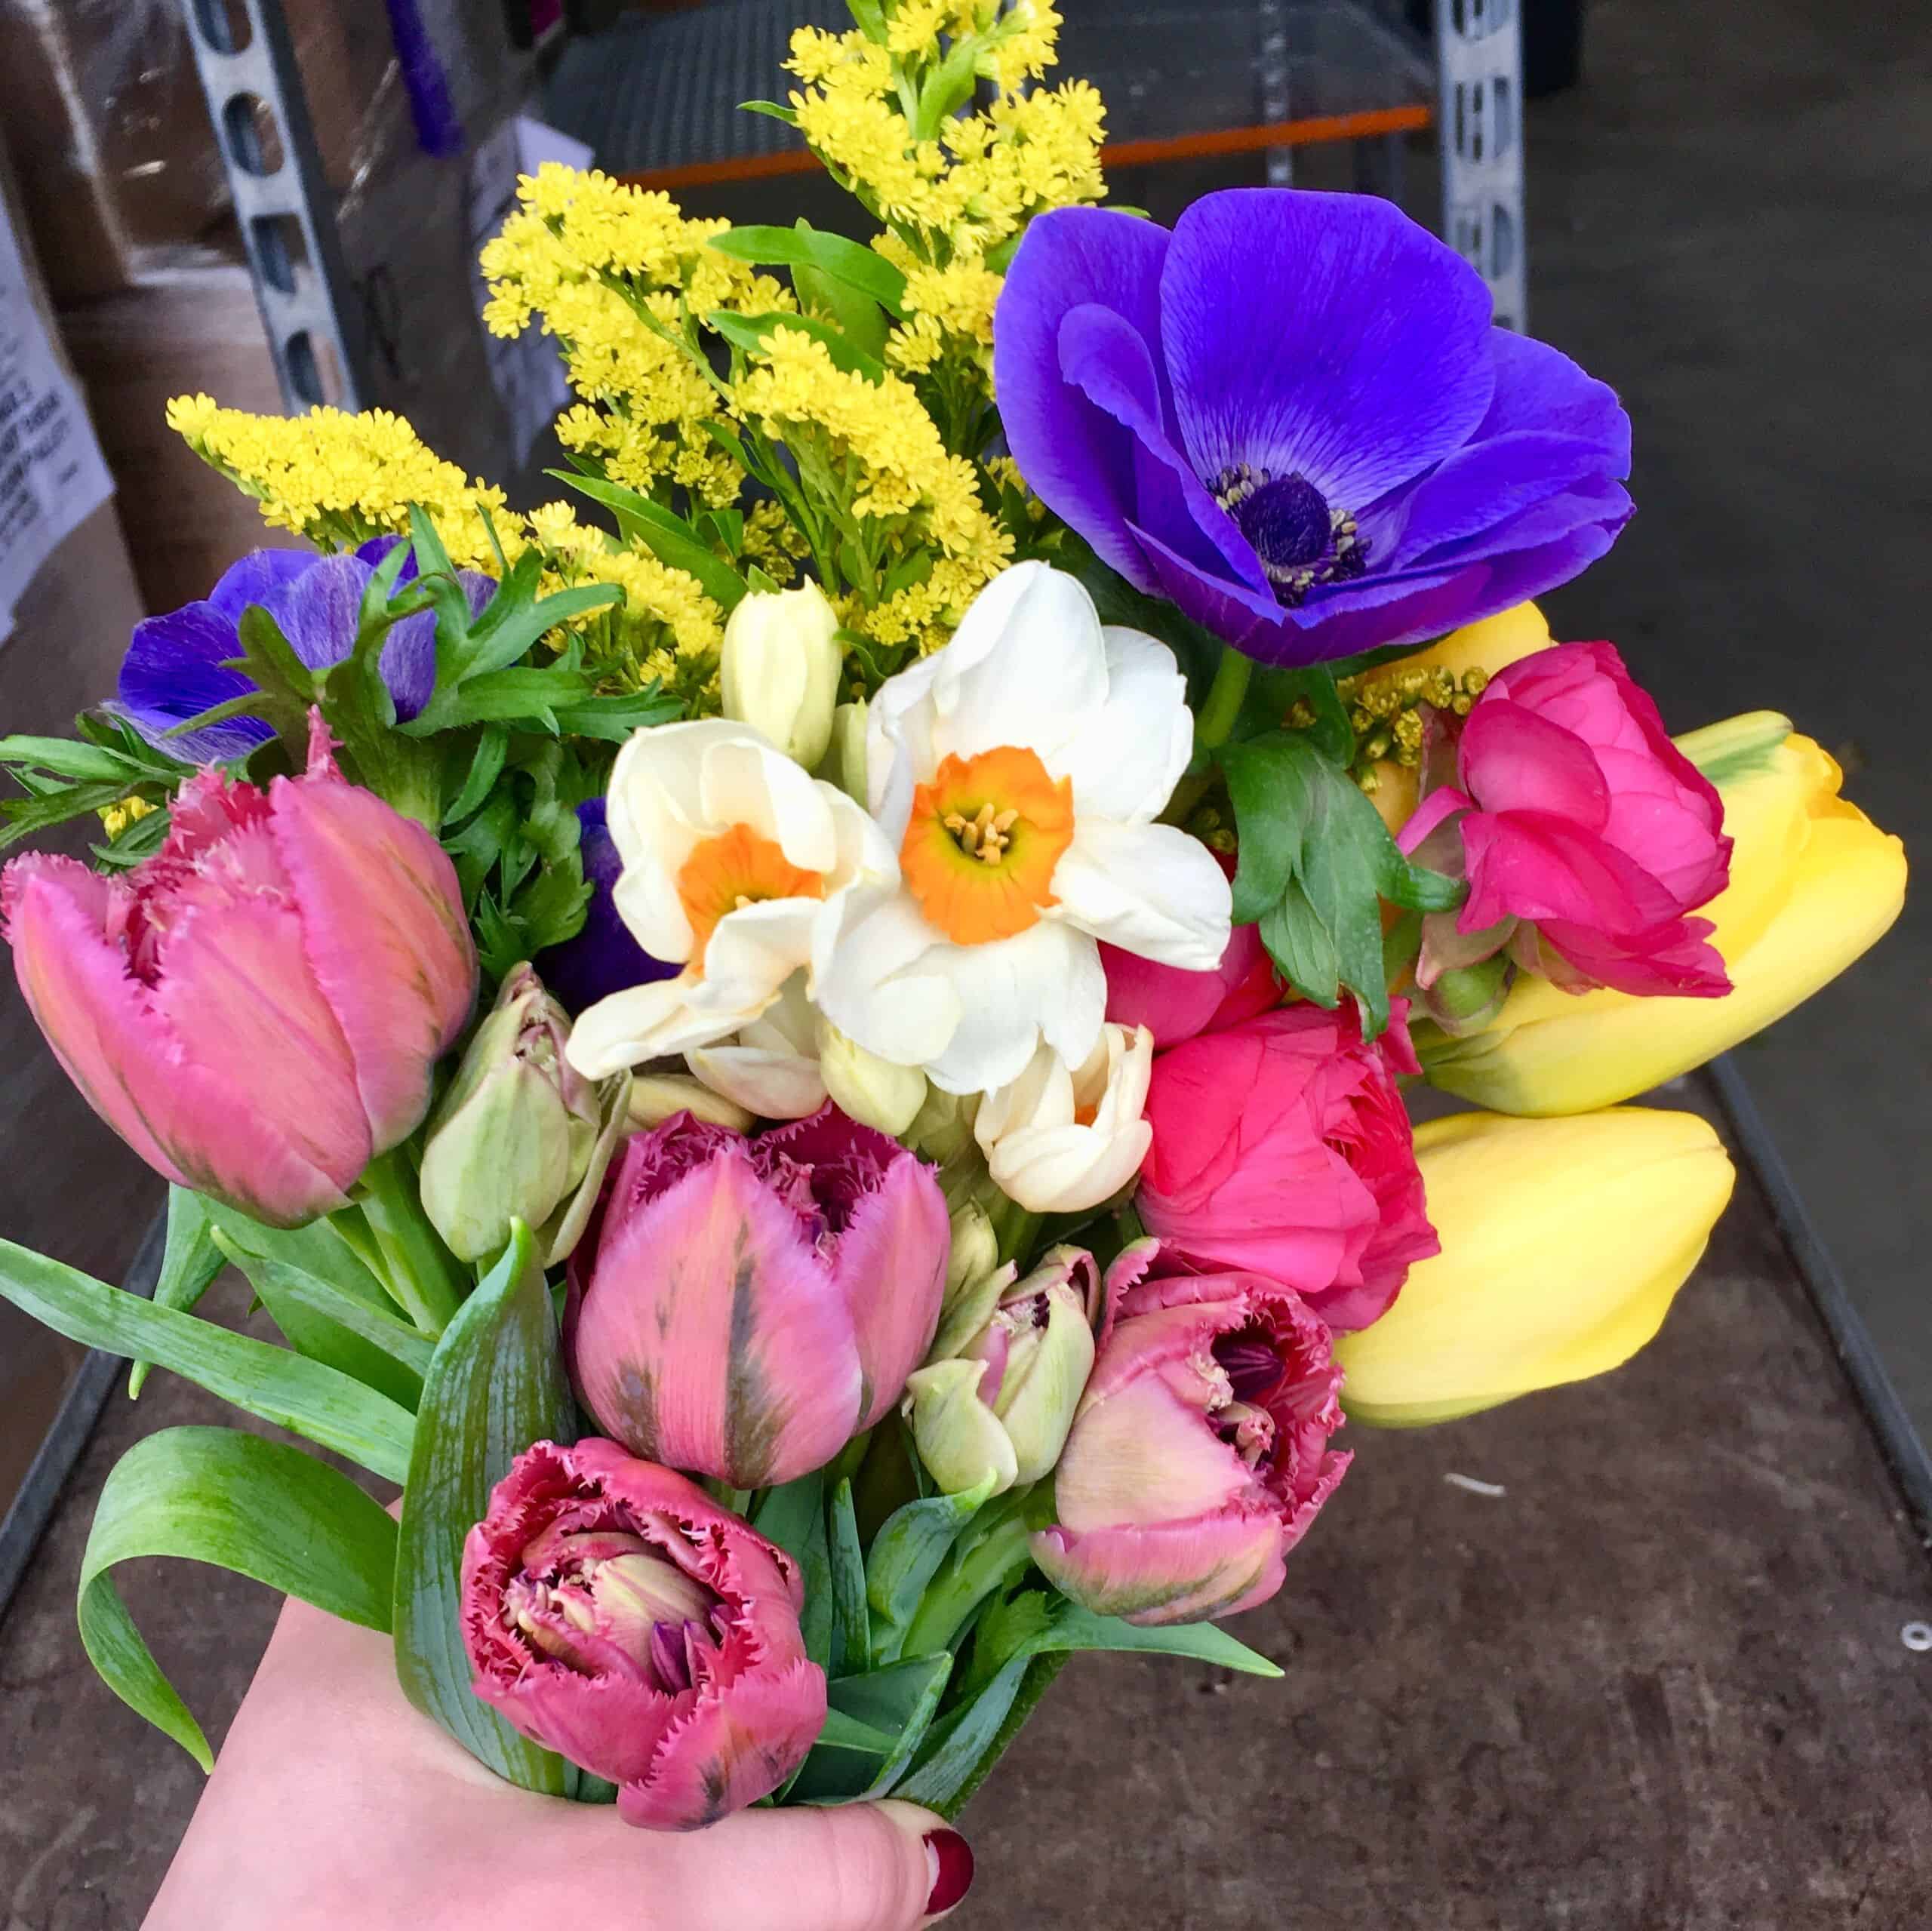
Seek seasonal flowers. Let this be your mantra. And when it comes to building a beautiful Mother’s Day bouquet, you really couldn’t have picked a better season. If you stick with florals that are abundantly available, you’ll be keeping your costs down, ensuring that your flowers are in the prime of their life, and discovering far more selection. We love our Spring Bulb Flower Mix for a seasonal bouquet. It comes with an assortment of tulips, hyacinth, ranunculus, and daffodils, making the design possibilities quite literally endless. Choose our 50-bulb option to ensure you have plenty to work with, and don’t forget to pick up other supplies you’ll need: garden pruners or shears, vase for storage, floral tape, corsage pins, and wax paper and ribbon for presentation.

Step Two: Prep Your Petals
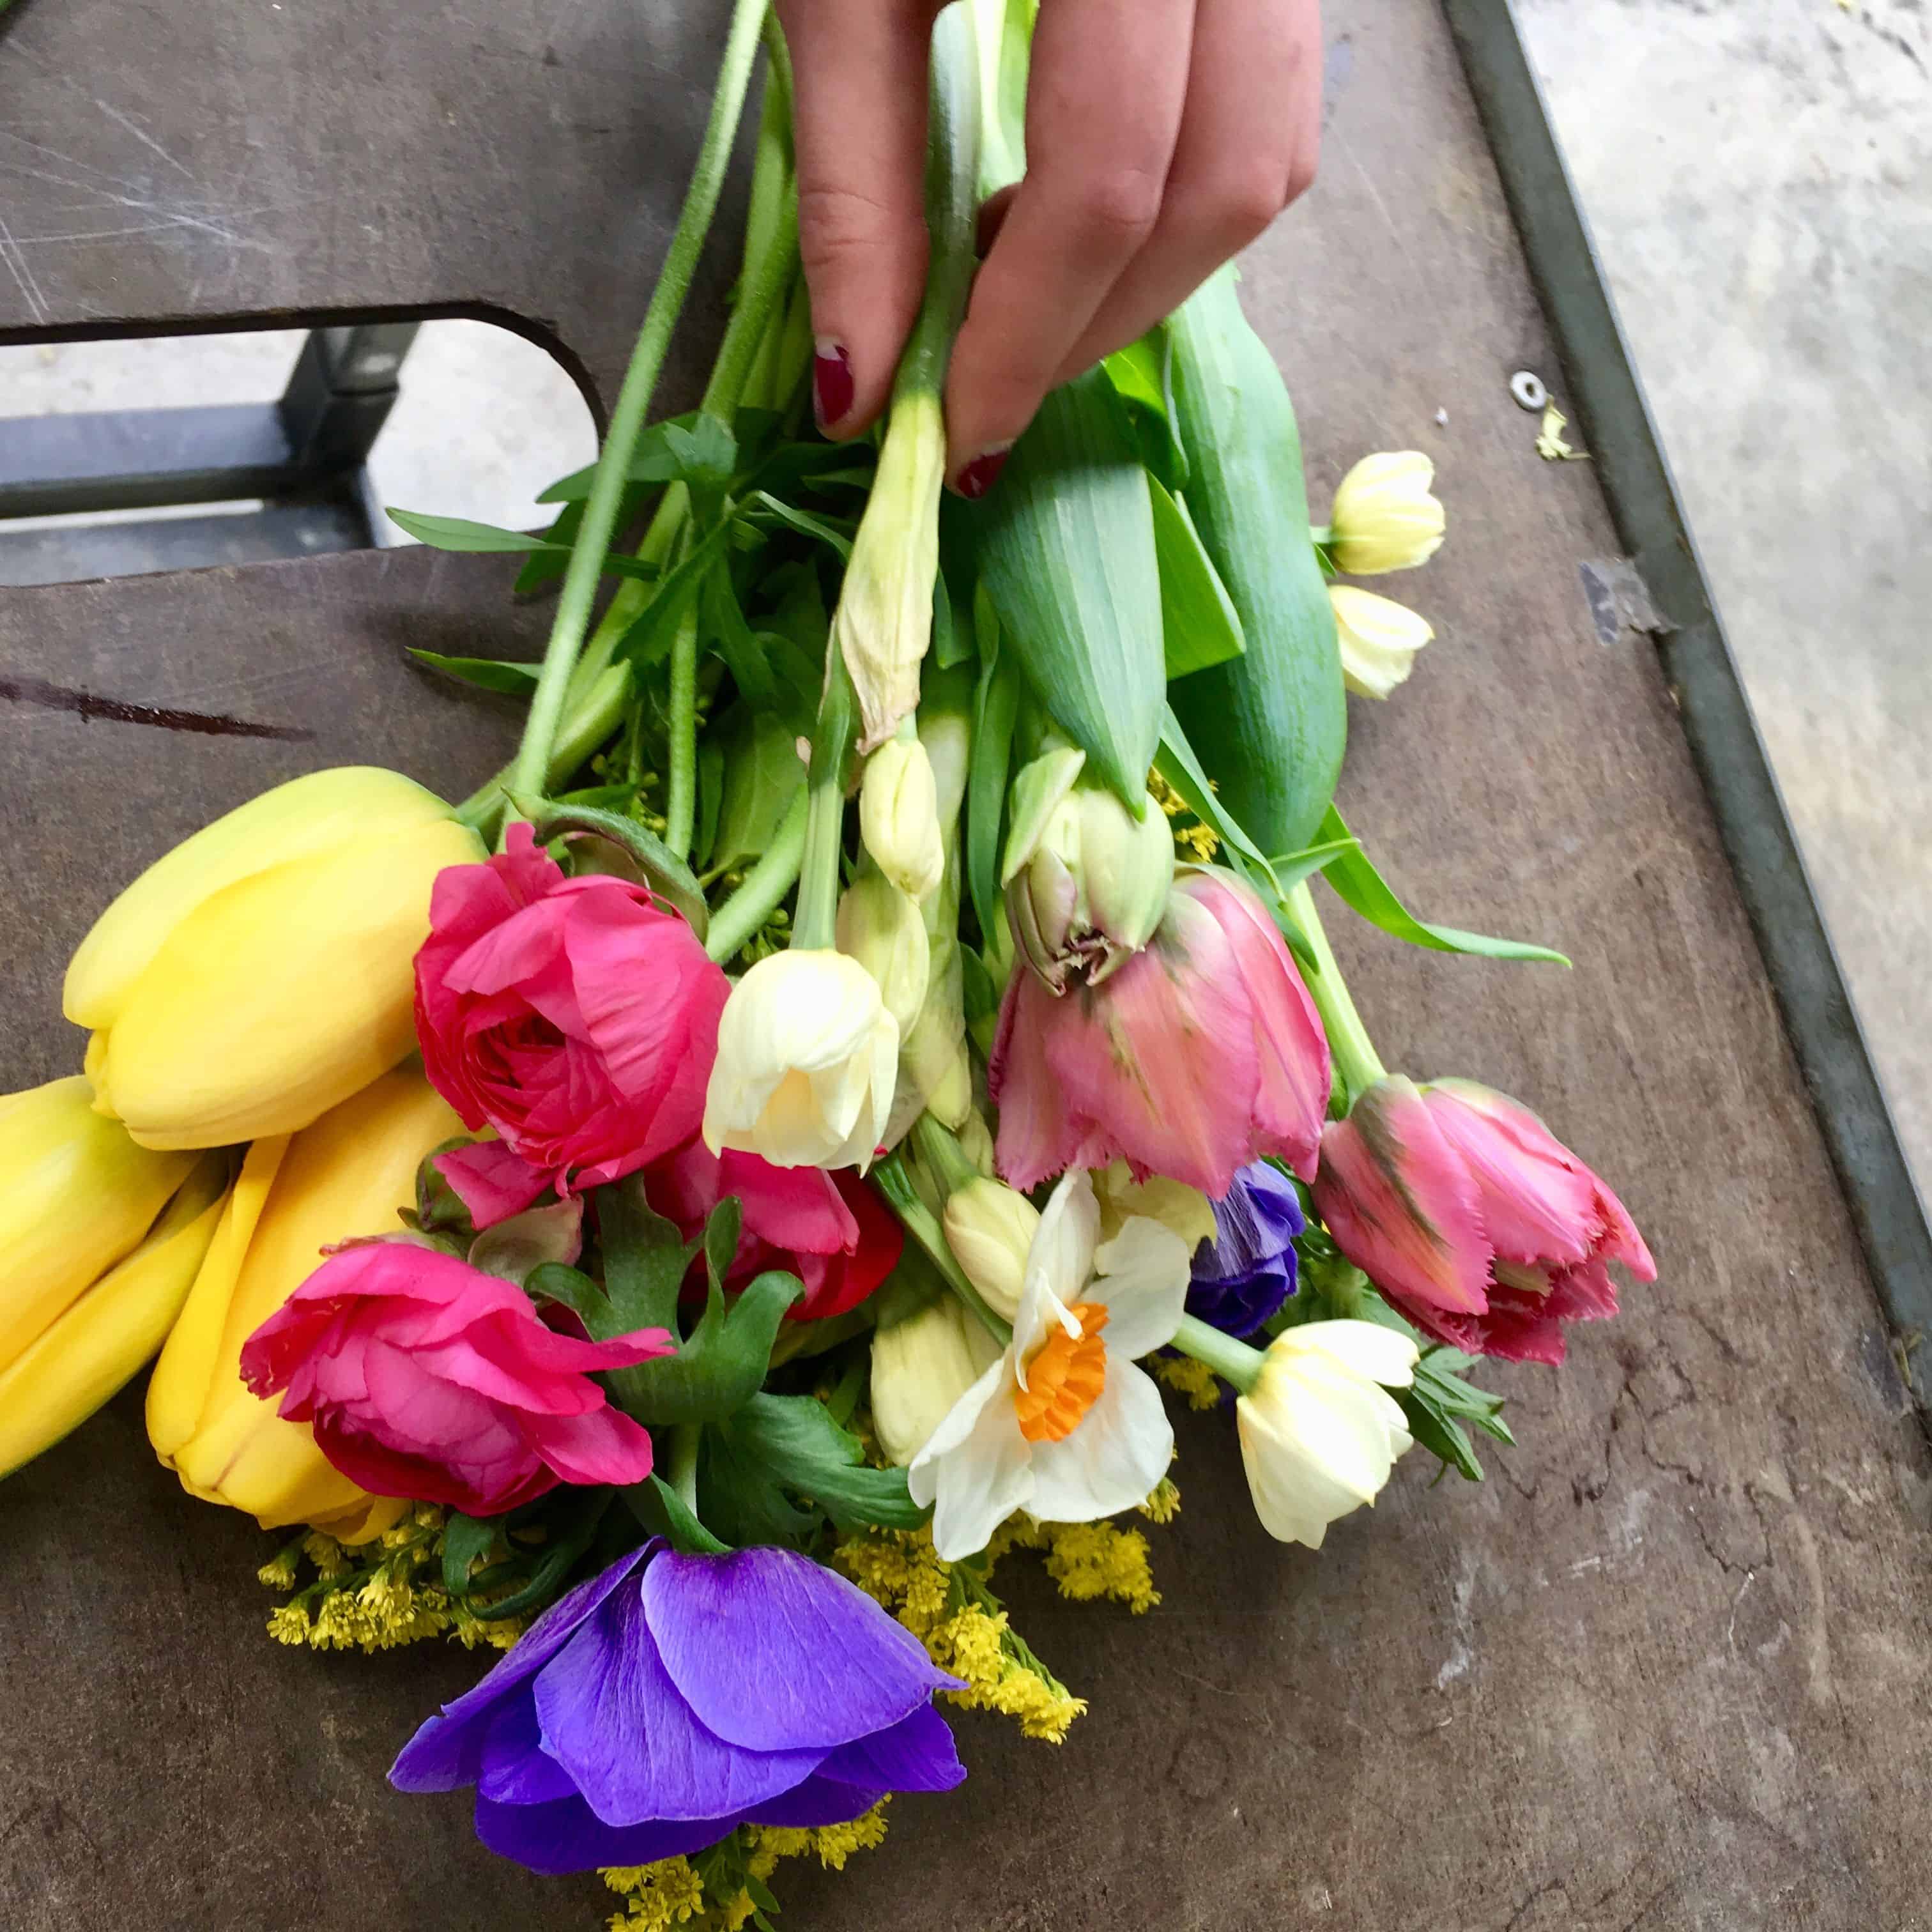
Arriving home with a bounty of fresh, high-quality flowers is like winning the lottery. You’ll have the strong desire to take exceptional care of them, and you should, right away. Clear a working space that offers you plenty of light. Position a mirror (full-length is ideal) nearby. Unwrap the flowers, cut the stems a bit, and remove any leaves or excess foliage around the bottom of the stems, where your mom’s hands will be. Plop each flower into a bucket of water as you work through all of them. When you’re ready to design, remove your blooms from the water and lay them out in groupings, keeping like with like. This will help you see all of the floral riches at your disposal.
Step Three: Commence Designing!
Stand in front of the mirror and begin to create a base of foliage or greenery, about 5 stems, in your non-dominant hand. As you work, keep your hand firm but loose, and check the mirror for perspective. Once you’ve framed out your base, begin adding in your heavier, more prominent flowers, 3-5 at a time. Alternate feature flowers for interest, texture, and color. Pop in smaller blooms and accent ones, filling out your bouquet. Embellish with more greenery. Once you’re finished, carefully turn the bouquet upside down and cut all of the ends evenly, for a clean, polished look. Take your floral tape and wrap it around where it will be held. Leave the floral tape sticky side up for the last couple of wraps, which will allow the ribbon to stay in place. Wrap over the tape with the ribbon, affix a few corsage pins, and voila! You’ve just made a Mother’s Day Bouquet.