
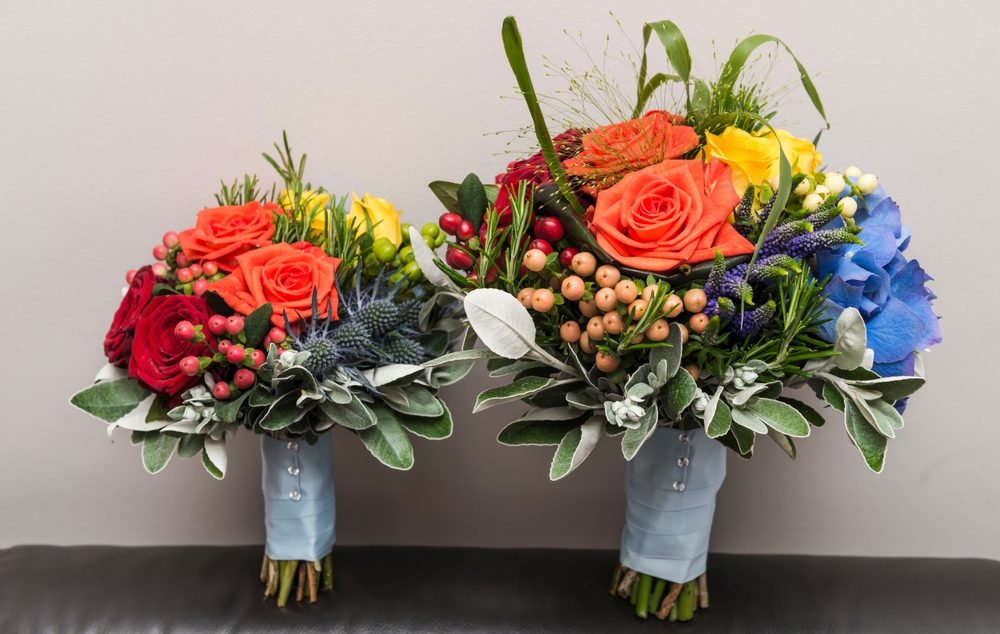
How to Create a Hand-Tied Bouquet for a Wedding
There’s something magical about a hand-tied bouquet for a wedding. It has that perfect balance of elegance and natural beauty — like it was lovingly crafted just for the big day (because it was!). Whether you’re a budding floral enthusiast or someone who simply loves to roll up their sleeves and get creative, making your own can be both rewarding and fun. Plus, it’s an excellent way to customize your wedding flowers just the way you want them. At Cascade Floral Wholesale, we’re going over everything you need to know to create a stunning hand-tied bouquet that will wow at the wedding.
Gathering Your Supplies
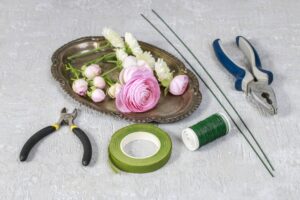
Before you get started, make sure you have all the tools and supplies you’ll need. The essentials include:
Flowers and foliage: Choose blooms and greenery that match your wedding theme and color palette. Think roses, ranunculus, or peonies for romance; eucalyptus or ruscus for soft, trailing greenery; and accent flowers like baby’s breath or waxflower to add texture.
Floral shears: Sharp scissors or garden clippers are a must for clean cuts.
Floral tape: This will help hold your bouquet together as you work.
Ribbon or twine: For wrapping the stems and adding that finishing touch.
A bucket of water: To keep your flowers hydrated before and during the process.
Optional embellishments: Think pearls, lace, or even a charm to make it extra special.
Once you have everything ready, lay it all out on a clean workspace. A large table or kitchen counter works perfectly — just make sure it’s somewhere you can spread out and let your creativity flow.
Prepping the Flowers and Greenery
The key to a polished bouquet starts with good prep work. Strip any leaves, thorns, or low-hanging stems from the bottom half of each flower and piece of greenery. This ensures the bouquet is clean and easy to hold without any pokey bits sticking out. Pro tip: Let your flowers drink up some water for a few hours before you start assembling — hydrated blooms are happier and last longer! Then, trim the stems to a manageable length, leaving them about 10 to 12 inches long to start. You can always cut them shorter later, but it’s harder to add length once you’re mid-bouquet.

Building Your Bouquet
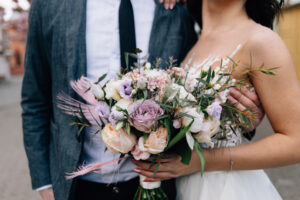
Every hand-tied bouquet needs a star of the show — the statement bloom that draws the eye. This could be a dramatic rose, a fluffy dahlia, or even a cluster of orchids. Whatever you choose, start by holding it in your non-dominant hand. This will act as the “anchor” for the rest of your arrangement.
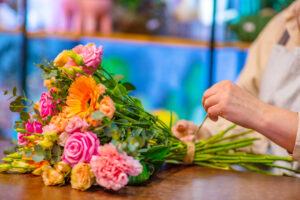
Now for the fun part: assembling your masterpiece! The hand-tied technique is all about layering and rotating, so the bouquet looks beautifully balanced from every angle.
Add secondary blooms and greenery: Begin layering flowers and greenery around your focal flower(s), alternating as you go. Hold the stems at an angle to create a slight spiral pattern — this makes the bouquet easier to hold and gives it a natural, airy look. Don’t worry too much about perfection at this stage; you’ll fine-tune it as you go.
Step back and assess: Every few stems, take a moment to step back and look at your arrangement from all sides. This helps ensure it’s evenly distributed and keeps you from overloading one side.
Add texture and accent flowers: Once the main structure is in place, fill in any gaps with smaller blooms, accent flowers, or airy greenery like ferns. This adds depth and dimension, making your bouquet look full and lush.
Secure with floral tape: When you’re happy with the arrangement, wrap floral tape tightly around the stems just below the blooms. This holds everything together while you make the final adjustments.
Finishing Touches
Time to make it wedding-ready! Trim the stems to your desired length — usually about 6 to 8 inches long — so they’re neat and uniform. Then, wrap the bouquet with ribbon, twine, or fabric that complements your wedding colors. For a classic look, cover the stems completely with satin ribbon and secure it with pins. For a more rustic vibe, leave part of the stems exposed and tie them with twine. If you want to add extra flair, now’s the time to attach embellishments like a crystal, brooch, or even a small charm that holds sentimental value.
Once your bouquet is finished, place it in a vase with a couple of inches of water until it’s time to walk down the aisle. Store it in a cool, shady spot to keep the flowers looking their best. If you’re making the arrangement a day or two in advance, consider misting the blooms lightly with water to keep them hydrated.
Whether you’re designing for your own wedding or helping out a friend, this process is a beautiful way to bring flowers to life. With a little practice and a lot of love, you’ll have a wedding bouquet that’s as unforgettable as the day itself. At Cascade Floral Wholesale, we have everything you need to manifest your unique vision.