
How to Make a DIY Cascading Wedding Bouquet For Dreamy Summer Weddings
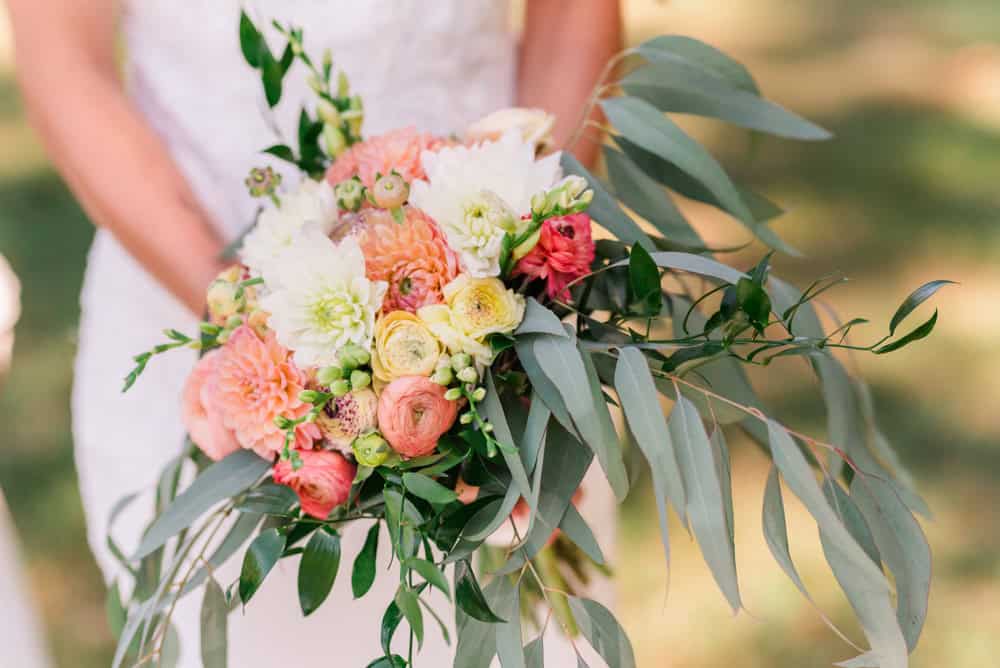
A cascading wedding bouquet has a special kind of magic. It flows downward from the bride’s hands with flowers, greenery, and trailing details that create a beautiful waterfall effect. It’s romantic, colorful, and full of movement, which makes it a stunning choice for summer weddings.
If you’re planning to make your own cascading bouquet, we love the enthusiasm. There’s something so meaningful about creating a floral piece for such an important day. That said, this bouquet style takes a little more planning than a simple hand-tied bouquet. The good news is that once you understand the overall shape, flower choices, and design flow, it becomes much easier to approach.
Summer is one of the best seasons for a DIY cascading bouquet because there are so many colorful flowers to choose from. Coral, peach, yellow, lavender, ivory, pink, tangerine, blue, and fresh green all feel right at home in summer wedding flowers. Whether your wedding style is garden-inspired, coastal, classic, or bright and playful, a cascading bouquet with flowers from Cascade Floral Wholesale in Everett, Washington can be designed to match the moment beautifully.
Choose Flowers That Naturally Create Movement
Before you start designing, spend time choosing flowers and greenery that will help you create the cascading shape. This bouquet style works best when you mix large focal flowers, smaller accent flowers, airy textures, and trailing greenery. We want the bouquet to feel full near the top and then flow naturally downward.
For summer, roses are always a stunning choice. They come in so many colors and hold up well for wedding work. Garden roses bring a full, romantic look, while spray roses are great for filling in smaller spaces. Dahlias are another summer favorite, especially in shades of peach, coral, blush, burgundy, and ivory. You can also use lisianthus, ranunculus, zinnias, scabiosa, stock, cosmos, or snapdragons to add shape and texture. If you want a more dramatic cascade, orchids are a beautiful option because they naturally drape. Dendrobium orchids and phalaenopsis orchids are especially popular for this look.
Greenery is what really helps create the flow. Look for greenery that bends, trails, or drapes instead of anything too stiff. Italian ruscus, jasmine vine, smilax, ivy, seeded eucalyptus, plumosa fern, and trailing amaranthus all work well. Think of the greenery as the outline of your bouquet. It helps you build the shape before you add statement flowers.
Create the Bouquet Shape Before Filling It In
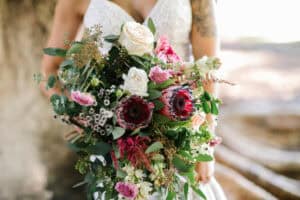
One of the biggest tips we can give DIY bouquet makers is to build the shape first. It can be tempting to grab the biggest, prettiest flowers and place them right away, but a cascading bouquet needs a strong foundation. Start with greenery and longer stems to create the outline.
Hold the bouquet where your hands will naturally grip it. This spot becomes the binding point, where the bouquet will eventually be tied together. Add greenery at the top and sides first to create fullness around the hand area. Then add your longest trailing pieces downward to form the cascade. A helpful way to picture the shape is an upside-down teardrop. The bouquet should be fuller near your hands, wider through the middle, and narrower as it trails down. A shorter cascade, we should note, is easier to carry and more modern. A longer cascade looks more dramatic and traditional. For most DIY designs, a medium-length cascade is a great place to start because it gives you the look without being too hard to manage.

Layer in Your Main Flowers and Summer Color Palette
Once your greenery framework is in place, start adding your statement flowers. These are the blooms that will stand out most in photos, so place them with intention. Larger flowers usually look best near the top and center of the bouquet, while smaller flowers and lighter textures can move toward the edges and lower cascade.
For a summer bouquet, you have so many color directions to choose from. A peach, coral, and yellow palette is cheerful and warm. Ivory, blush, and champagne look timeless and bridal. Lavender, pale blue, and white can create a fresh garden look. Hot pink, orange, and tangerine are perfect for couples who want something bold and fun. Try to spread your colors throughout the bouquet instead of grouping one color all in one area. For example, if you’re using coral roses, place a few near the center and a few smaller coral accents lower in the design. This helps the bouquet feel balanced. The same goes for texture. Mix rounded blooms like roses and dahlias with lighter flowers like cosmos, scabiosa, or lisianthus so the bouquet doesn’t get too heavy.
Don’t worry about making everything perfectly even. In fact, a cascading bouquet usually looks better when it looks slightly natural and organic. The goal is balance, not matching sides. Let some flowers sit higher, some lower, and some face slightly different directions. That movement is what gives this style its appeal.
Secure the Bouquet So It’s Comfortable to Hold
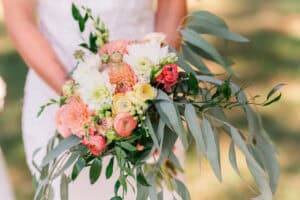
After you’re happy with the shape, it’s time to secure the bouquet. This step matters because cascading bouquets can become heavy, especially when using larger summer flowers. You want the bouquet to feel stable in your hands without being so tightly wrapped that the flowers look stiff.
Use floral tape, waterproof tape, or bind wire around the binding point where your hands naturally hold the bouquet. Wrap firmly, but gently. Once the stems feel secure, trim them to a comfortable length. You should be able to hold the bouquet without stems poking your wrists or feeling awkward. Next, cover the handle with ribbon. Satin, chiffon, silk-style ribbon, or velvet can all work depending on your wedding style. For summer weddings, we love ribbon in ivory, champagne, pale blue, blush, peach, or even a bolder color pulled from the bouquet. Long ribbon tails can add extra movement, especially in photos.
Keep in mind that a cascading bouquet has a front side. Before you wrap the handle completely, make sure you know which side is meant to face outward as you walk down the aisle. You can mark the back with a pin or ribbon detail so it’s easy to hold correctly on the wedding day.
Keep Your Bouquet Fresh Until the Ceremony
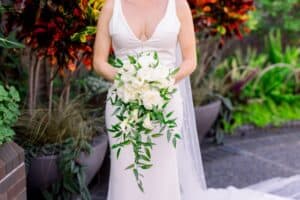
Summer flowers are beautiful, but they can be sensitive to heat. Once your bouquet is finished, keep it in a cool place away from direct sunlight. Avoid hot cars, sunny windows, patios, and outdoor setup areas for long periods. Heat can cause flowers to wilt faster than expected, especially delicate blooms like hydrangea or some varieties of dahlias.
If possible, make your bouquet as close to the wedding day as you can. Many DIY makers design the bouquet the day before, then store it carefully in water in a cool room. The final ribbon wrap can be added closer to the ceremony after the stems have had time to drink. Most of all, give yourself enough time. DIY wedding flowers can be fun and rewarding, but they shouldn’t be rushed. Set up a clean workspace, gather your supplies, and have floral tape, clippers, ribbon, pins, and a bucket of water ready before you begin.
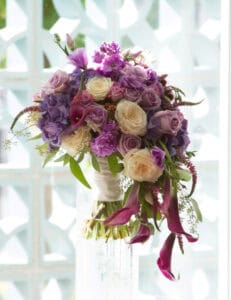
A DIY cascading wedding bouquet is a beautiful project when you take it one layer at a time. Start with a strong shape, choose summer flowers with movement, spread your colors thoughtfully, and keep the bouquet fresh until it’s time to walk down the aisle. With a little planning and a lot of flower love, you can create a gorgeous bouquet with the help of the experts at Cascade Floral Wholesale.